This concept sheet explains the procedure for using a microscope.
A microscope is a tool for observing elements that are not visible to the naked eye. Most optical microscopes allow magnification ranging from |\small \text {40X}| to |\small \text {1000X}|.
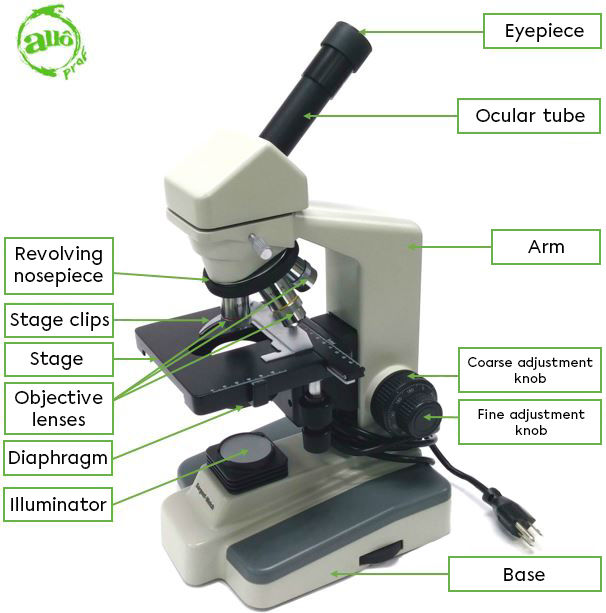
Parts of the microscope
| Parts | Functions |
| Eyepiece | Allows you the observation of the object and produces an initial magnification. |
| Eyepiece tube | Supports eyepiece. |
| Arm | Supports the microscope. |
| Base | Ensures the stability of the microscope. |
| Revolving nosepiece | Supports objective lenses: can be rotated to choose the right objective lens. |
| Objective lenses | Can be used to enlarge the image. |
| Stage | Supports the slide. |
| Stage clips | Hold the slide in place on the stage. |
| Illuminator (light) | Illuminates the object to be observed. |
| Coarse adjustment knob | Allows the observed object to be coarsely focused. |
| Fine adjustment knob | Allows fine focusing of the object to be observed. |
| Diaphragm | Controls the amount of light illuminating the object. |
The eyepiece and objective lenses are used to determine the degree of magnification when using a microscope.
Magnification is the ratio between the diameter of the image observed under the microscope and the actual diameter of the object.
To find out this ratio, the magnification of the objective lens used and magnification of the eyepiece must be taken into account. Usually, the magnification of the eyepiece is |\text {10X}|, while that of the objective lens is more variable. If using an objective lens of |\text {4X}|, the total magnification is |\text {40X}| |(\text {10X} \times \text {4X} = \text {40X})|.
If an objective lens of |\text {10X}| is used, a total magnification of |\text {100X}| |(\text {10X} \times \text {10X} = \text {100X})| is obtained.
If an objective lens of |\text {40X}| is used, a total magnification of | \text {400X}| |(\text {10X} \times \text {40X} = \text {400X})| is obtained.
If an objective lens of |\text {100X}| is used, a total magnification of |\text {1000X}| |(\text {10X} \times \text {100X} = \text {1000X})| is obtained.
The magnification of a microscope’s objective lens is expressed in diameter. A magnification of |\small \text {40X}| of an object gives us an image that appears to be 40 times the diameter of the object.
Observing microscopic material requires some preparation. Among other things, the slide on which the object to be observed under the microscope will be placed must be carefully prepared.
Here are the steps to follow to prepare the slide properly.
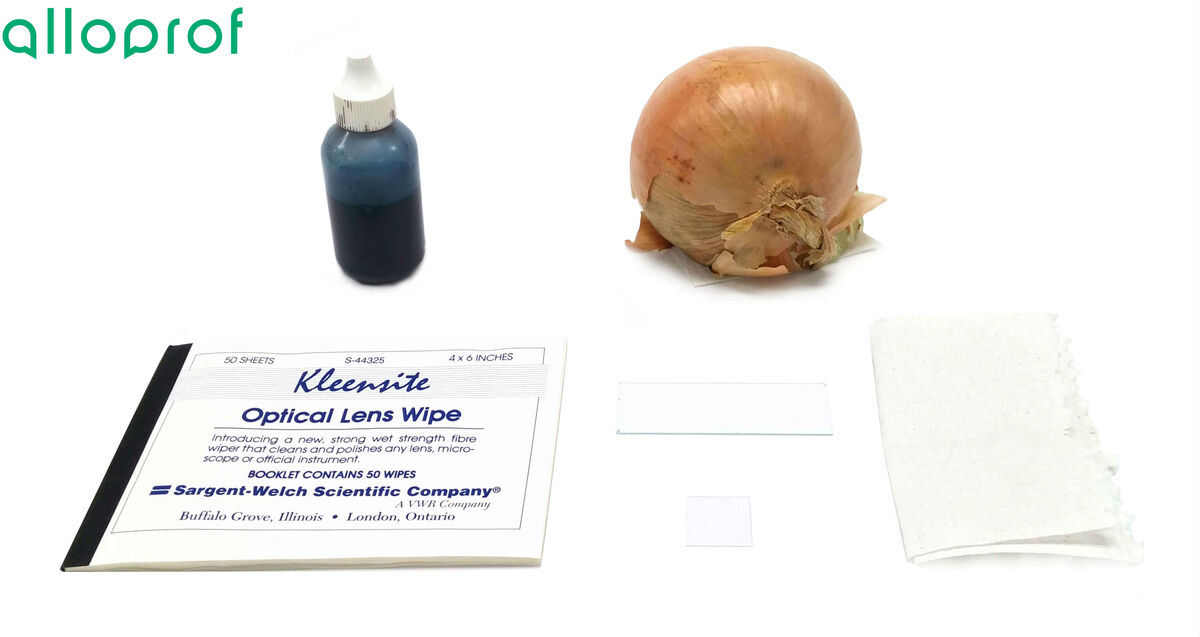
-
Slide
-
Coverslip
-
Lens paper
-
Dye (methylene blue)
-
Absorbent paper
-
Tweezers
-
Specimen to be observed (onion)
-
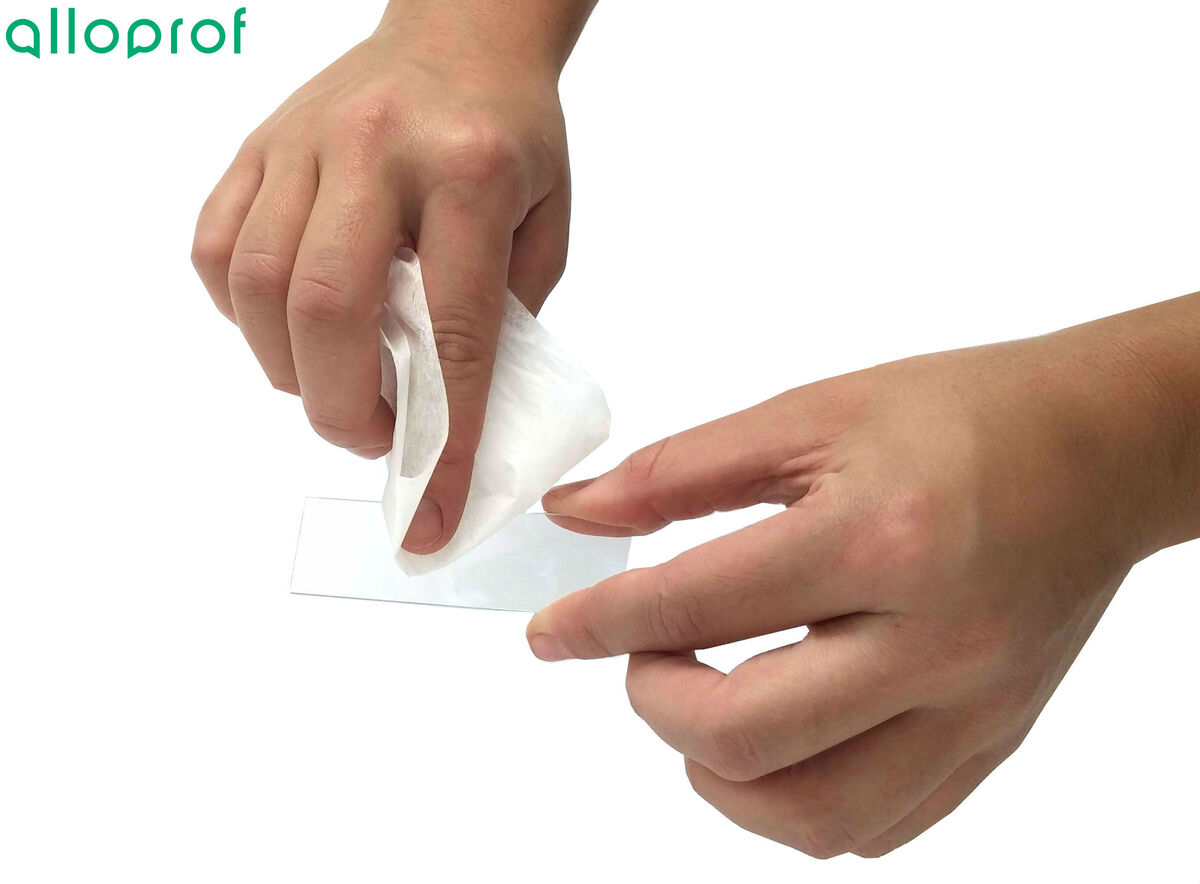
Gently clean the glass slide using lens paper.
-
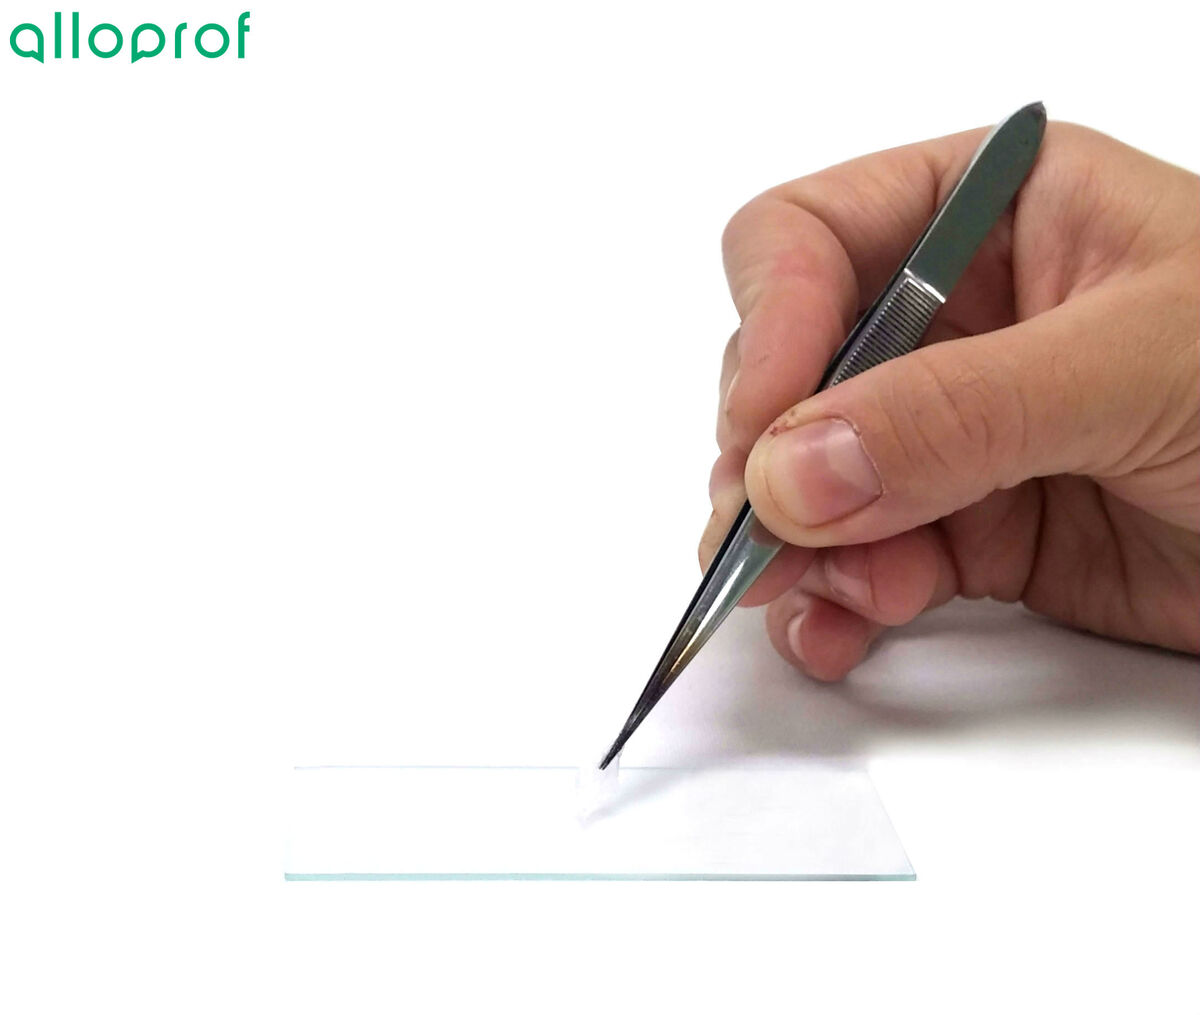
Place the specimen to be observed in the centre of the slide using the tweezers.
-
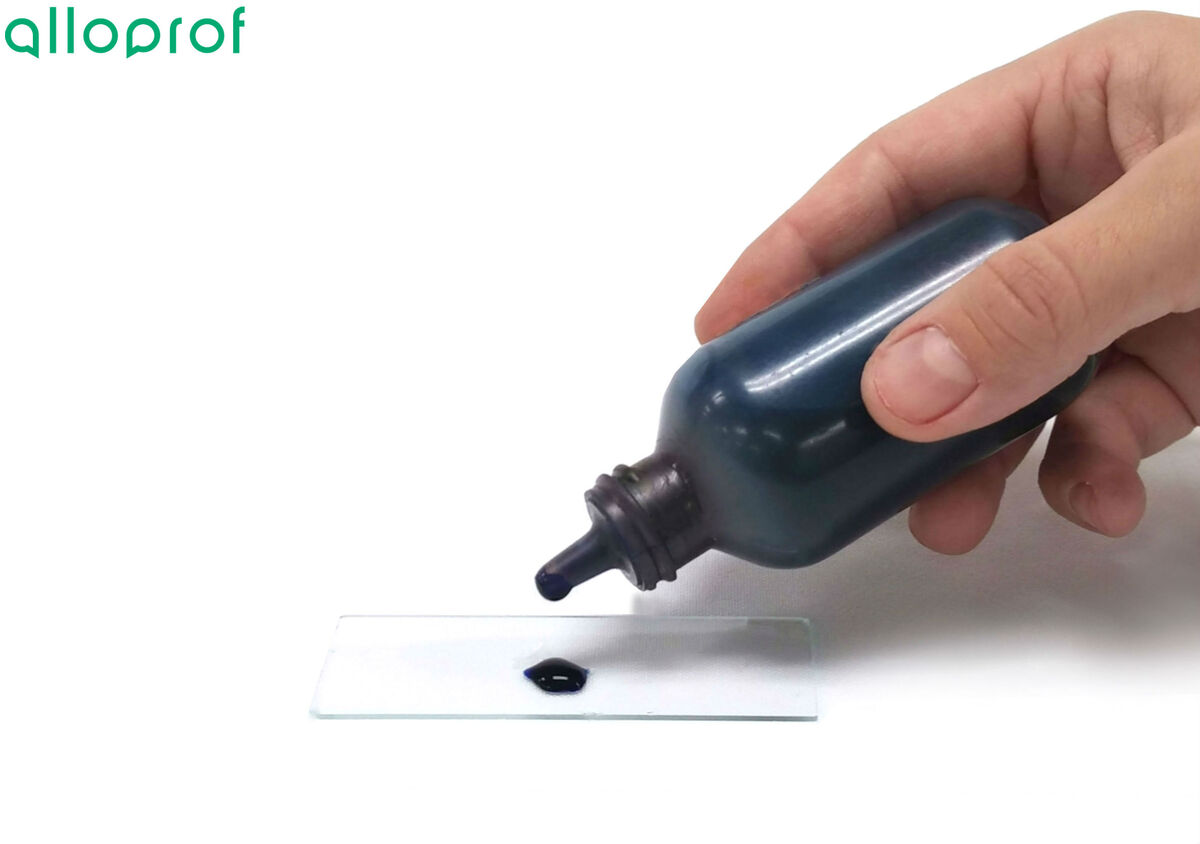
Place a drop of water or dye on the specimen to be observed.
-
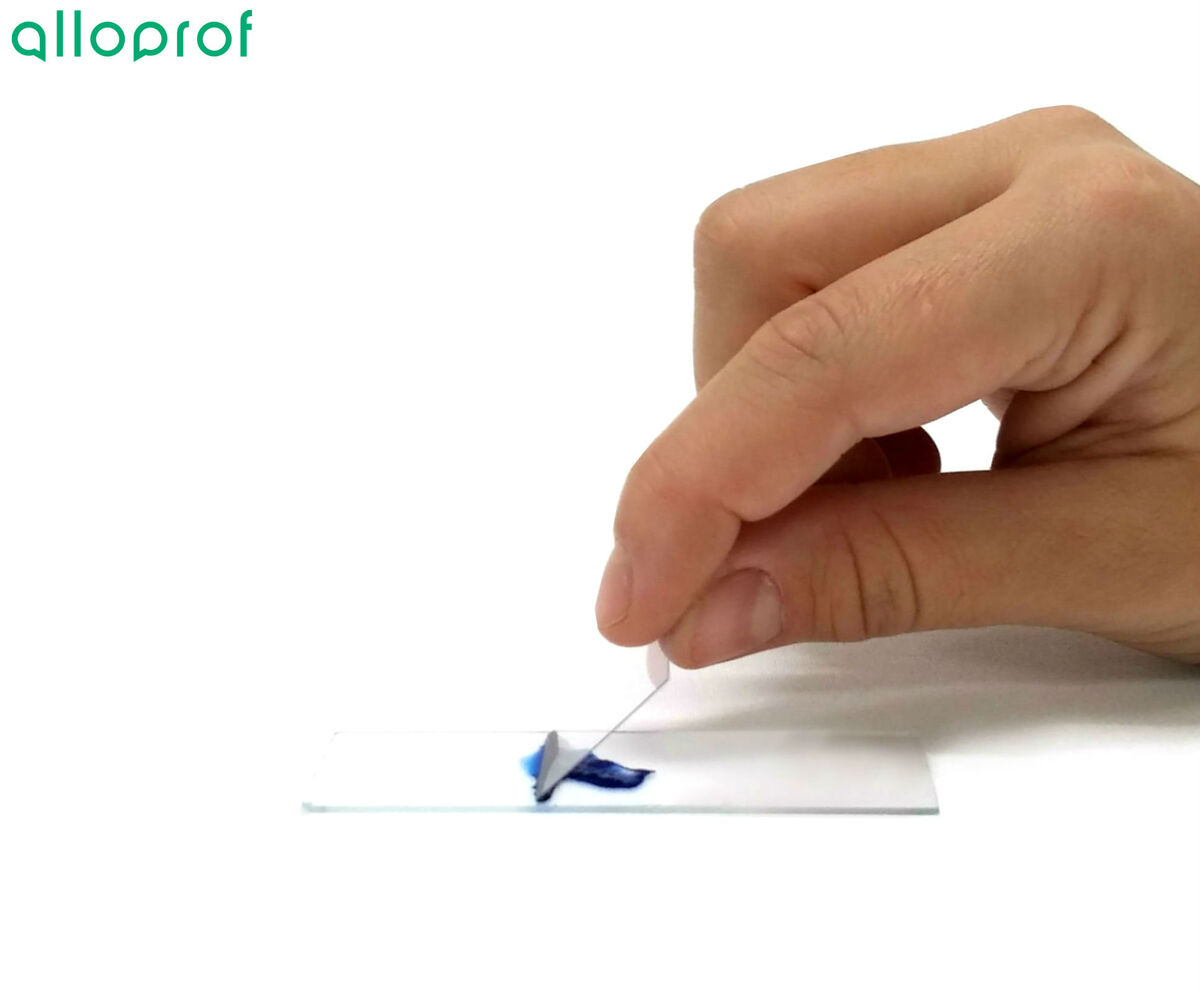
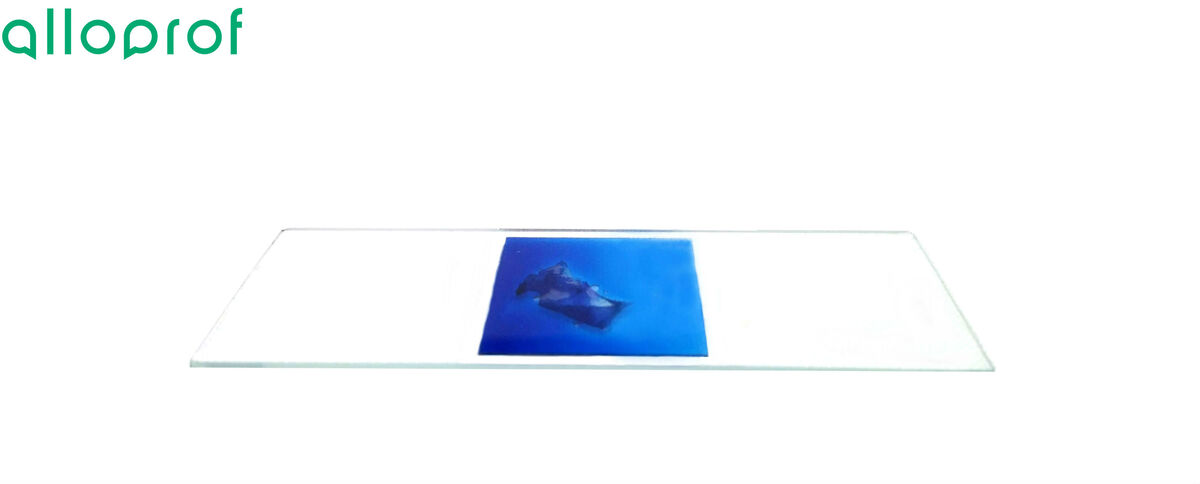
Gently cover the specimen with a coverslip, avoiding air bubbles from forming. To achieve this, press the coverslip vertically and then tilt it to lay it on the slide.
-
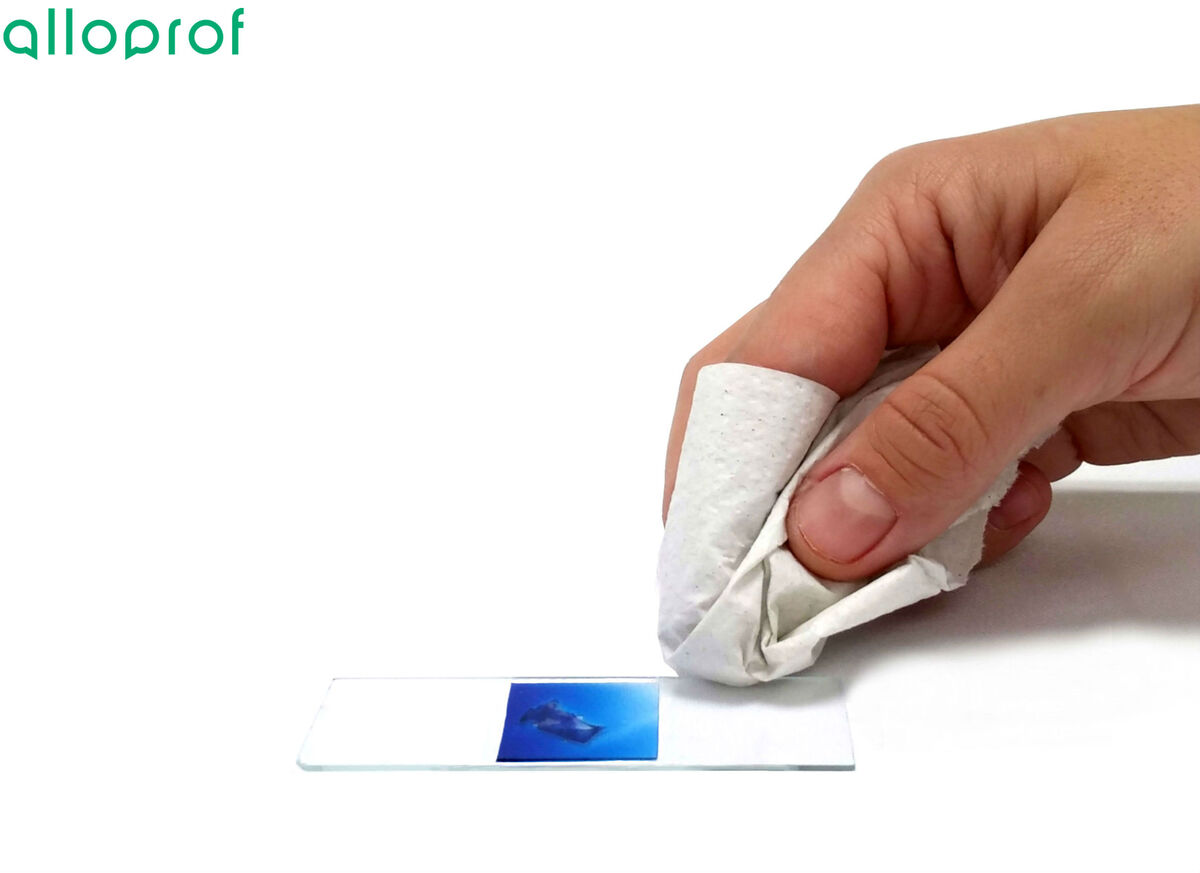
If necessary, remove excess water or dye by bringing absorbent paper close to the coverslip.
Since the microscope is a fragile instrument, it must be handled with care. If a microscope has to be carried from one place to another, it should always be supported with both hands, one under the base and the other on the arm.
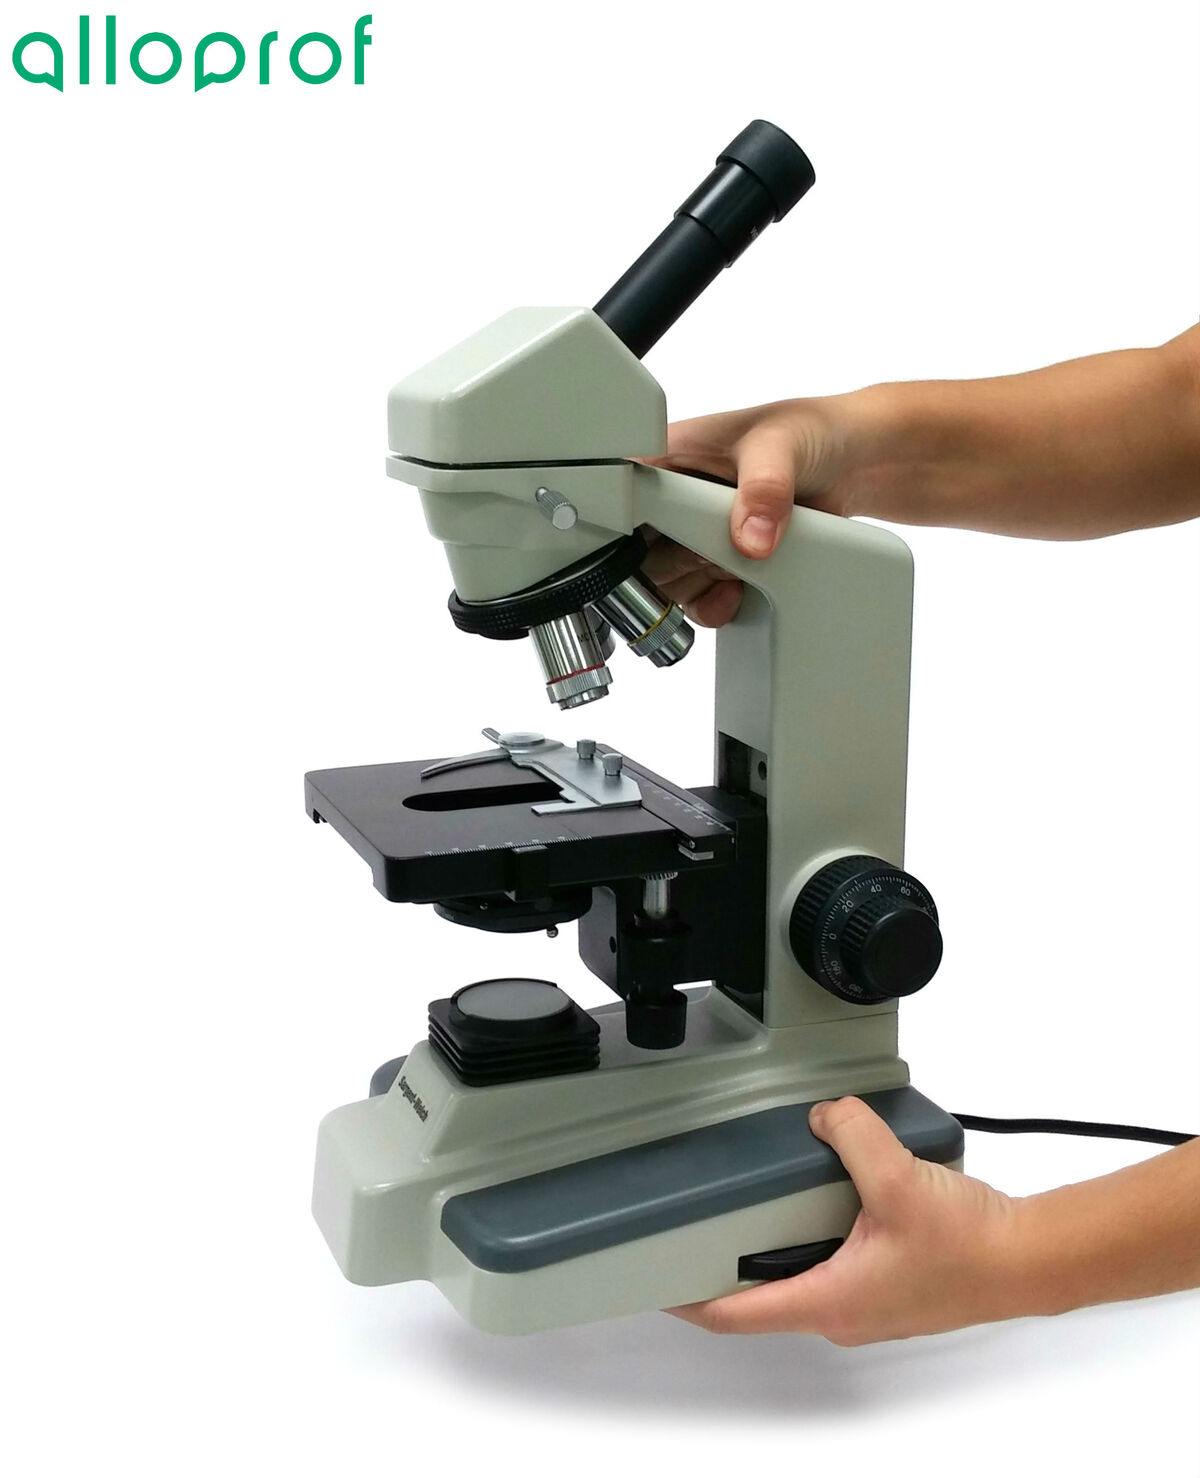
Here are the steps to follow to use a microscope properly.
-
Plug the power cord of the microscope into a power outlet.
-
Gently clean the eyepiece and objective lenses using lens paper provided for this purpose.
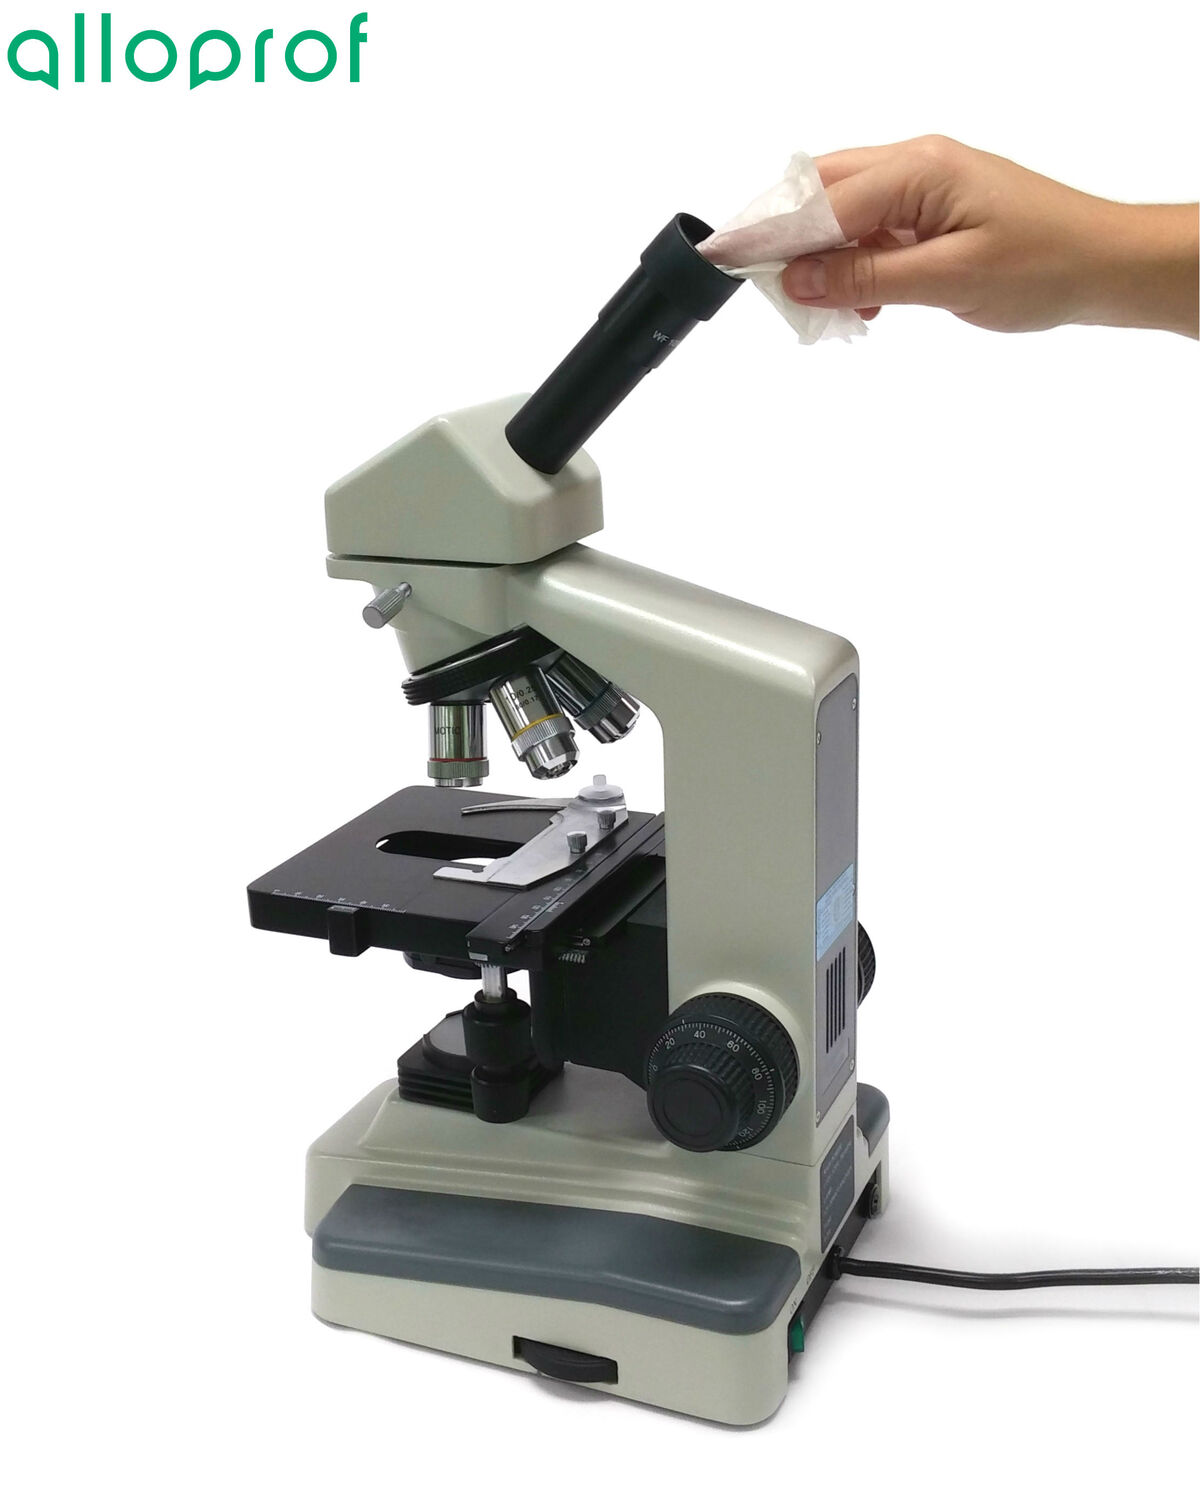
-
Turn on the light.
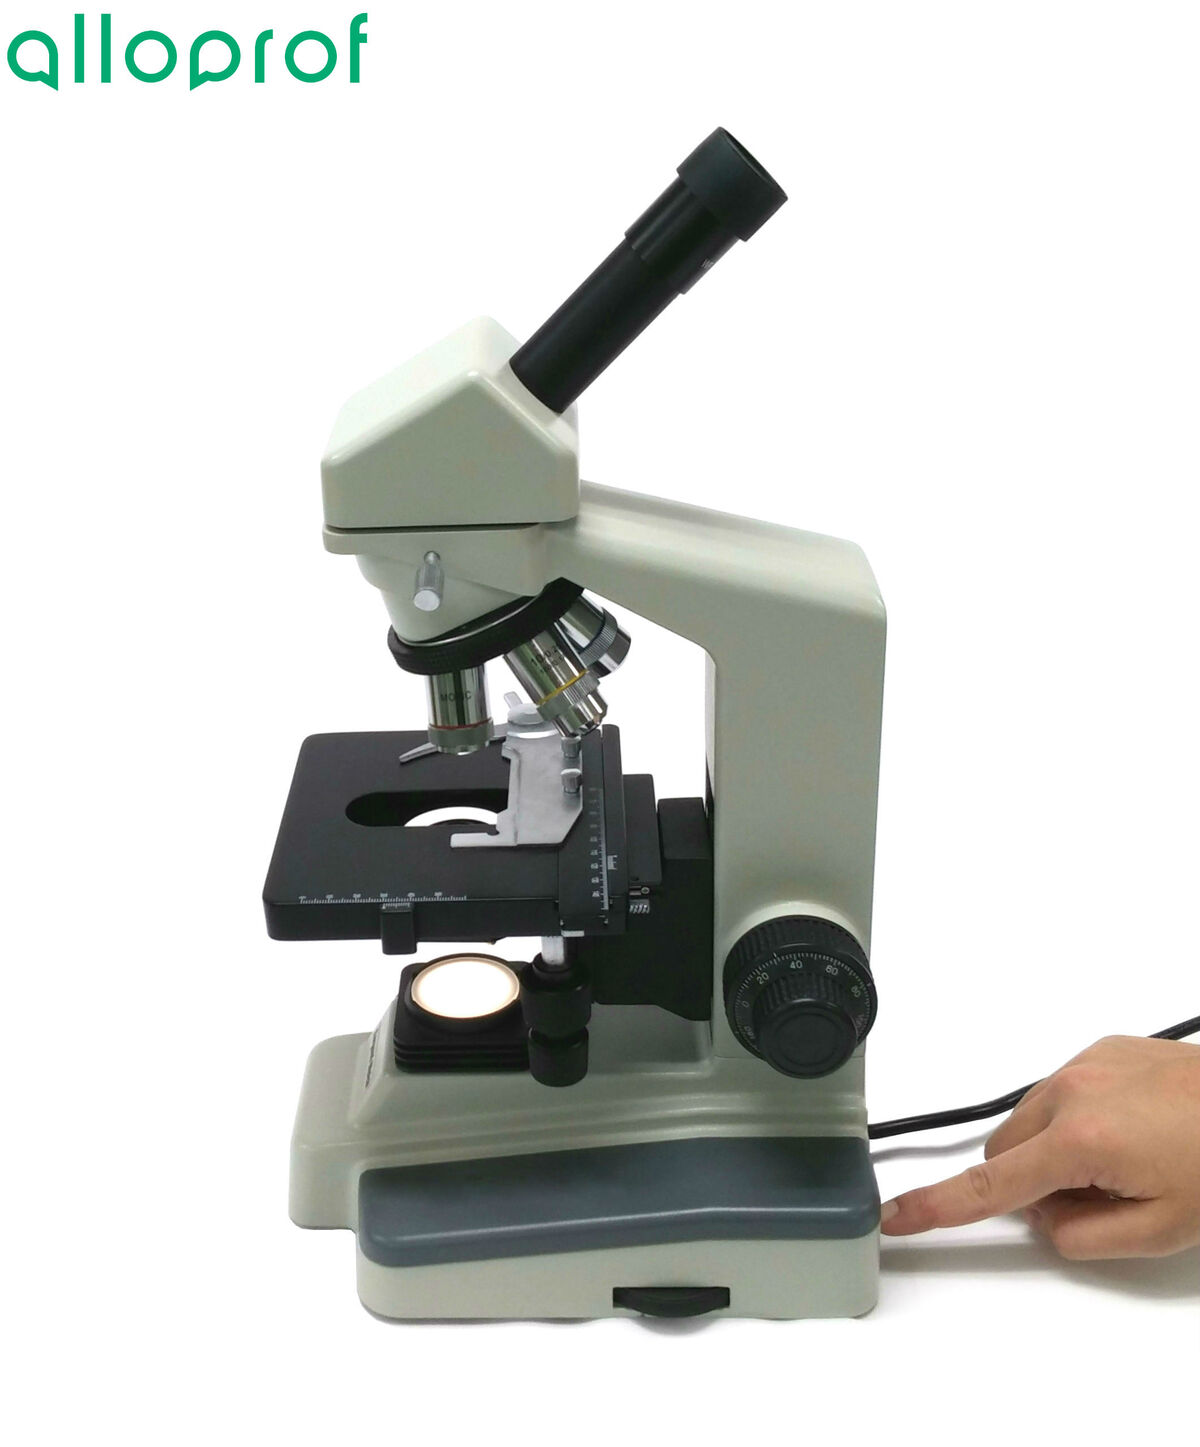
-
Rotate the coarse adjustment knob to lower the stage as far as possible.
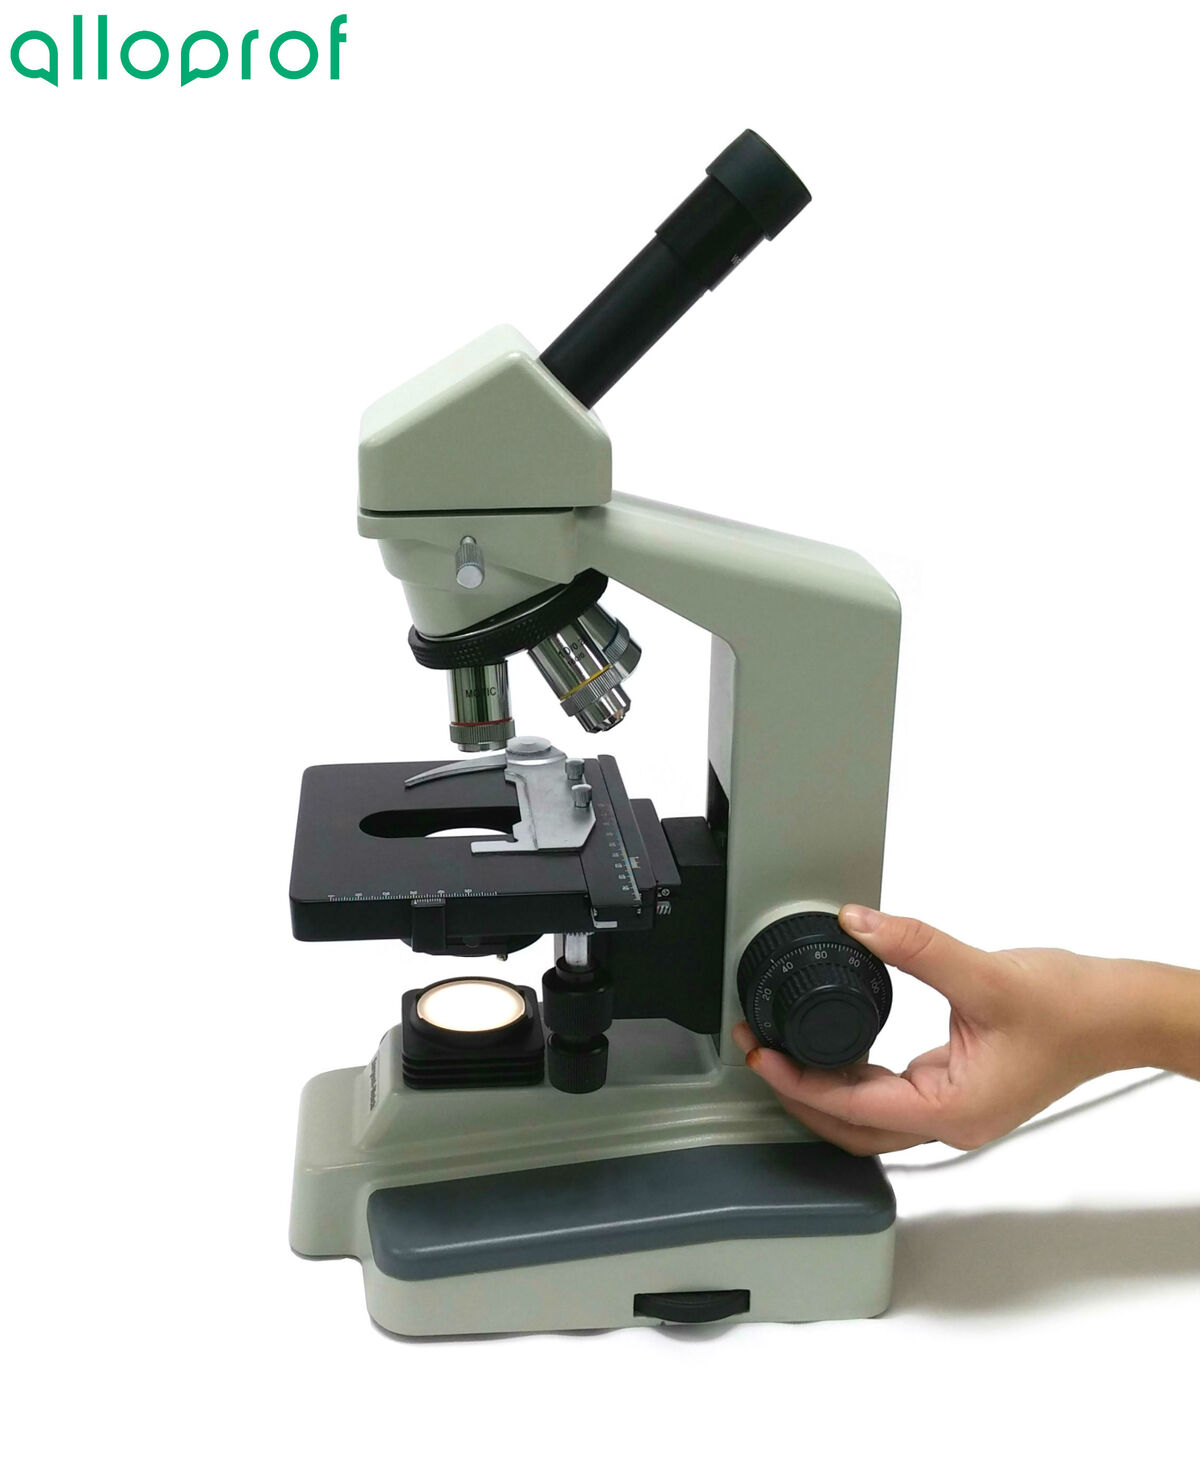
-
Gently position the slide by opening the stage clips, if any. Once the slide is inserted, lock the stage clips to hold the slide in place.
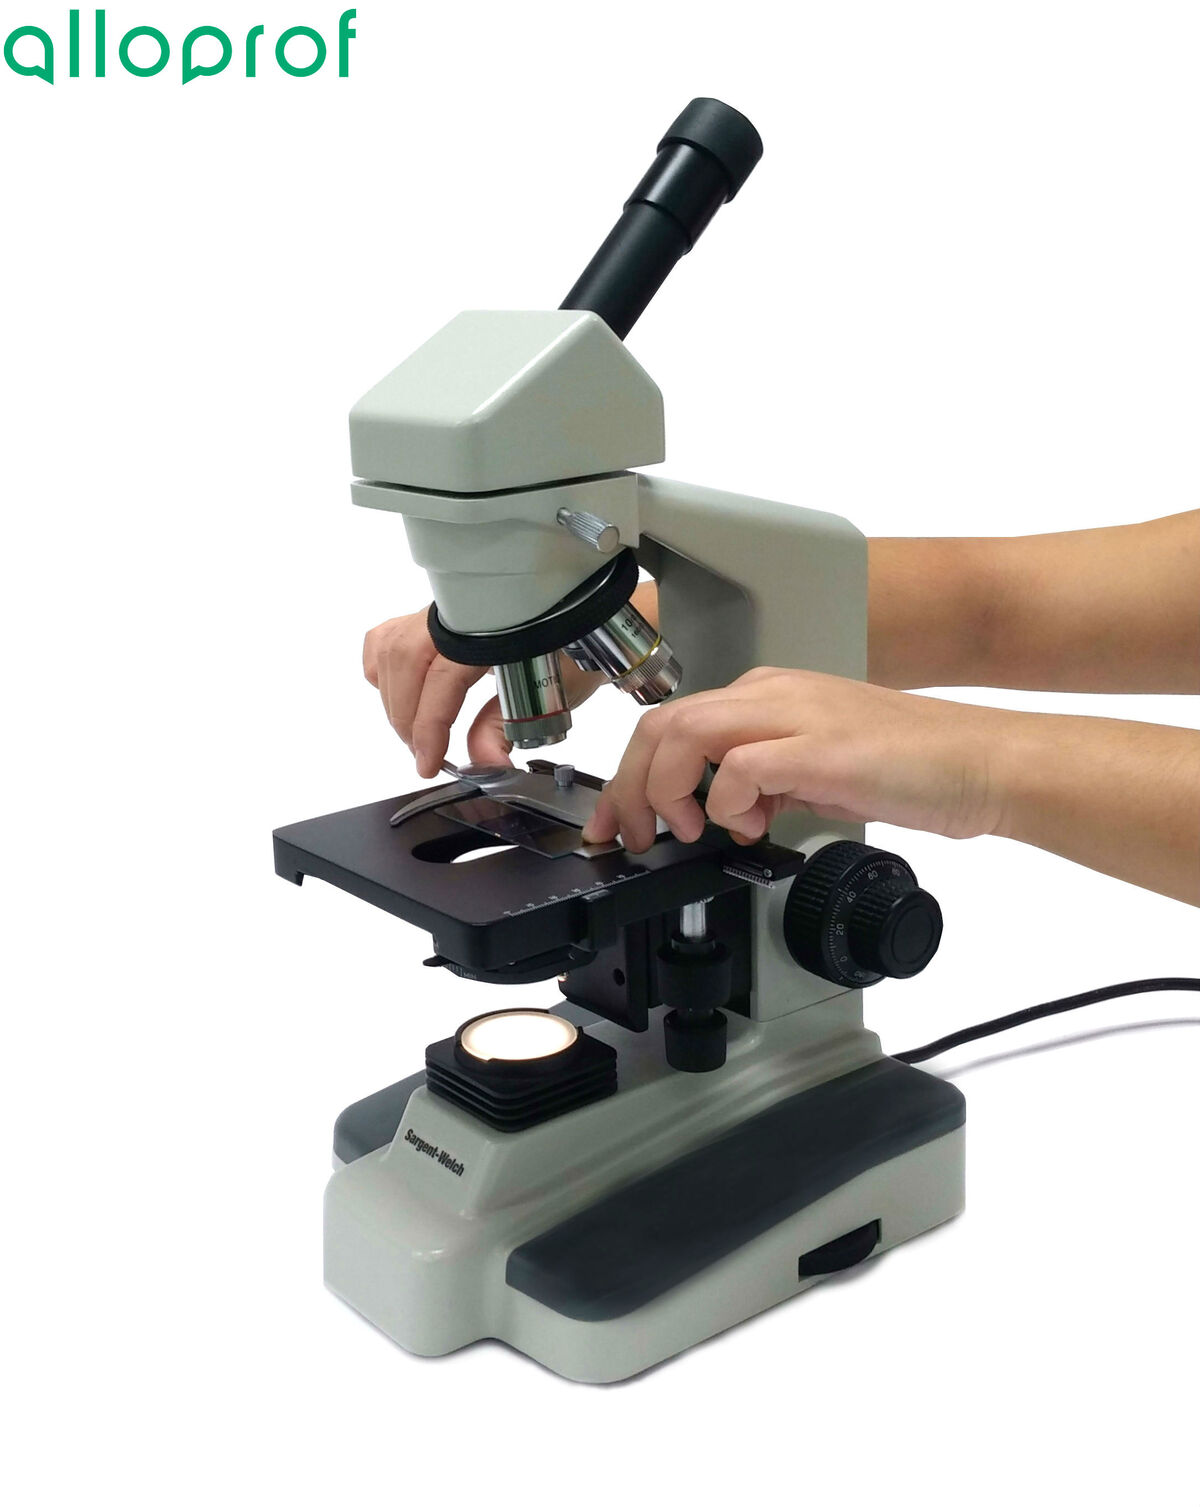
-
Rotate the revolving nosepiece, so that the objective lens of the smallest magnification is in front of the stage opening.
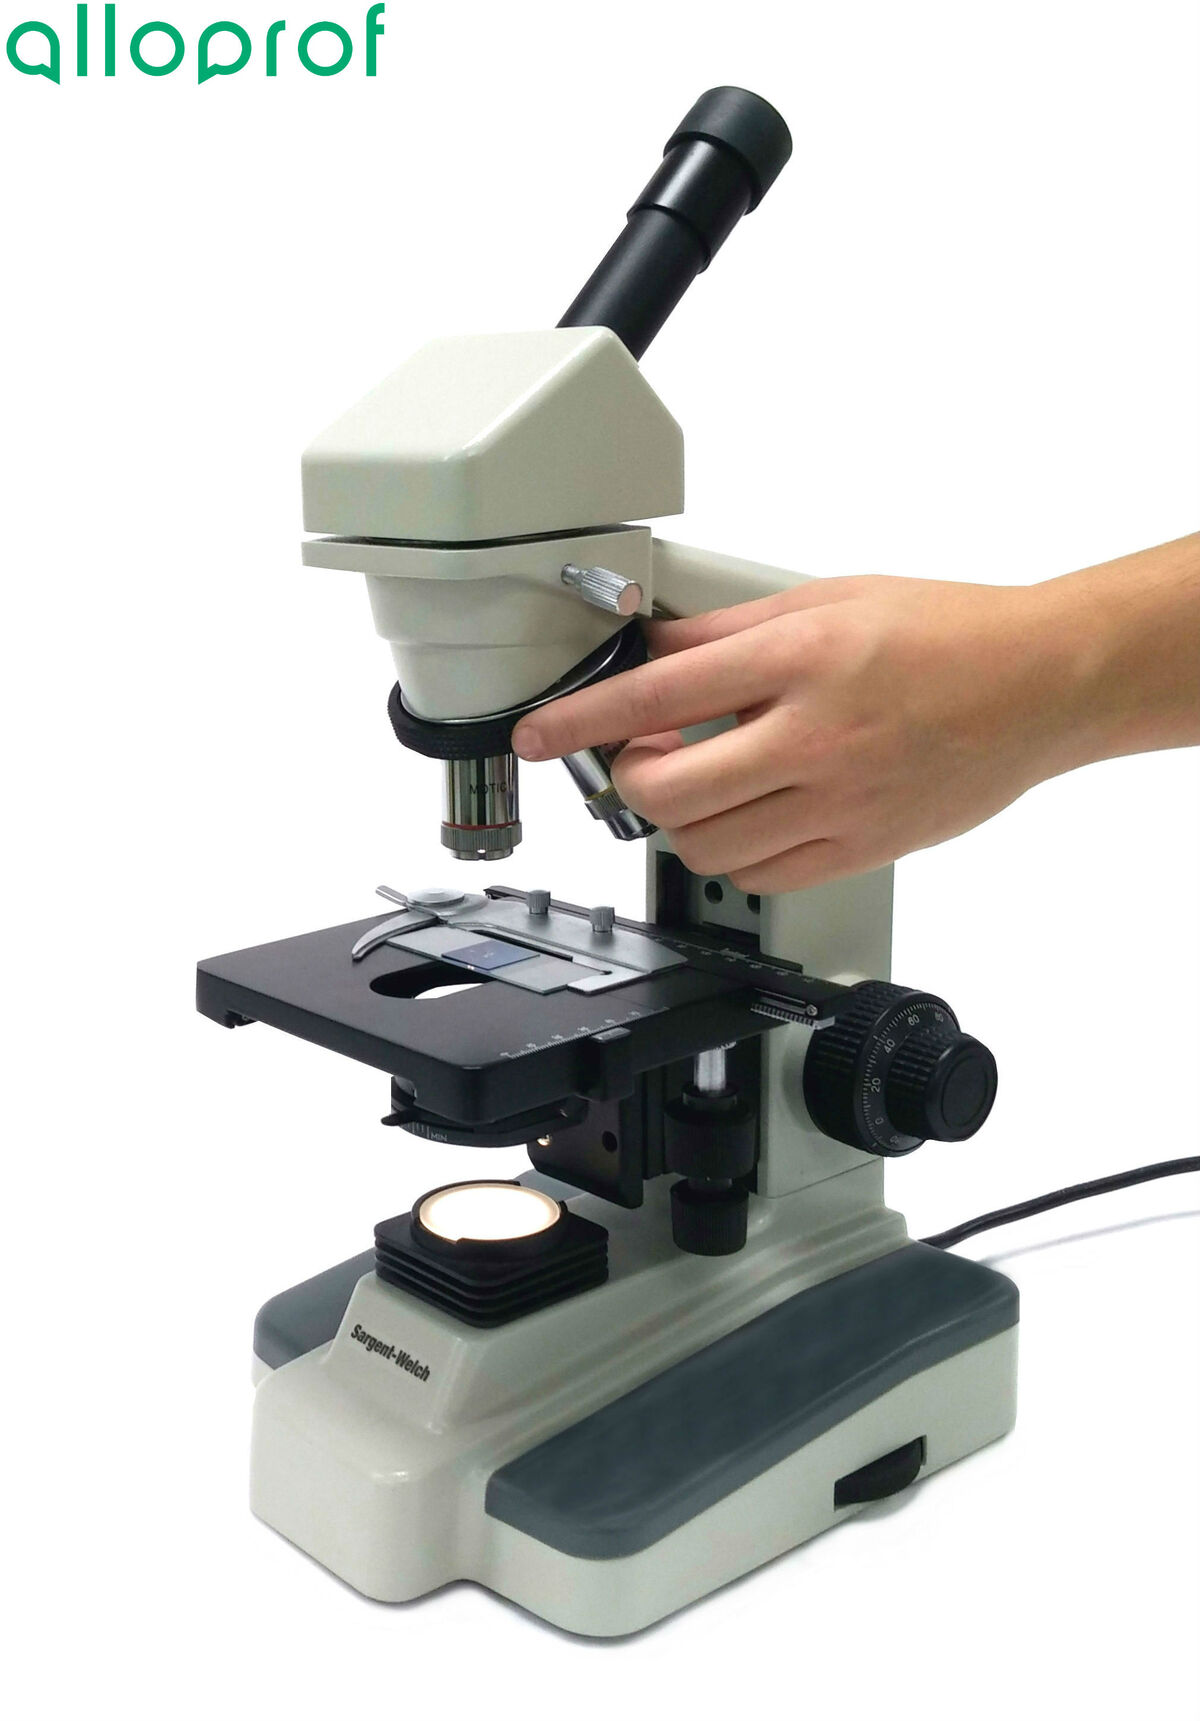
Ensure that the lens is properly aligned. When the objective lens produces a click, it means that it is properly placed and that the observation can begin.
-
While looking through the eyepiece, slowly rotate the coarse adjustment knob to get the clearest possible image of the specimen.
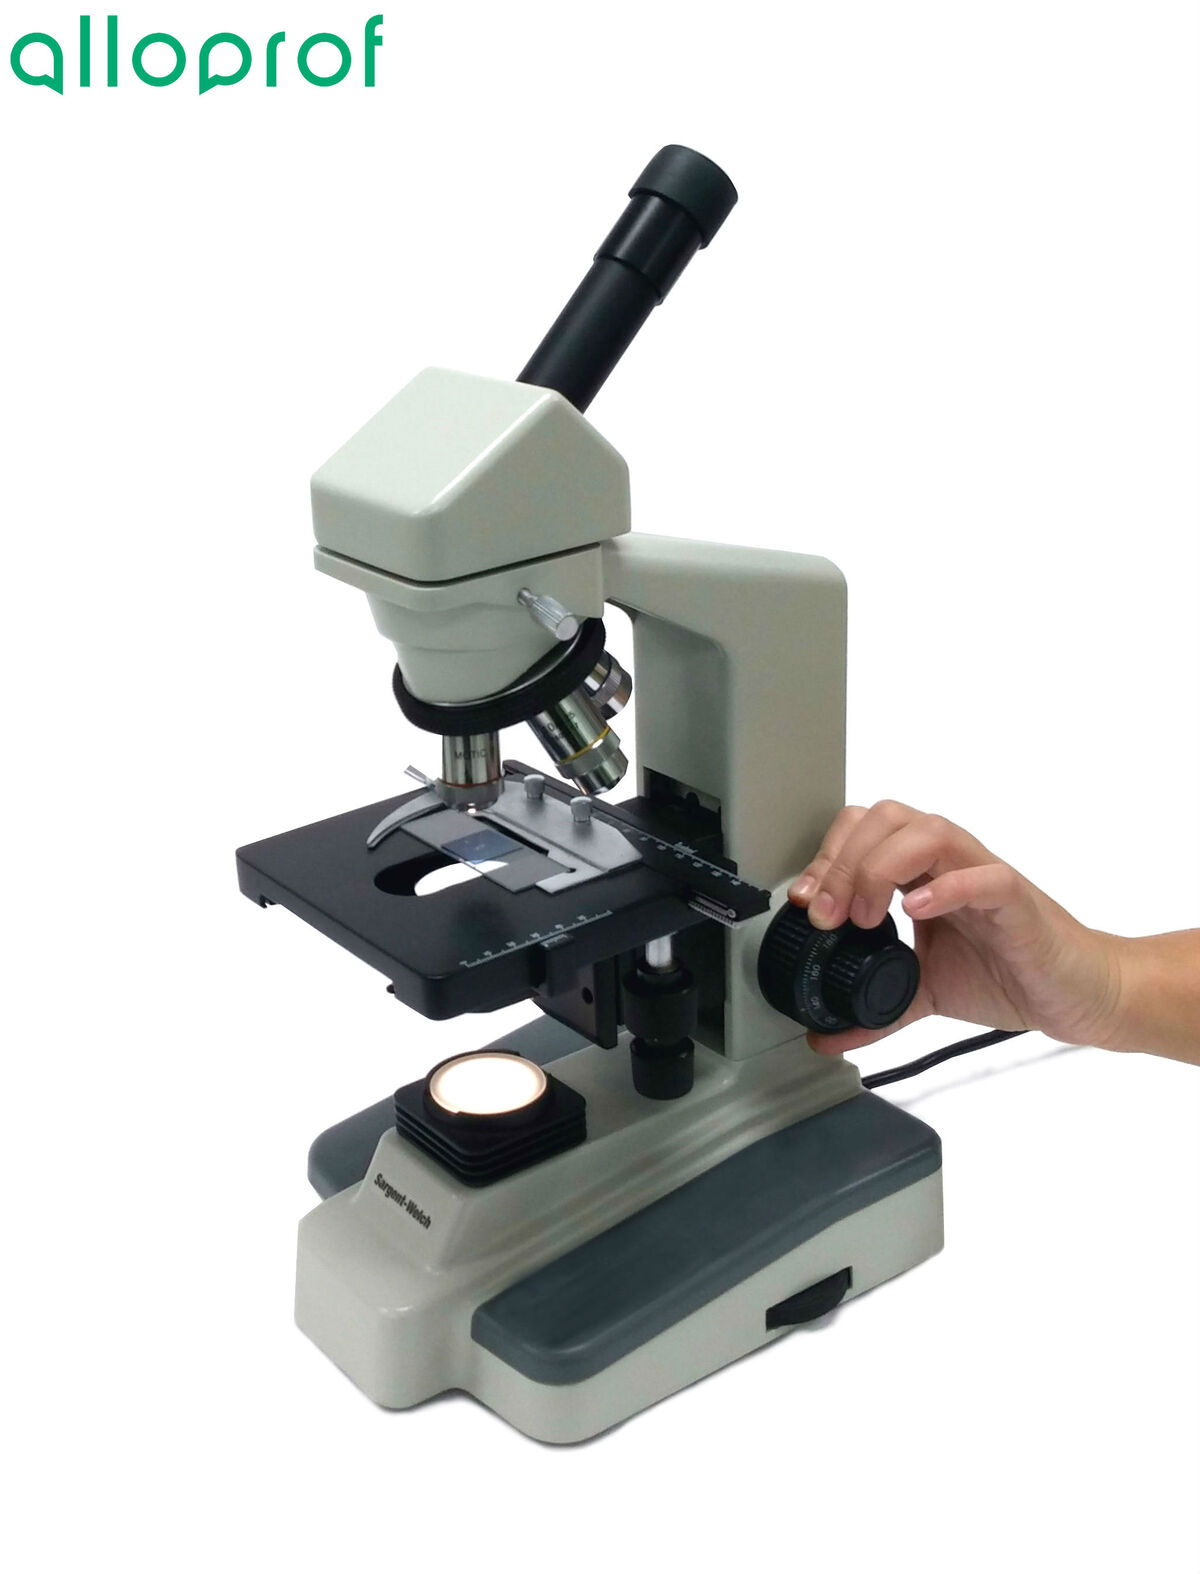
-
Looking through the eyepiece, slowly rotate the fine adjustment knob to focus the image.
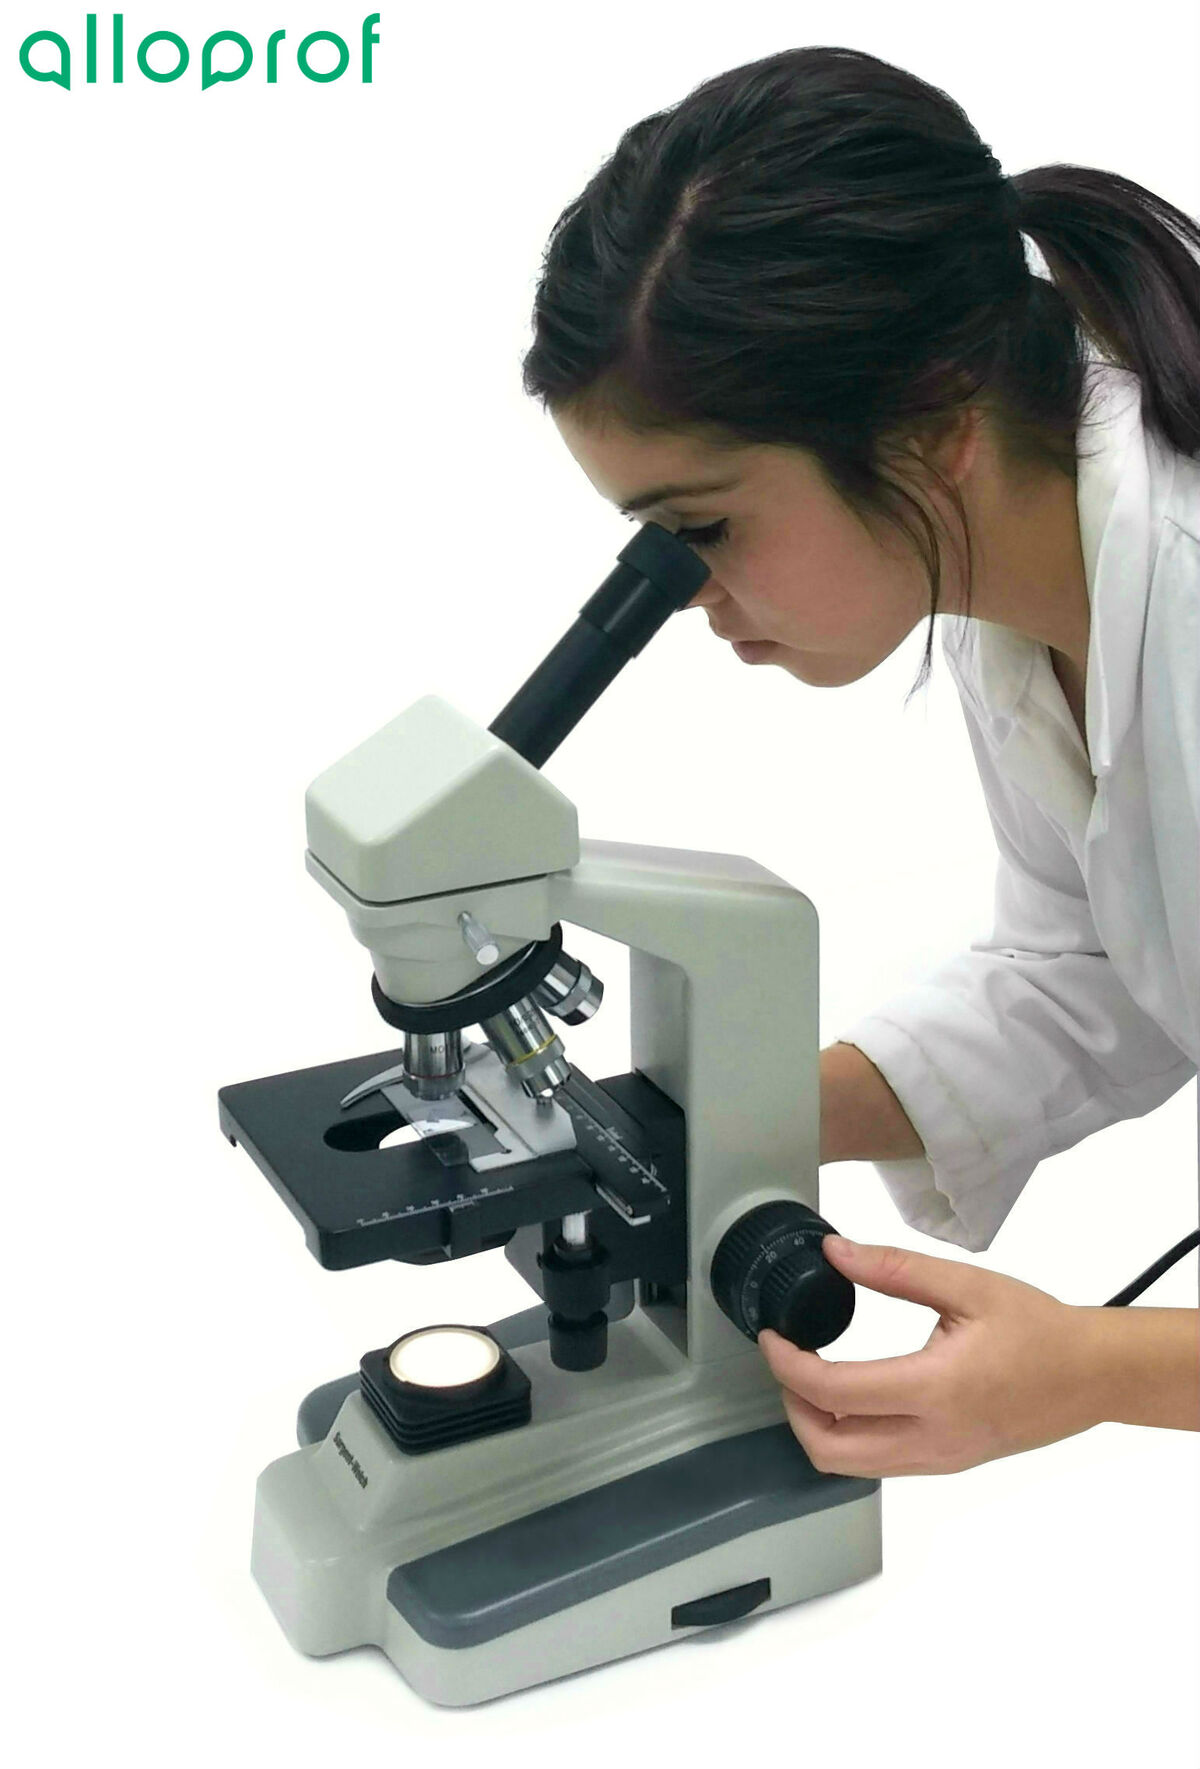
To clearly identify the parts of the microscope in the photograph, the arm of the microscope is oriented towards the user. However, the microscope is generally oriented with the stage towards the observer in order to facilitate access to the stage. Simply turn the eyepiece in the other direction.
-
If necessary, change the objective lens to one with a higher magnification and repeat Step 8.
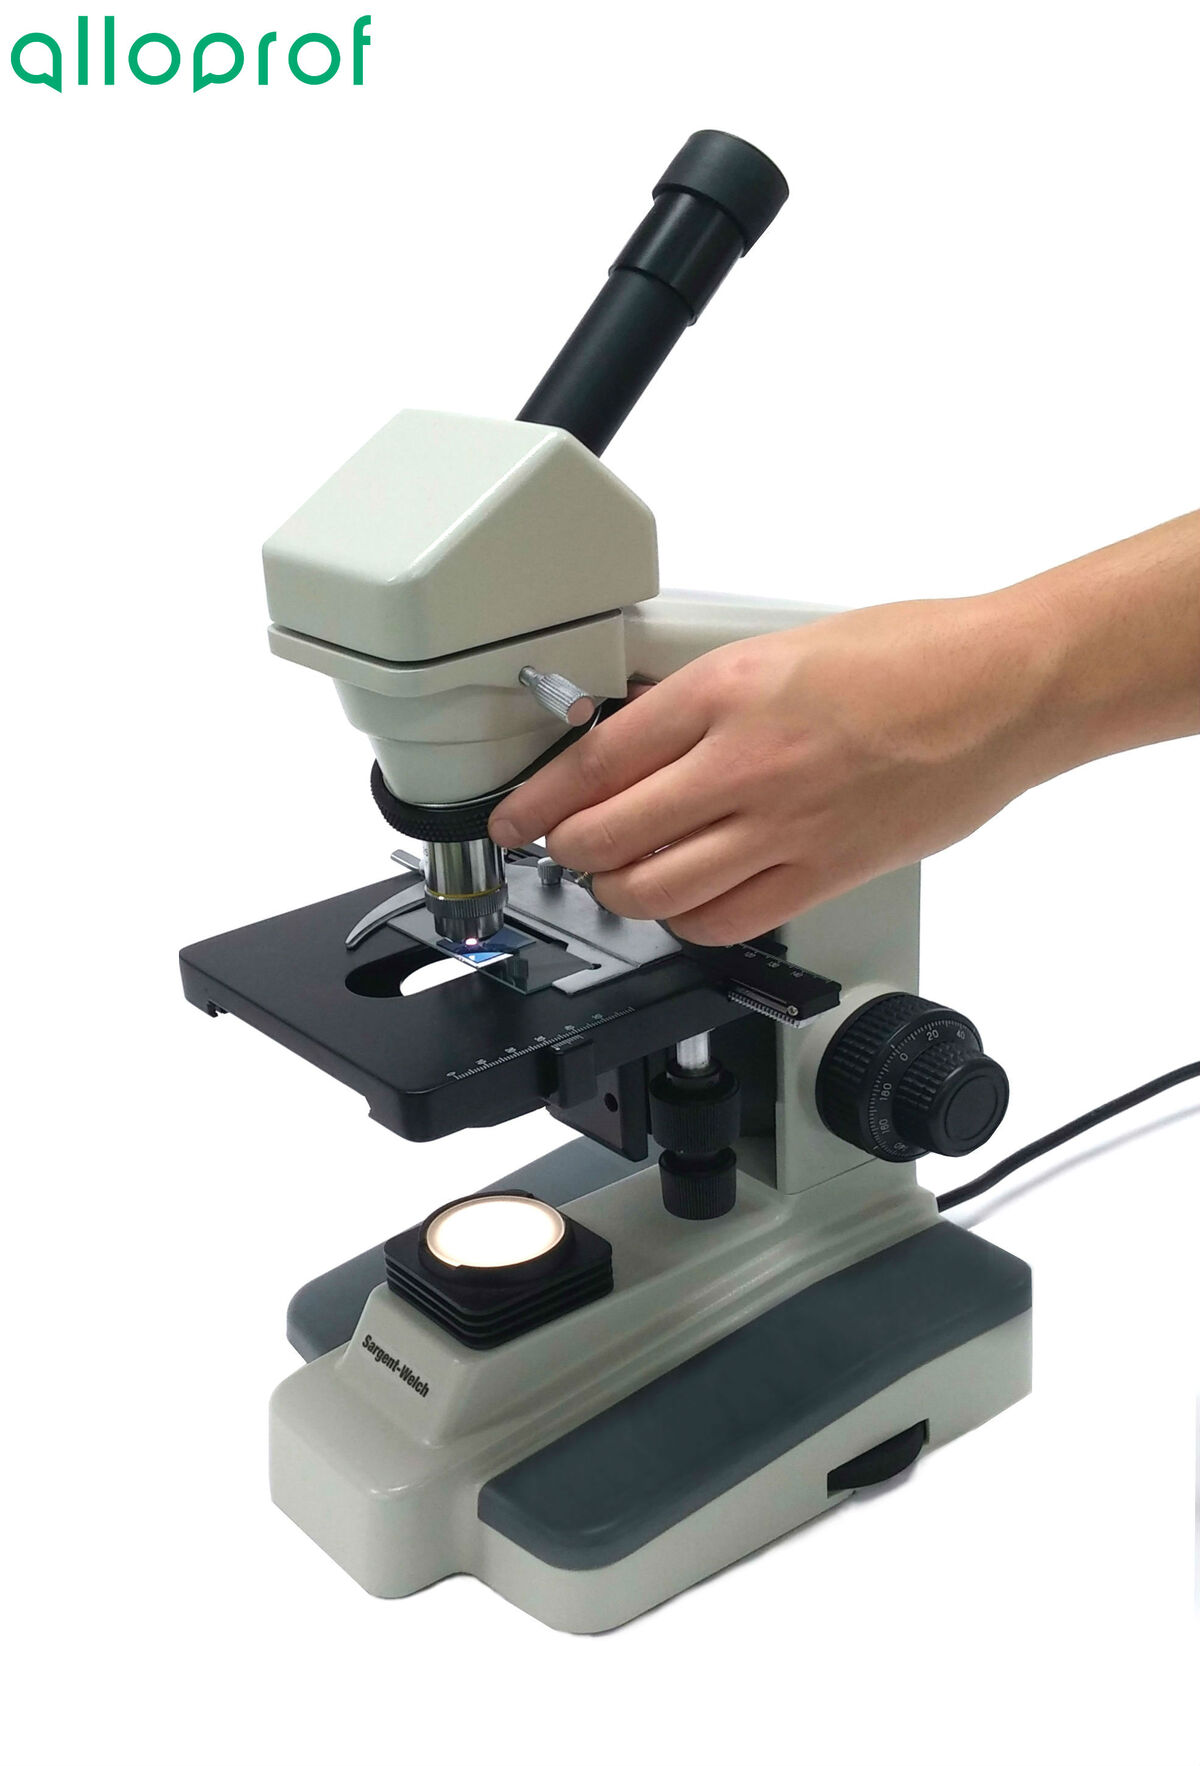
Care must be taken to ensure that the objective lenses do not touch the stage or the slide because they could break.
-
If necessary, repeat Step 9 with the other objective lenses.
-
Observe and draw what you see.
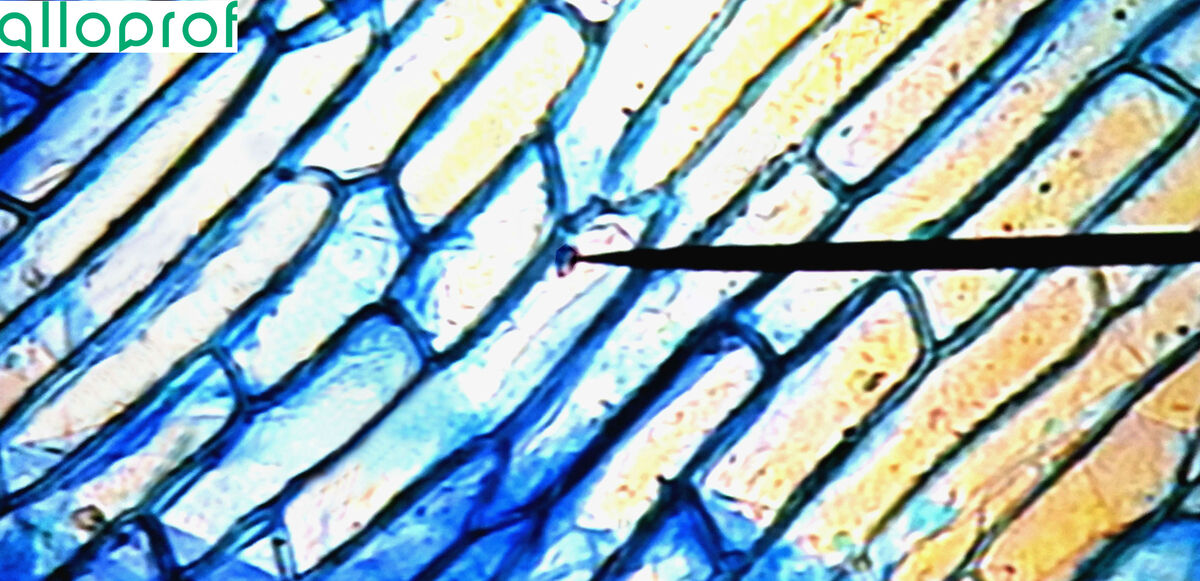
To find out how to draw the observed image, refer to the Scientific Drawings and Diagrams concept sheets.
-
Clean the eyepiece and objective lenses again with the lens paper provided for this purpose, then replace the smaller objective.
Each lens paper should only be used once.
-
Unplug the microscope and wrap the cord around the arm of the microscope.
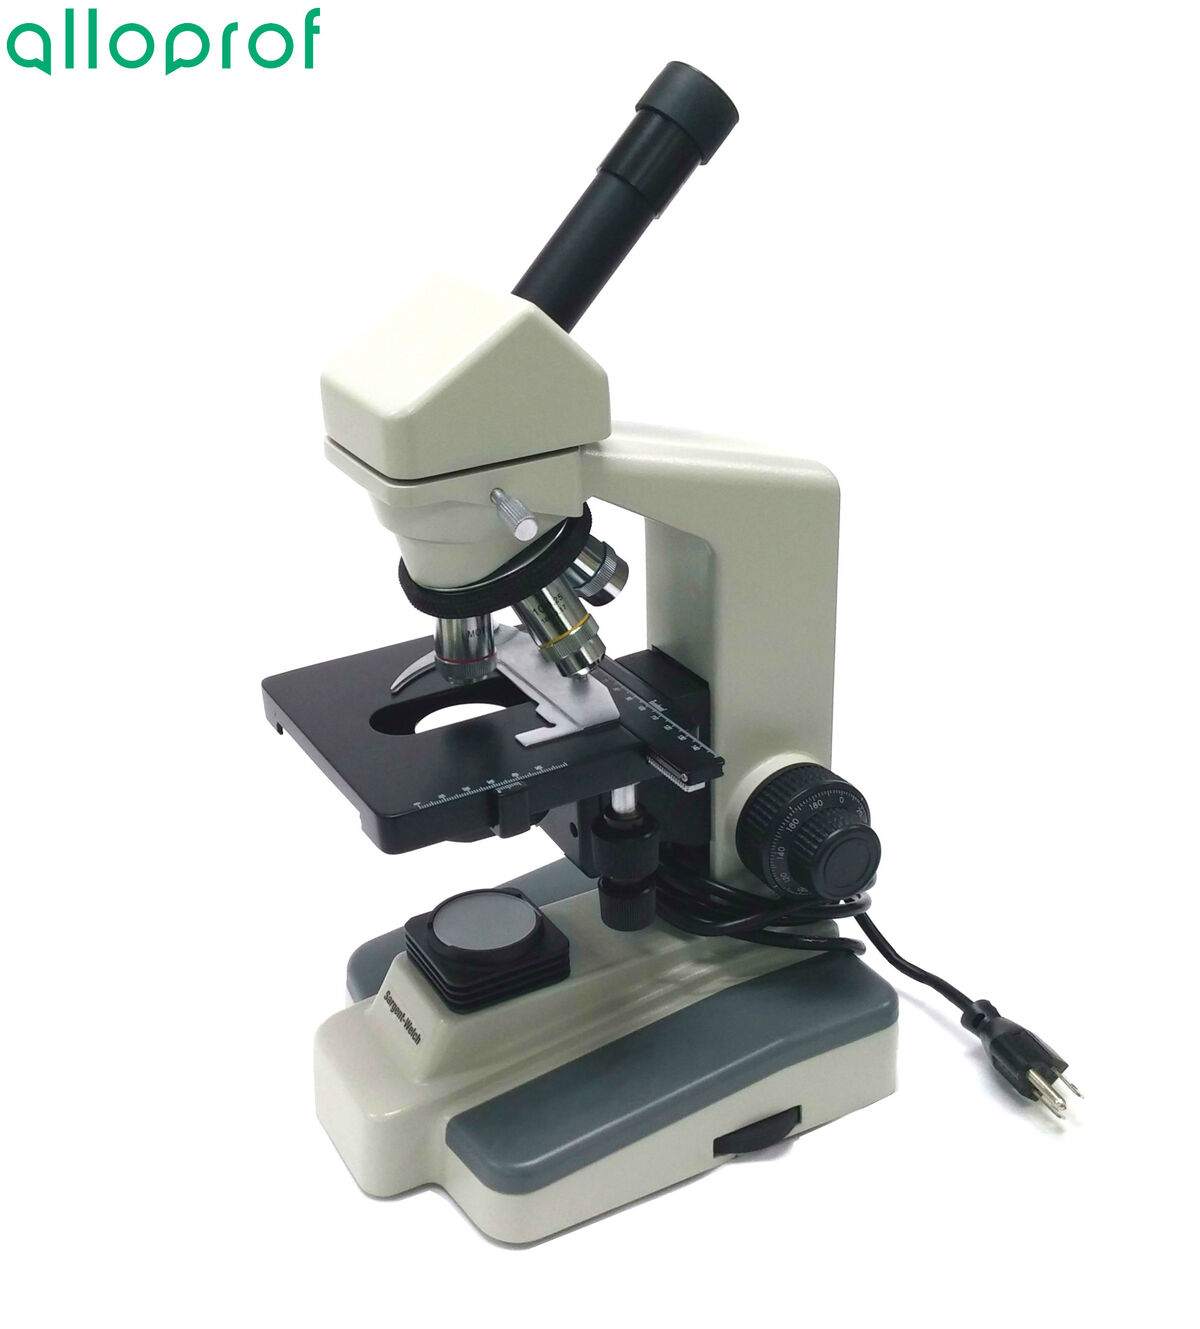
-
Put the microscope away and clean the materials.
Images viewed with a microscope are too small to be measured with a ruler. The most suitable measurement scale is that of the micrometre (1 μm = 0.001 mm).