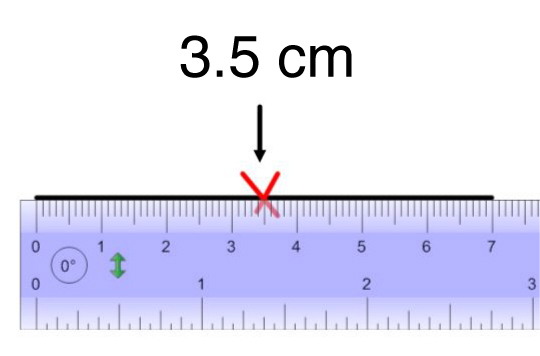
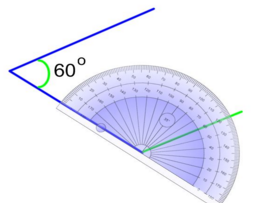
Constructing a rhombus or a parallelogram requires the use of geometry tools such as a ruler, set square, protractor, or compass. Since the two figures have different properties, their respective construction methods will also differ.
A rhombus is a quadrilateral that has 4 congruent sides. Its opposite sides are parallel and its opposite angles are congruent.
Follow these steps to draw a rhombus using a set square and ruler:
-
Using a ruler, draw a line segment corresponding to the length of the long diagonal.
-
Using the ruler, mark the midpoint of the line segment. (To locate this point, divide the measurement of the line segment by 2).
-
Using the set square, draw a perpendicular line from the midpoint of the line segment. The line must be longer than half of the short diagonal.
-
Perform the same procedure as in step 3 on the other side of the large diagonal.
-
Using the ruler, mark the location corresponding to half of the short diagonal on each line drawn in steps 3 and 4.
-
Using the ruler, connect the marks at each end of the long diagonal with line segments.
Here is a concrete example.
To represent a rhombus with a long diagonal measurement of |7\ \text{cm}| and a small diagonal of |4\ \text{cm}|, follow these steps:
|
 |
|
|
|
|
A rhombus can be drawn using a ruler and protractor when the side and angle measurements are given.
-
Using a ruler, draw a line segment corresponding to the length of one side of the rhombus.
-
Place the protractor at one end of the line segment and construct the angle according to the specified measurement.
-
Place the protractor at the other end of the line segment and draw the other angle according to the specified measurement.
-
Extend the angle lines constructed in step 3 so that they correspond to the length of the rhombus’ sides.
-
Using the ruler, connect the ends of the line drawn in step 4.
Here is a concrete example.
Draw a rhombus with sides measuring |6\ \text{cm}| and angles measuring |60^o| and |120^o| respectively.
|
|
 |
|
|
A parallelogram is a quadrilateral that has two pairs of parallel sides. Opposite sides and opposite angles are congruent.
A parallelogram can be constructed with a compass and a ruler when the measurements of the sides are known.
-
Using a ruler, draw a horizontal line segment that corresponds to the length of the long side of the parallelogram.
-
At one end of the line segment, draw a line segment that corresponds to the length of the parallelogram’s short side. This line must be oblique.
-
Open the compass to the size of the longer line segment. Place the compass anchor (sharp point) on the end of the oblique line segment.
-
Draw an arc in the direction of the adjacent line segment.
-
Open the compass to the size of the oblique line segment.
-
Place the compass anchor (sharp point) on the other end of the long line segment. Draw an arc in the direction of the adjacent line segment, crossing the first arc.
-
Using the ruler, connect the ends of the two line segments at the point where the two arcs intersect.
Here is a concrete example.
Draw a parallelogram whose long sides measure |8\ \text{cm}| and whose small sides measure |3\ \text{cm}|.
|
|
|
|
|
|
|
|
Despite the precision of the parallelism between the opposite sides, this method does not take into account two fairly important measurements.
-
If the measurement of an angle is given, a protractor must be used to ensure the accuracy of the opening of each angle.
-
If the measurement of the height and one angle measurement are given, then a little more advanced geometry is needed; i.e., trigonometric ratios in a right triangle.
A parallelogram can be constructed using a protractor and a ruler when the measurements of the sides and angles are given.
-
Using a ruler, draw a horizontal line segment that corresponds to the length of the long side of the parallelogram.
-
Using a protractor, construct the parallelogram’s obtuse angle at one end of the line segment.
-
Using the ruler, extend the angle’s line so that it is equal to the measurement of the parallelogram’s short side.
-
Using the protractor, construct the parallelogram’s acute angle at the other end of the initial line segment.
-
Using the ruler, extend this angle’s line so that it is equal to the measurement of the parallelogram’s short side.
-
Using the ruler, connect the ends of the oblique line segments.
Here is a concrete example
Draw a parallelogram with bases measuring |7\ \text{cm}|, whose oblique line segments measure |4\ \text{cm}|, and whose obtuse and acute angles measure |120^o| and |60^o|, respectively.
|
|
|
|
|
|