This concept sheet explains the steps to follow in order to separate the components (substances) of a mixture.
When choosing a technique for separating the components of a mixture, first consider the mixture to be separated, the substance to be separated from the rest of the mixture and the phases that make up the mixture.
This technique can be used to separate the components of a homogeneous mixture or of a heterogeneous mixture (liquid-liquid or liquid-solid), if the components have different boiling points.
However, this technique does not allow the recovery of all the mixture’s components.
- Mixture to separate
- Thermometer
- Hot plate
- Apron or smock
- Safety goggles
- Thermometer clamp
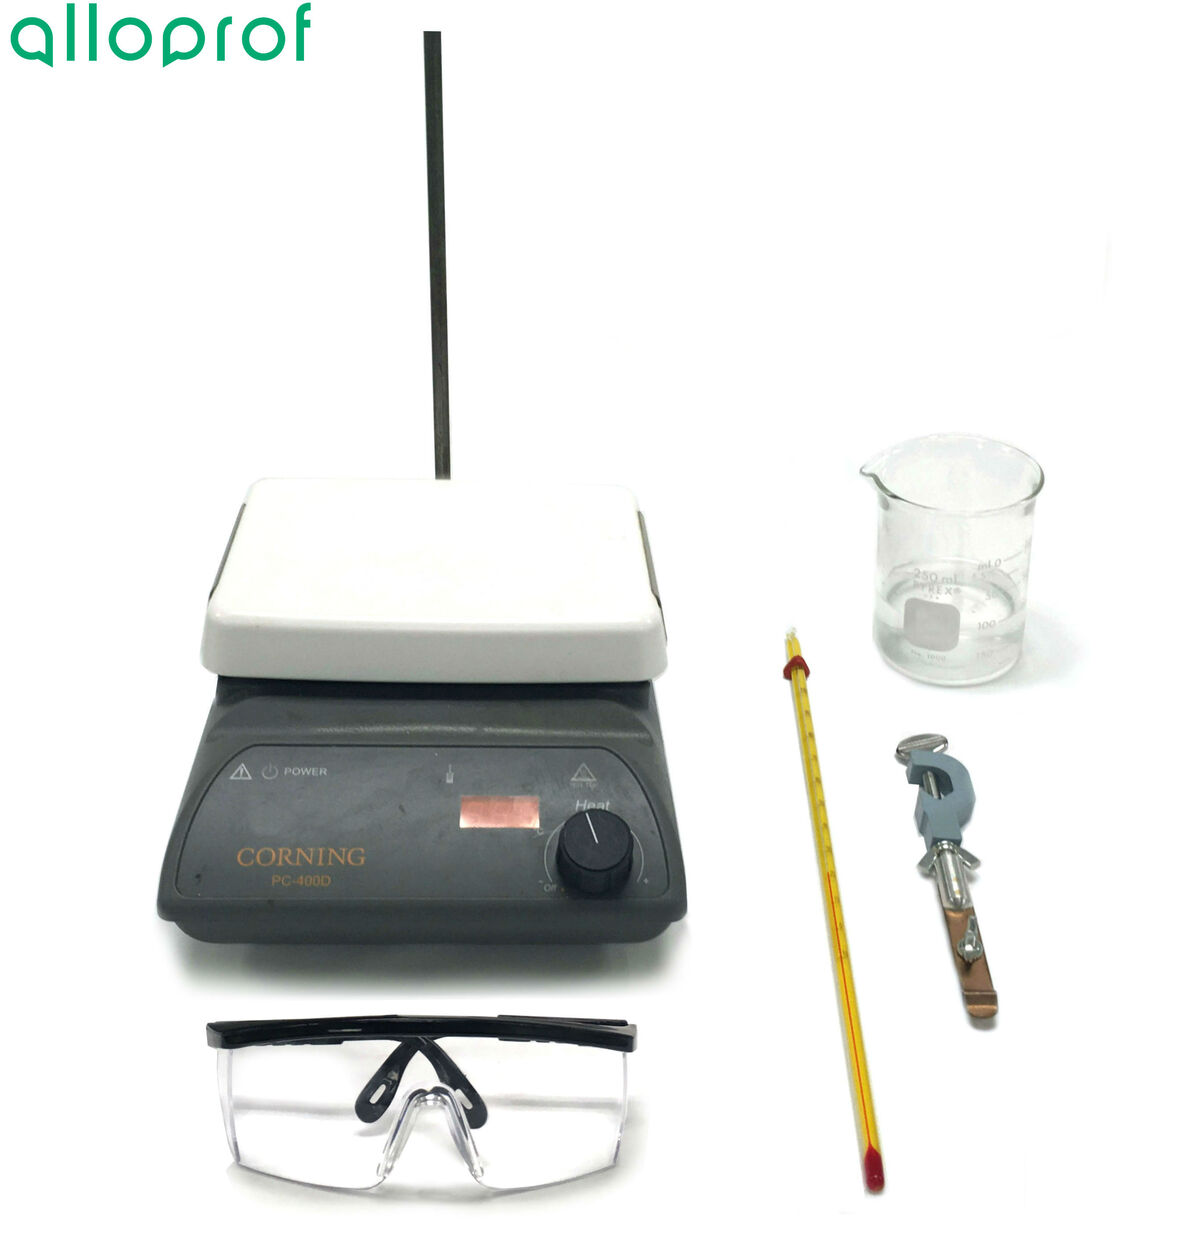
1. Place the beaker containing the mixture to be separated on the hot plate. Place the thermometer in the beaker.
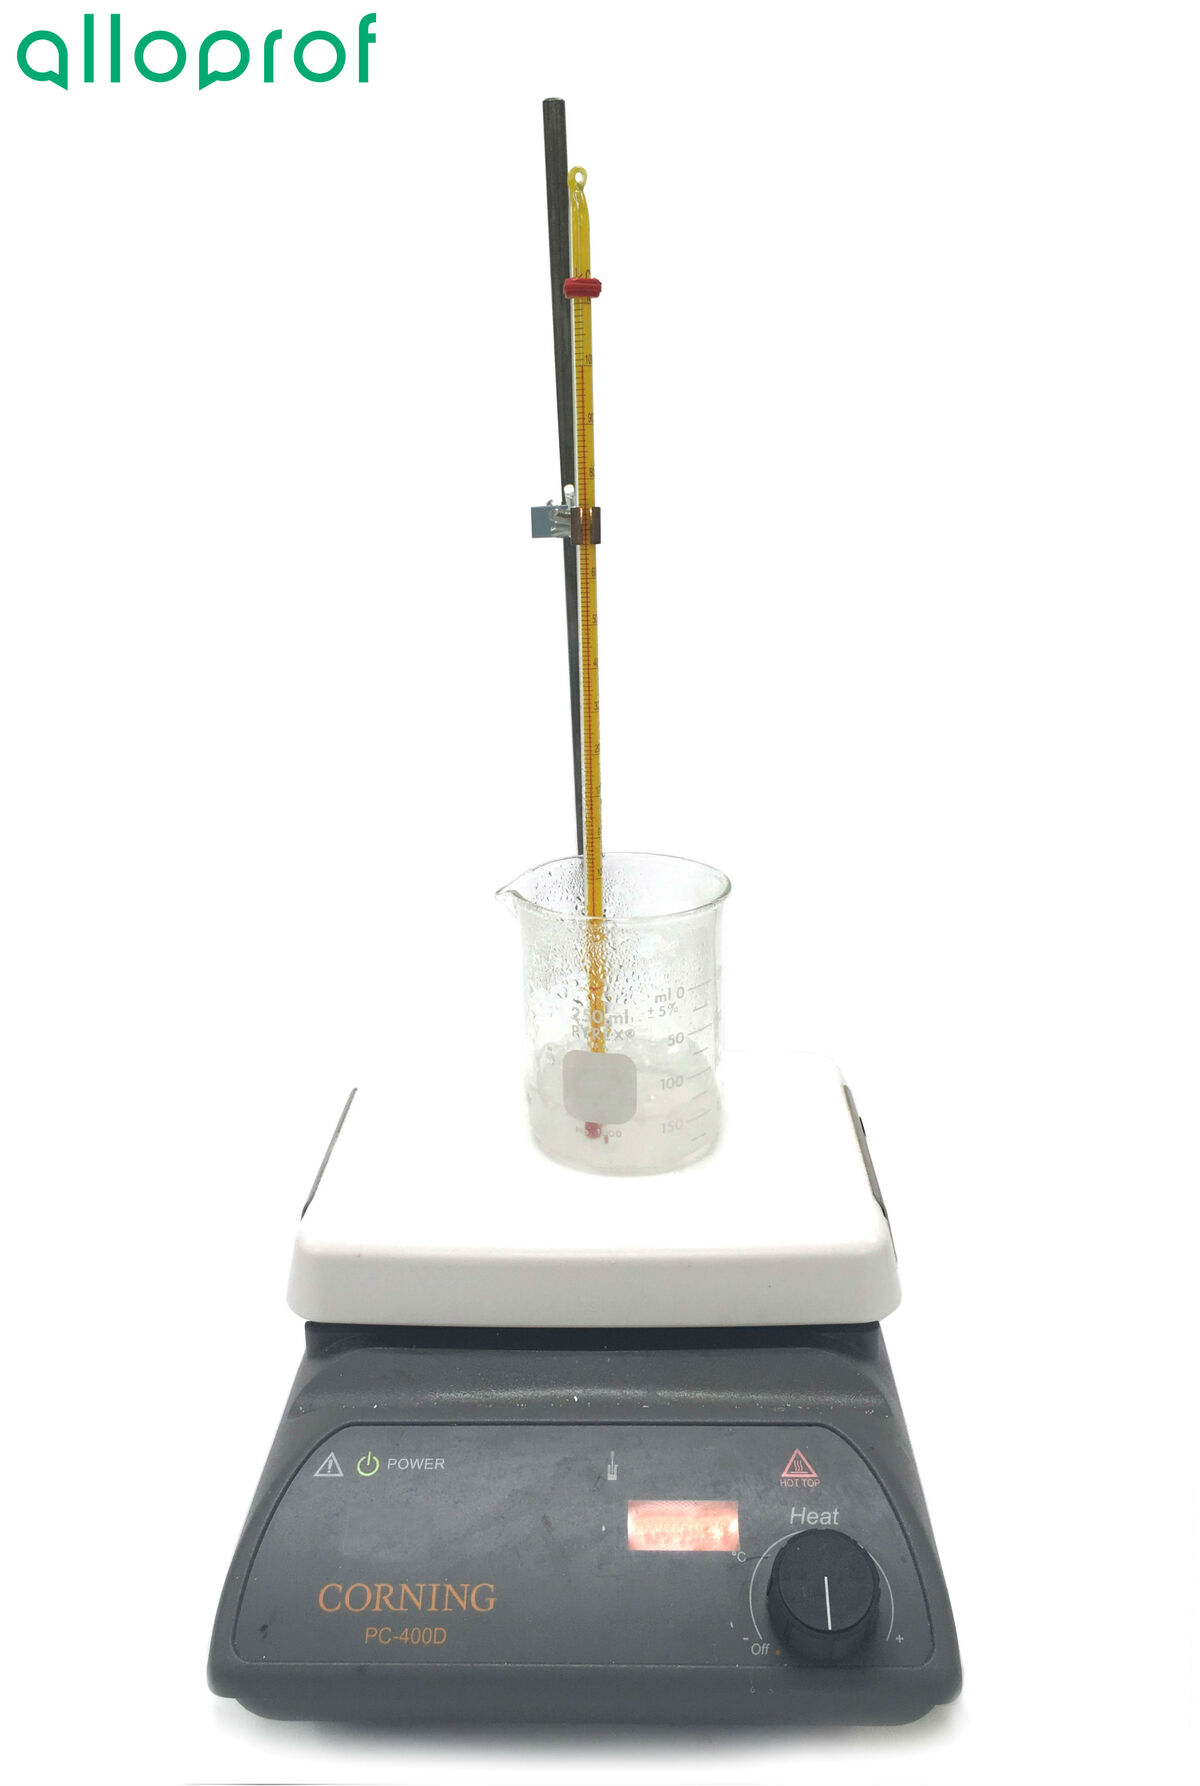
2. Heat the mixture until it boils: the temperature will be the same on the thermometer (obtaining a stable temperature).

3. Stop heating when the temperature starts to rise again, or when the solid is completely dry.
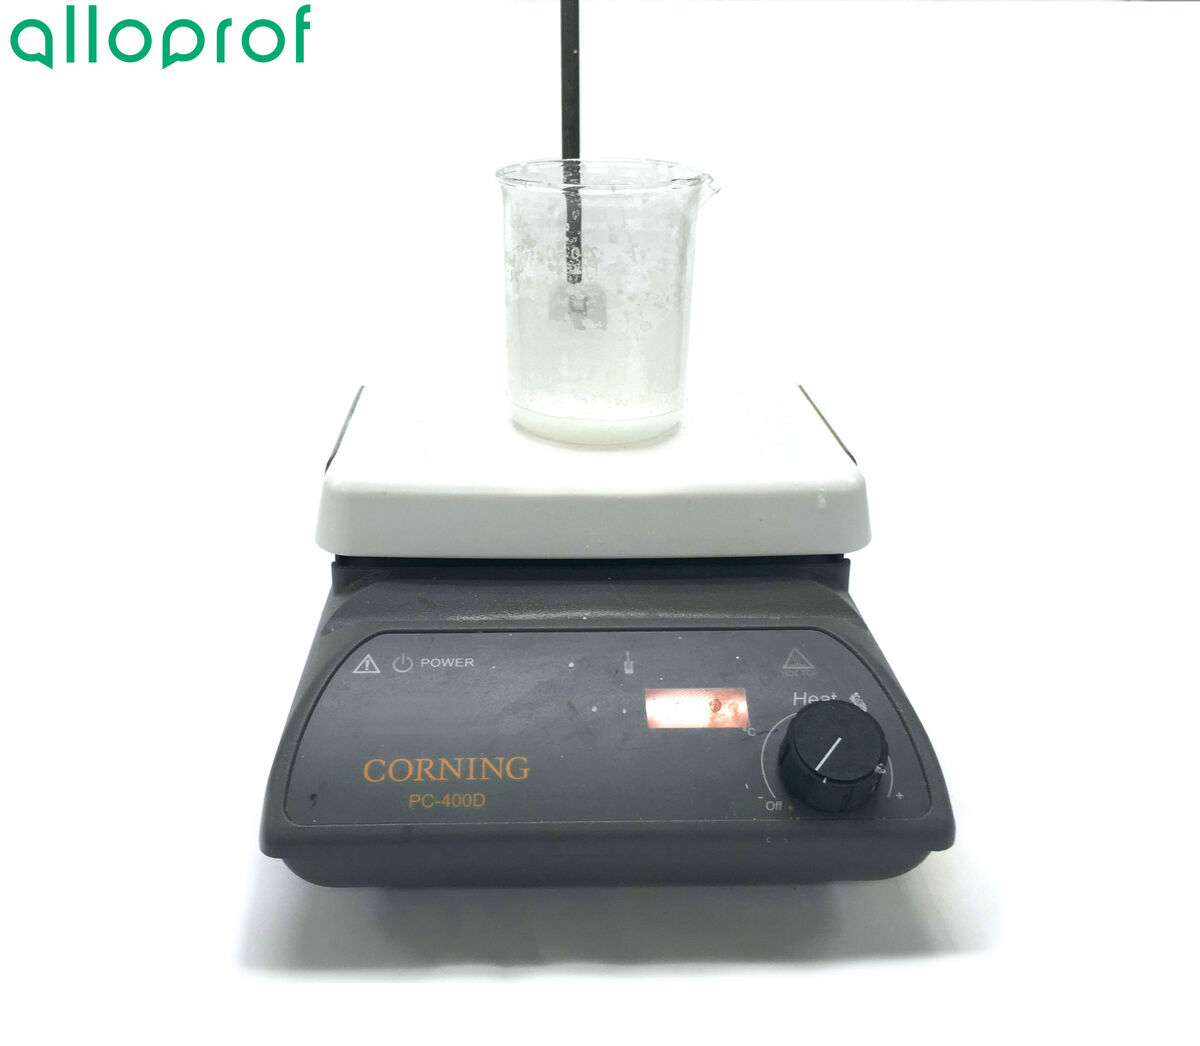
The heating must be monitored at all times. For example, if heating continues after the liquid has evaporated, the second liquid could, in turn, reach the boiling point and cause burns if it makes contact with the skin. Continuing to heat a heterogeneous solid-liquid mixture beyond the boiling point of the liquid could cause the glass beaker to burst.
4. Clean and store the equipment.
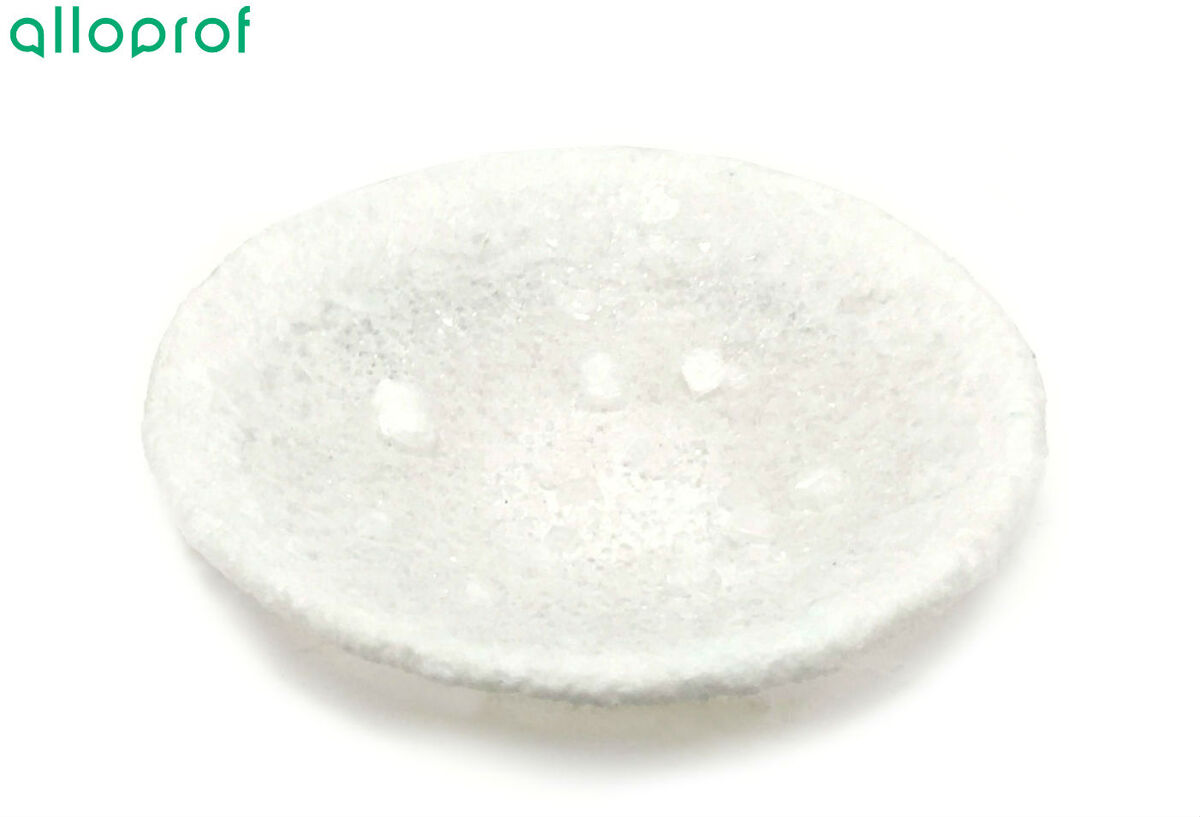
It would also be possible to carry out an evaporation by pouring a small amount of the mixture into a watch glass and allowing this watch glass to stand for a few hours or a few days. The liquid will evaporate gradually until a dry solid is obtained.
This technique can be used to separate the components of a heterogeneous mixture (liquid-liquid or liquid-solid).
- Mixture to separate
- Beaker
- Glass rod
- Apron or smock
- Safety goggles
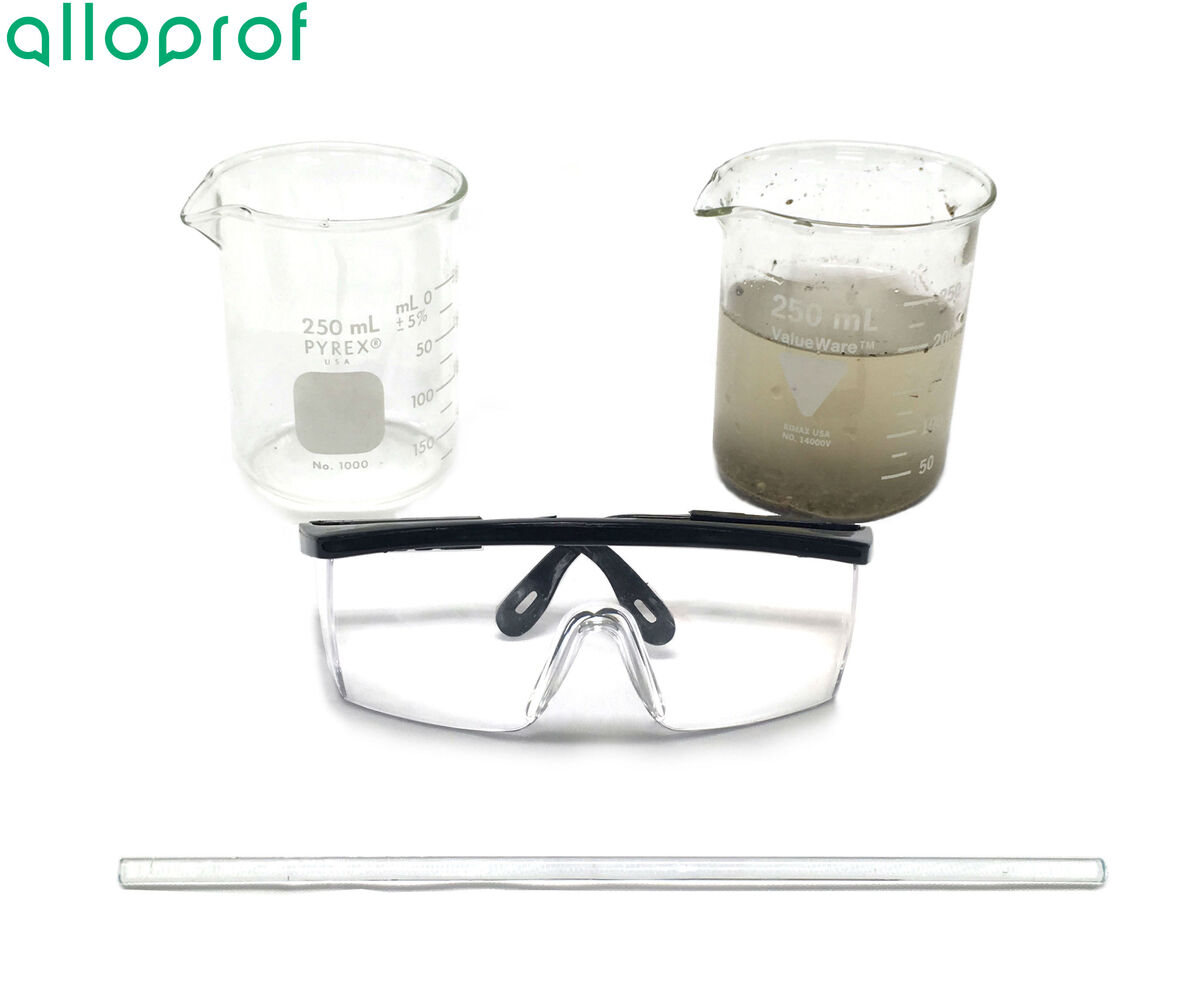
1. Allow the mixture to settle: wait for the mixture to show a clear dividing line between the two substances to be separated.
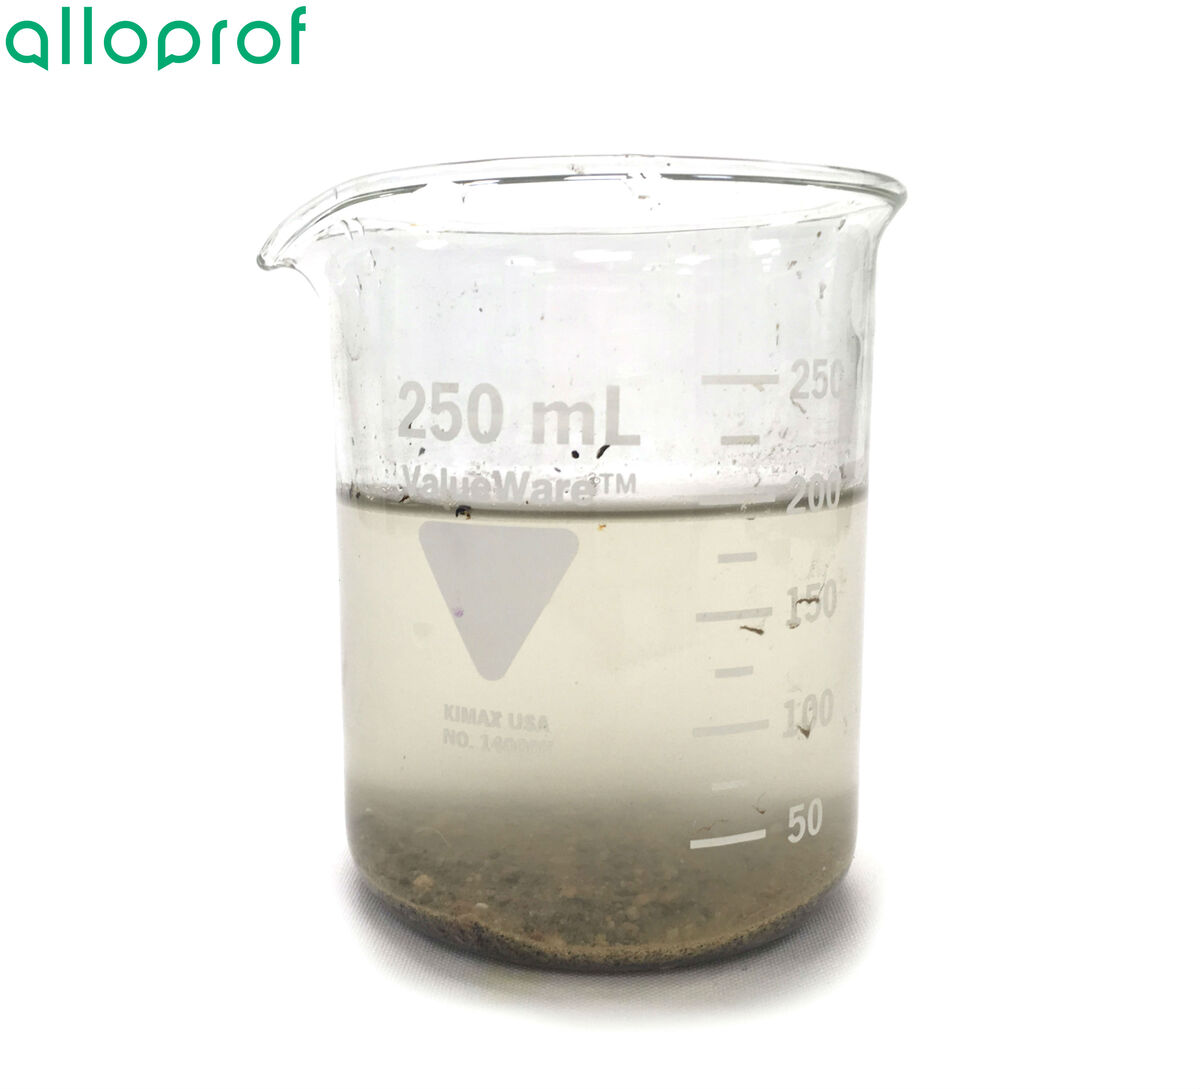
This step allows the sedimentation of one of the substances.
2. Slowly pour the supernatant liquid (the one on top of the mixture) along the glass rod into the second beaker.
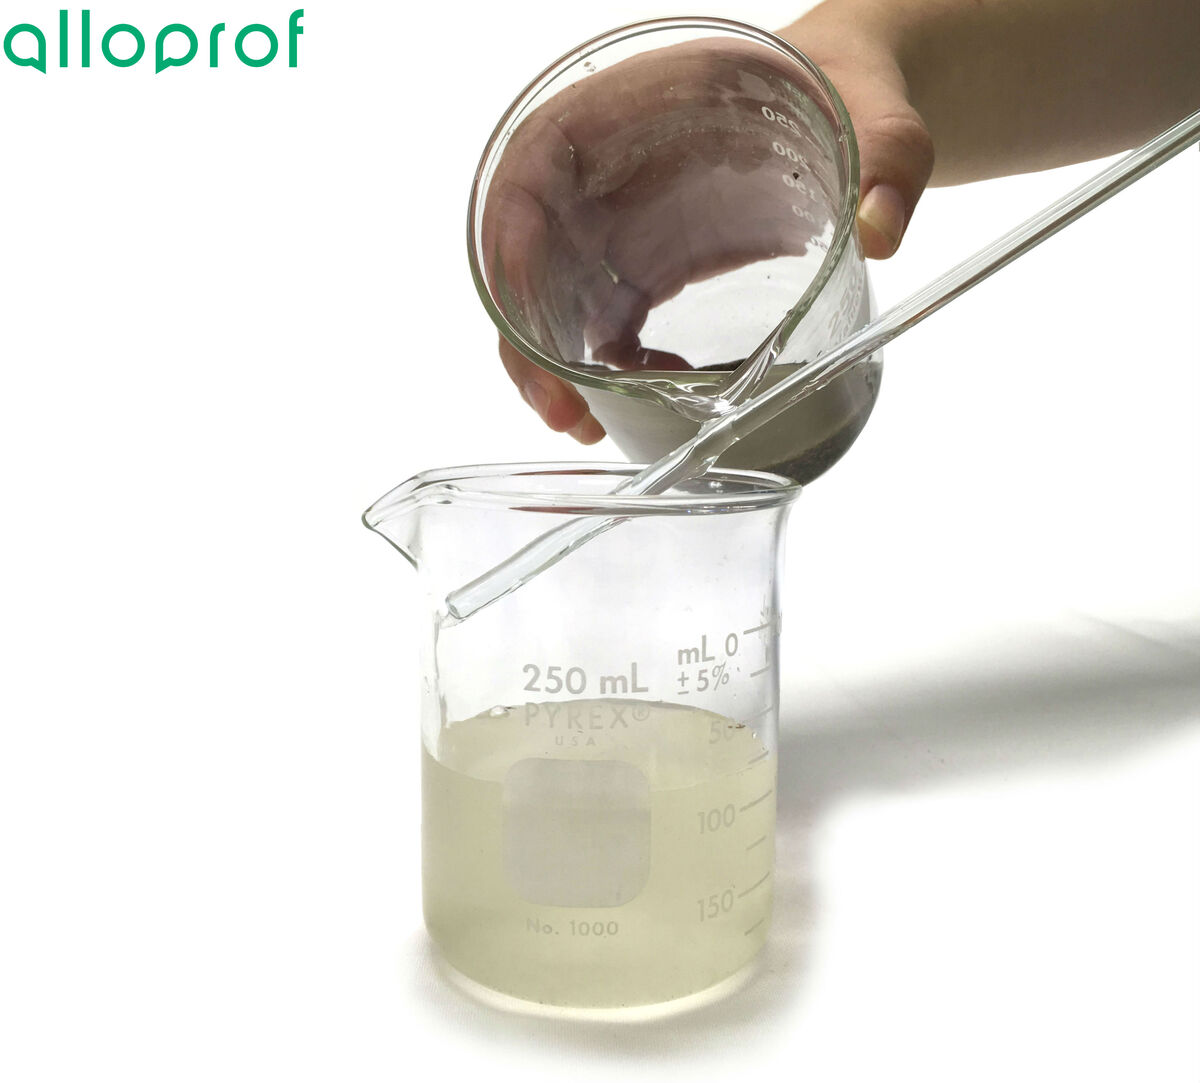
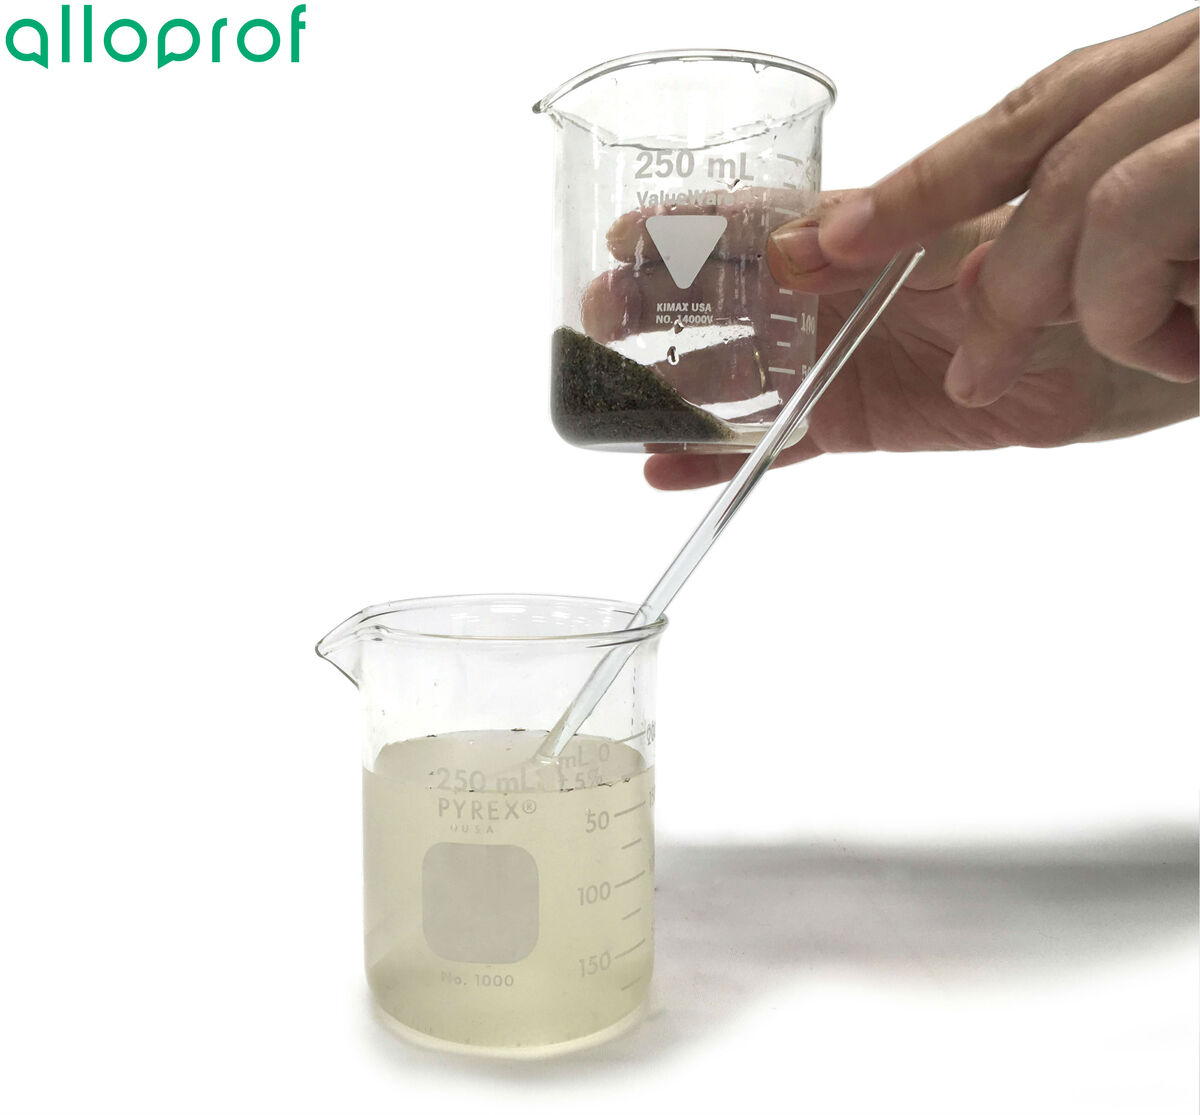
3. Stop pouring when the two components are separated in their respective beakers.
4. Clean and store the equipment.
Decantation with a separatory funnel cannot be carried out if one of the components is in a solid phase.
- Mixture to separate
- Separatory funnel
- Beaker
- Universal support stand
- Ring
- Apron or smock
- Safety goggles
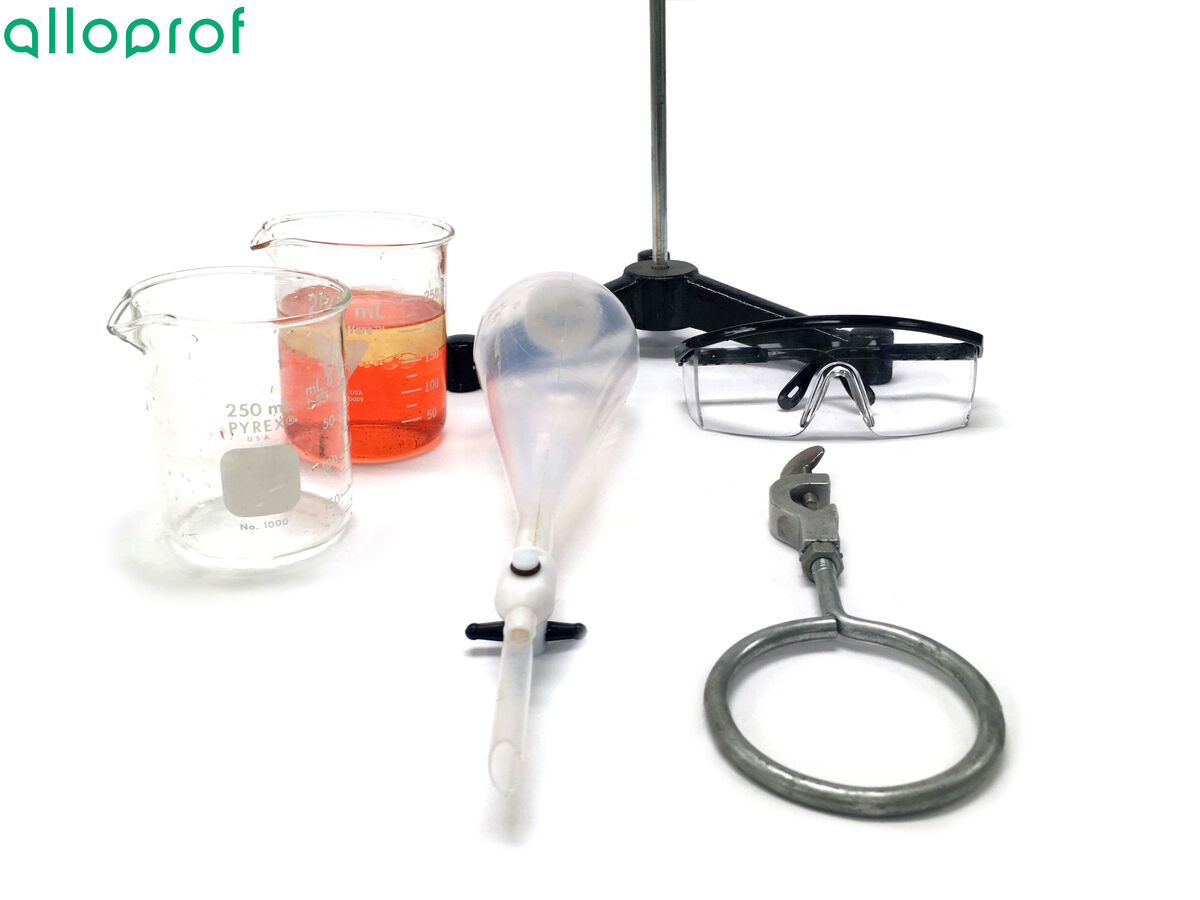
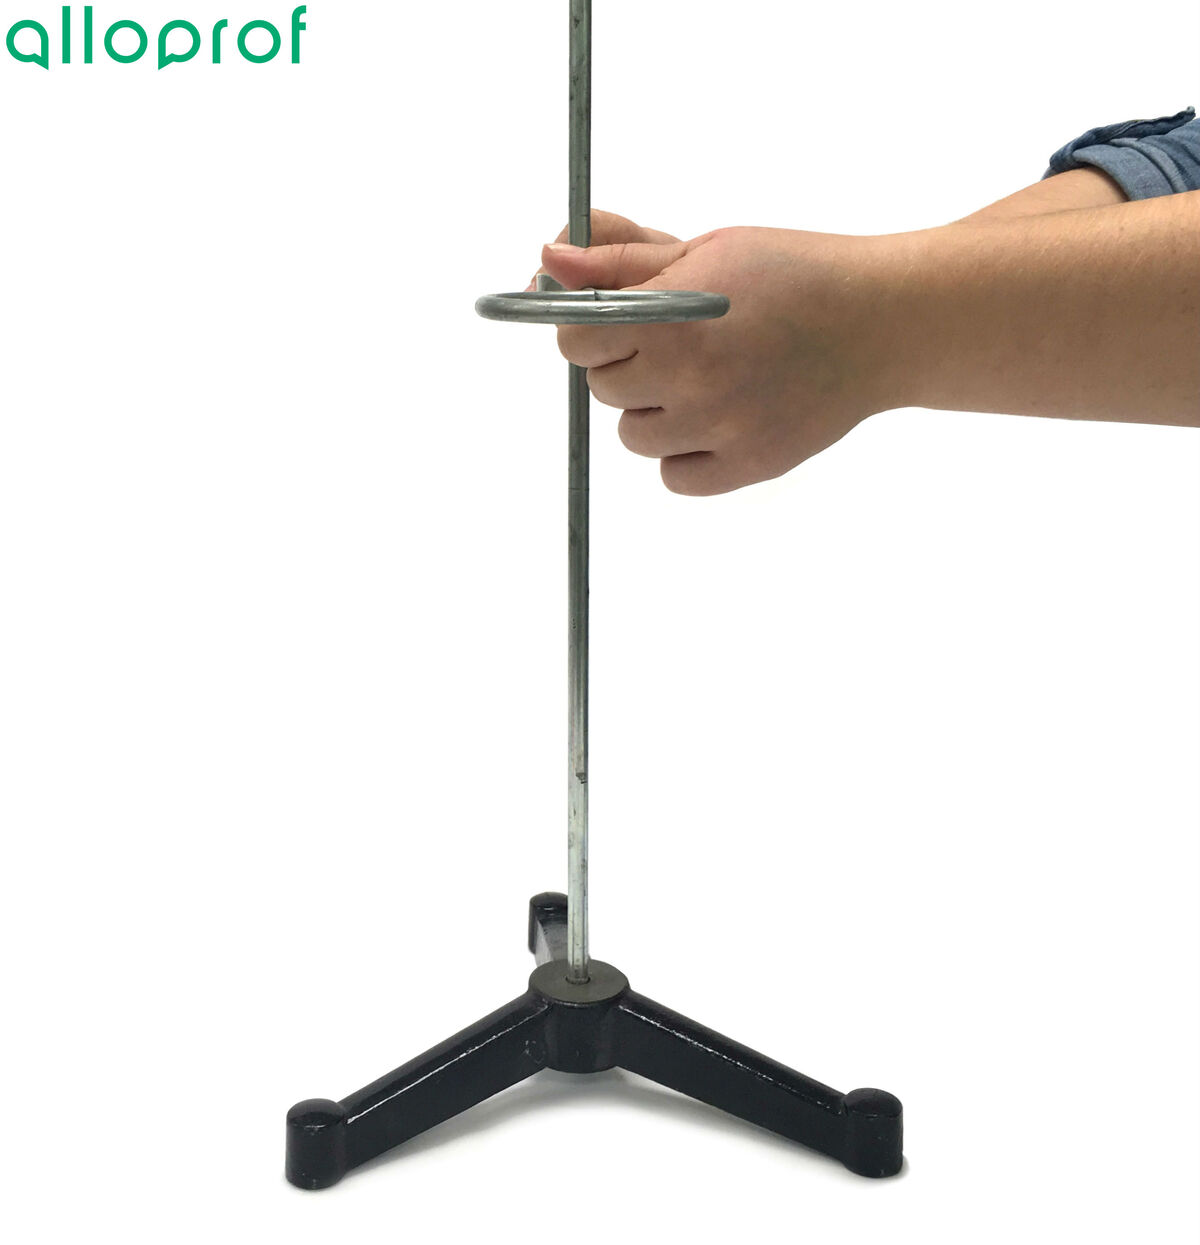
1. Install the ring on the universal support stand.
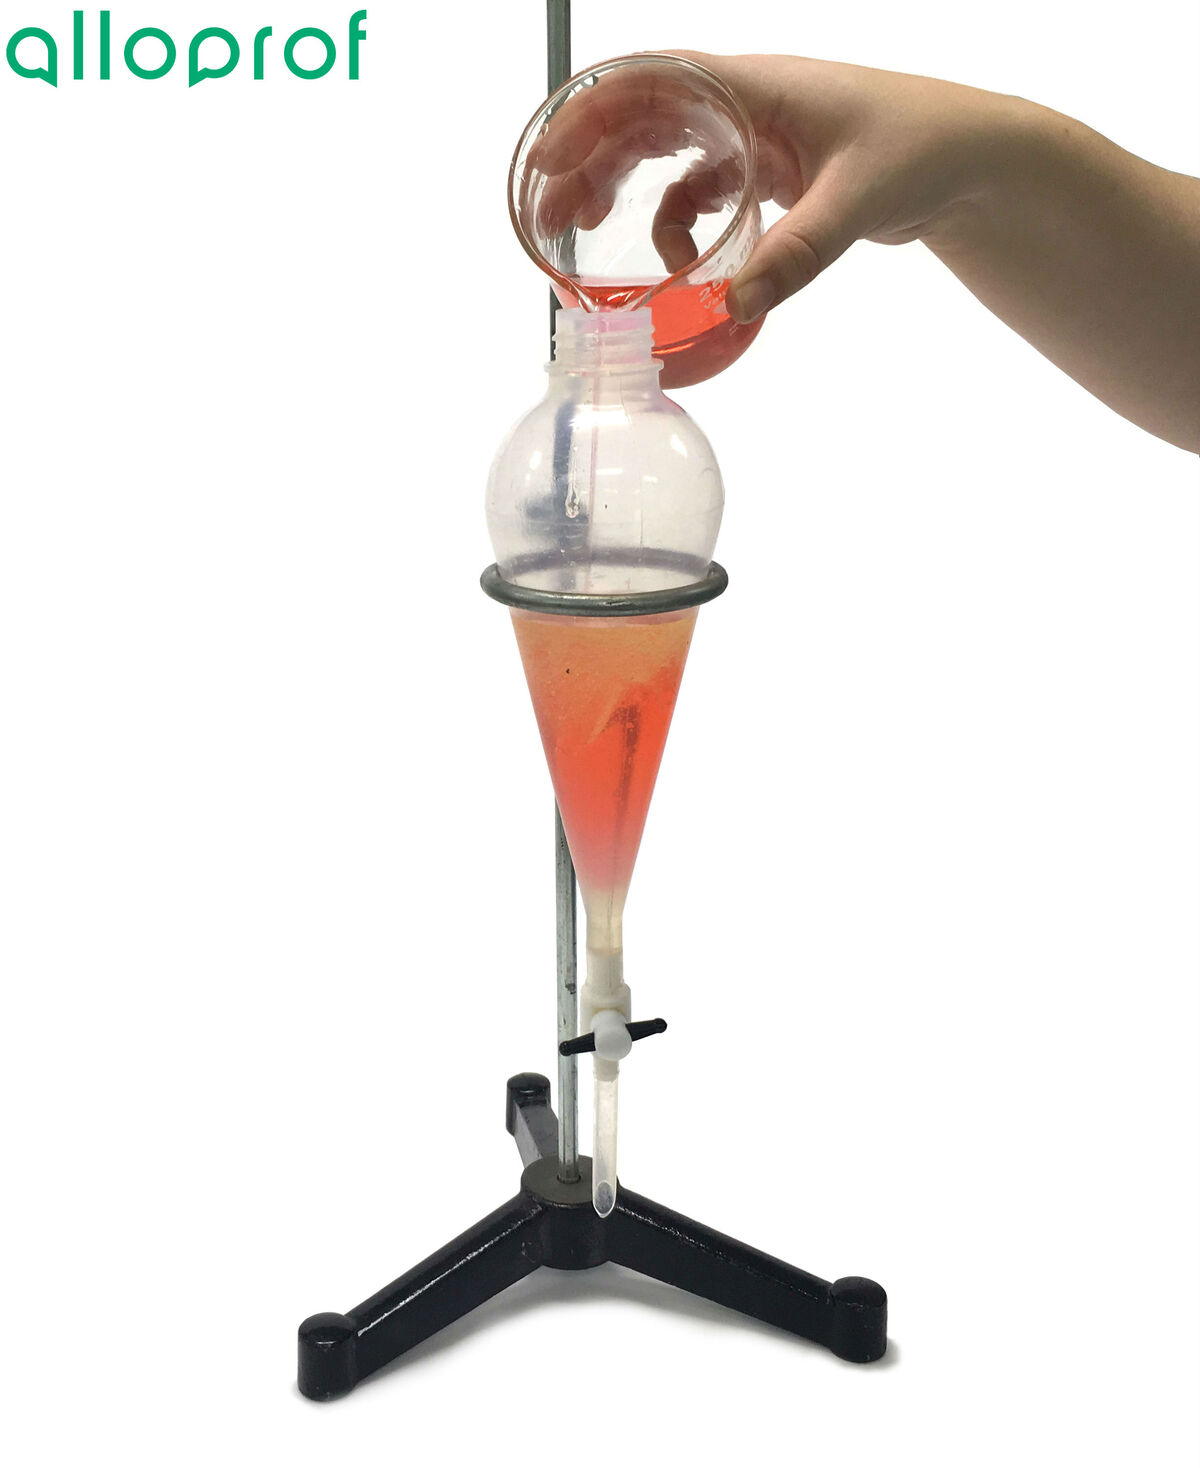
2. Place the separatory funnel in the ring, and pour the mixture to be separated into the separatory funnel.
3. Allow the mixture to settle: wait for the mixture to show a clear dividing line between the two substances to be separated.
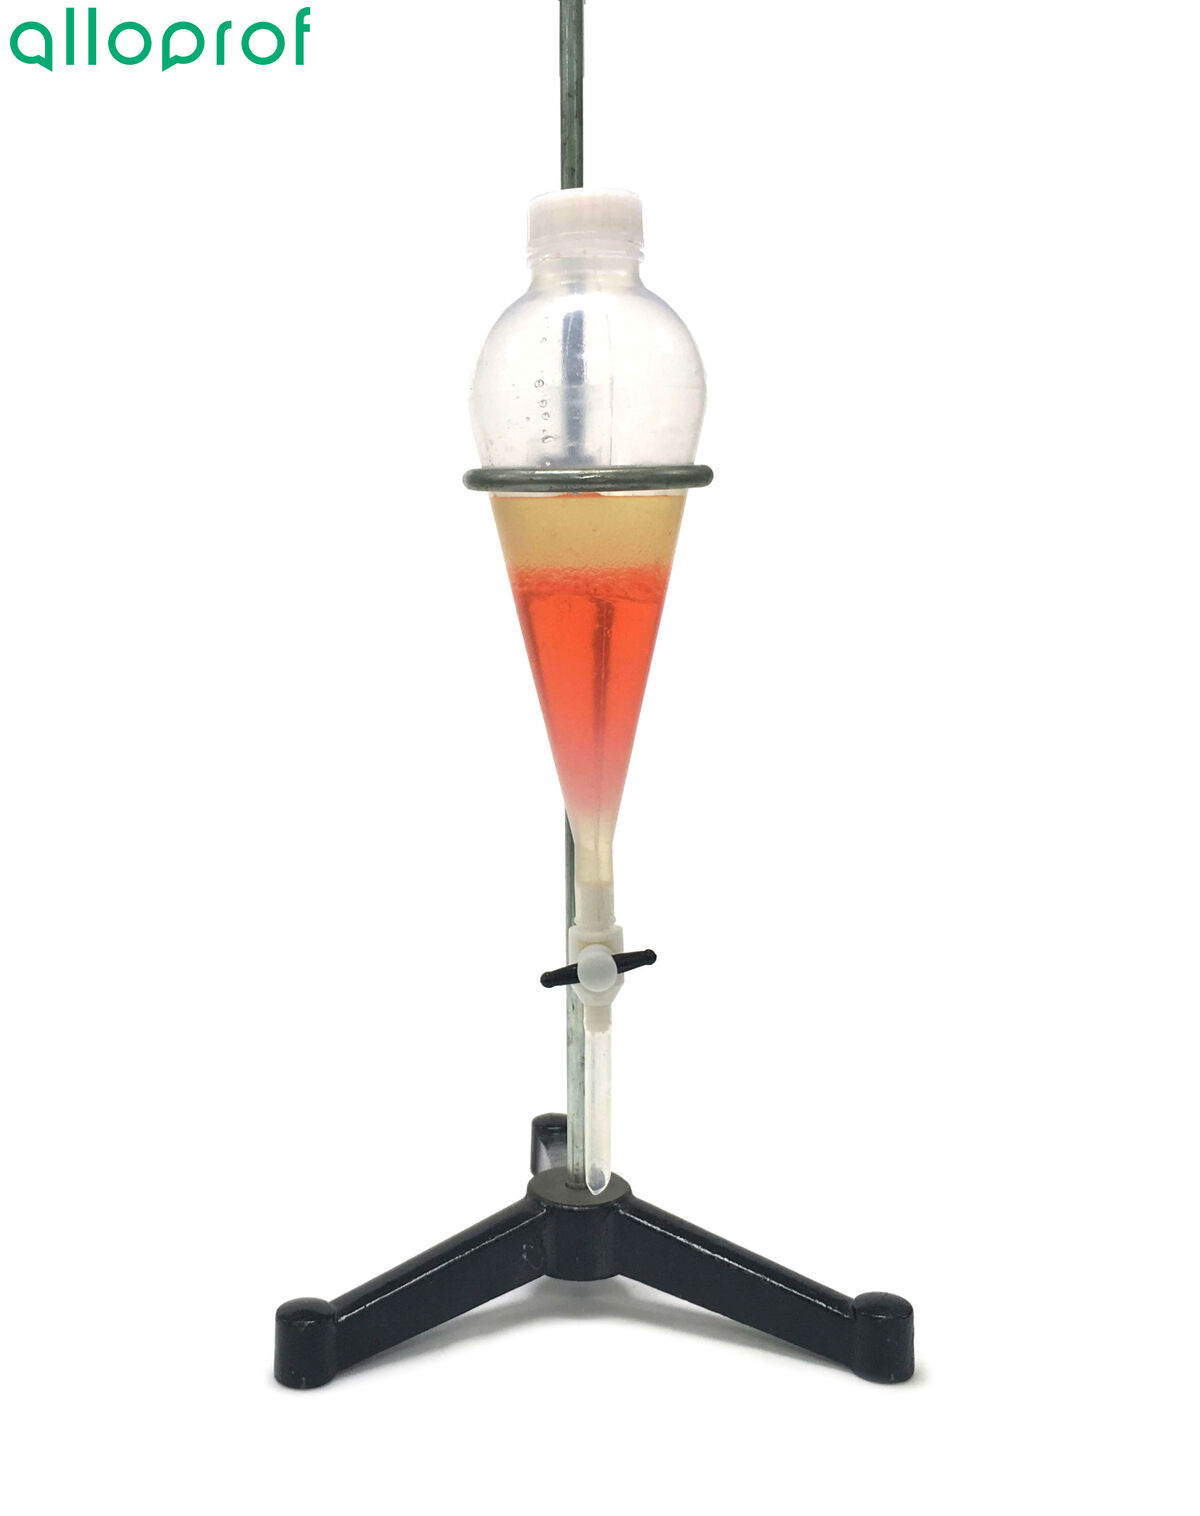
This step allows the sedimentation of one of the substances.
4. Remove the stopper from the separatory funnel to ease the flow of liquid.
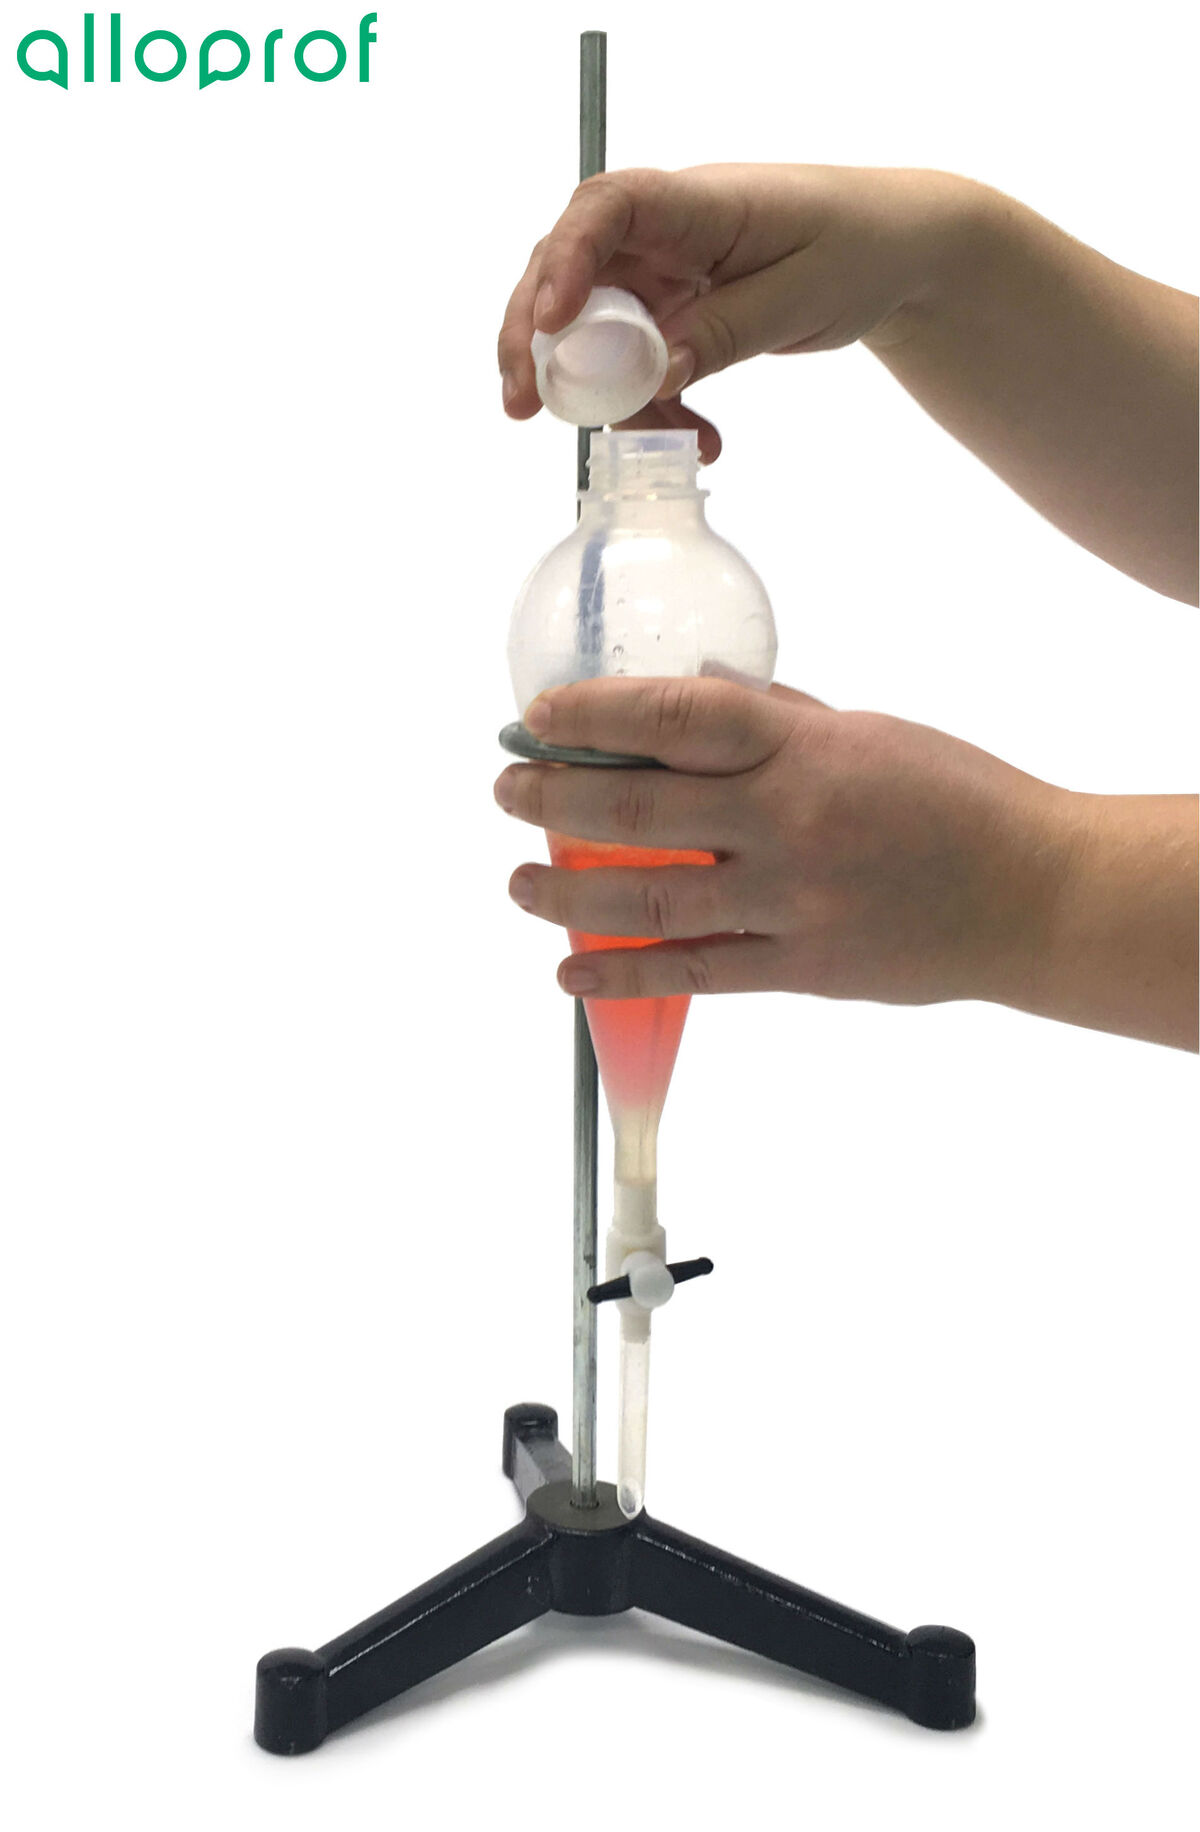
5. Place a beaker under the separatory funnel.
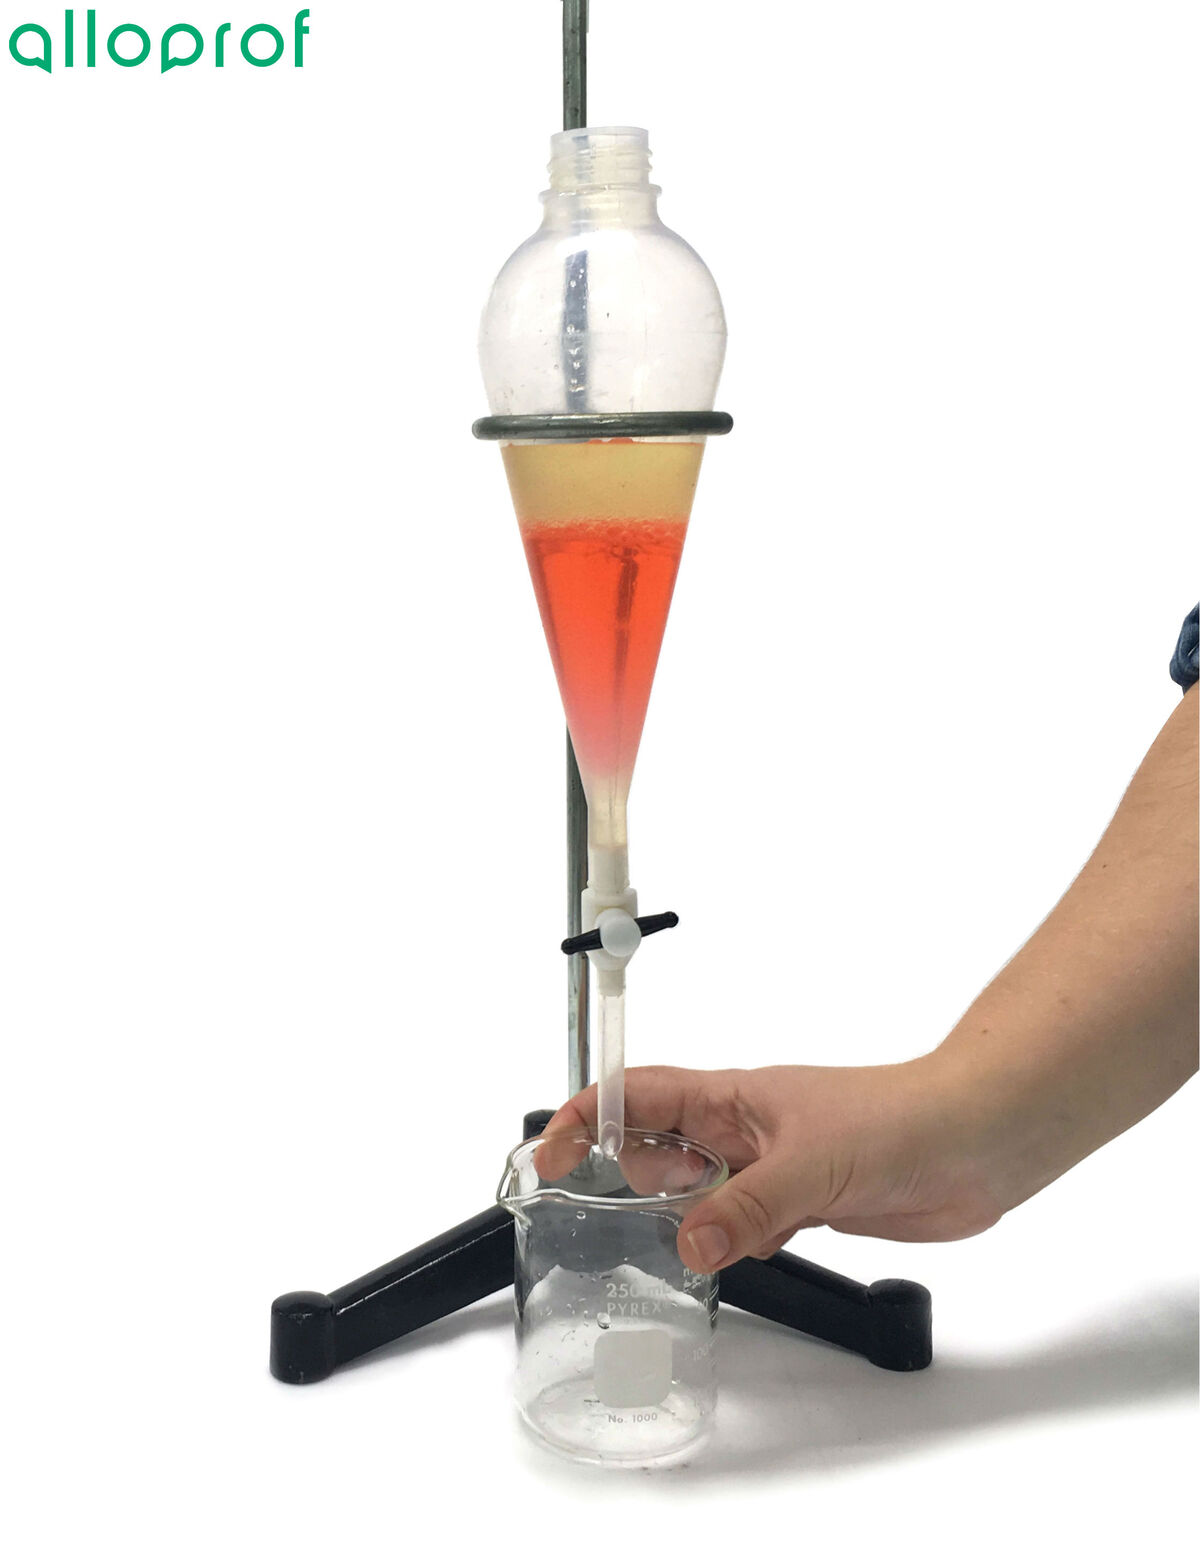
6. Slowly open the stopcock of the separatory funnel to collect the first liquid in the beaker.
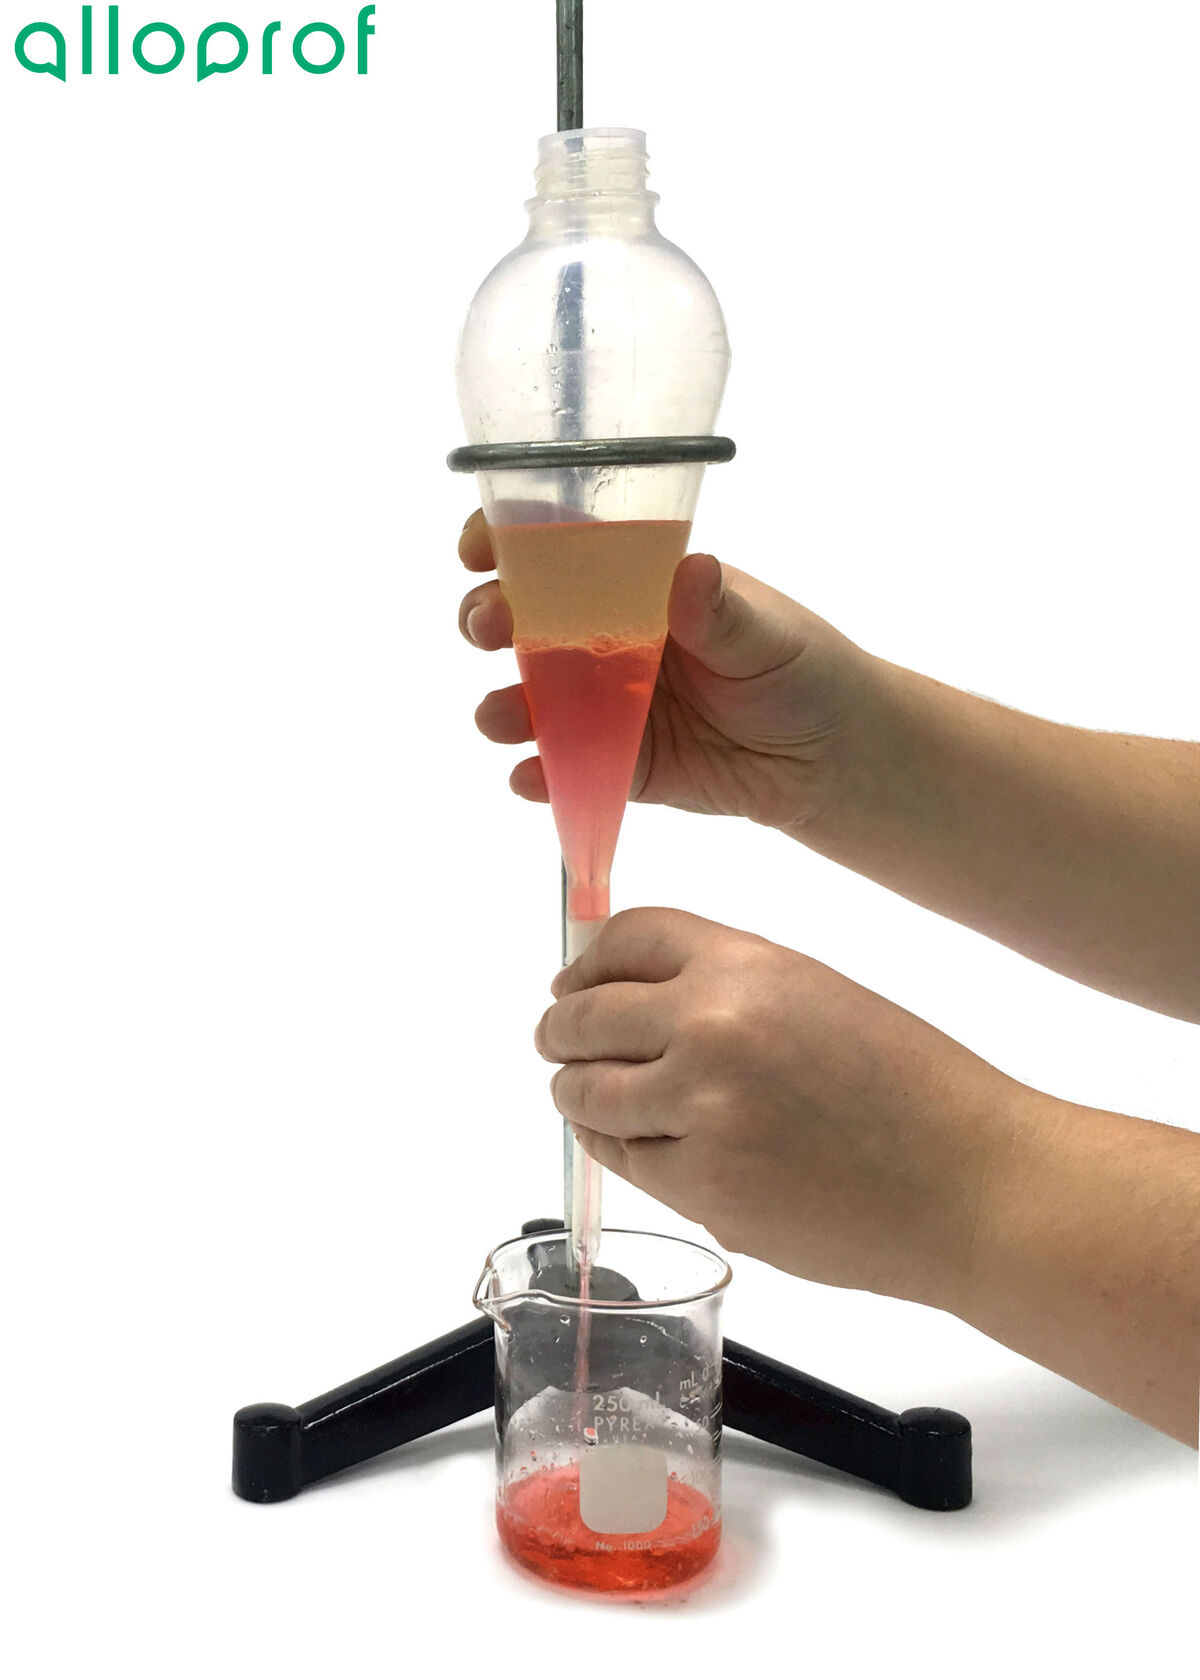
7. Close the stopcock when the first liquid has been completely poured into the beaker.
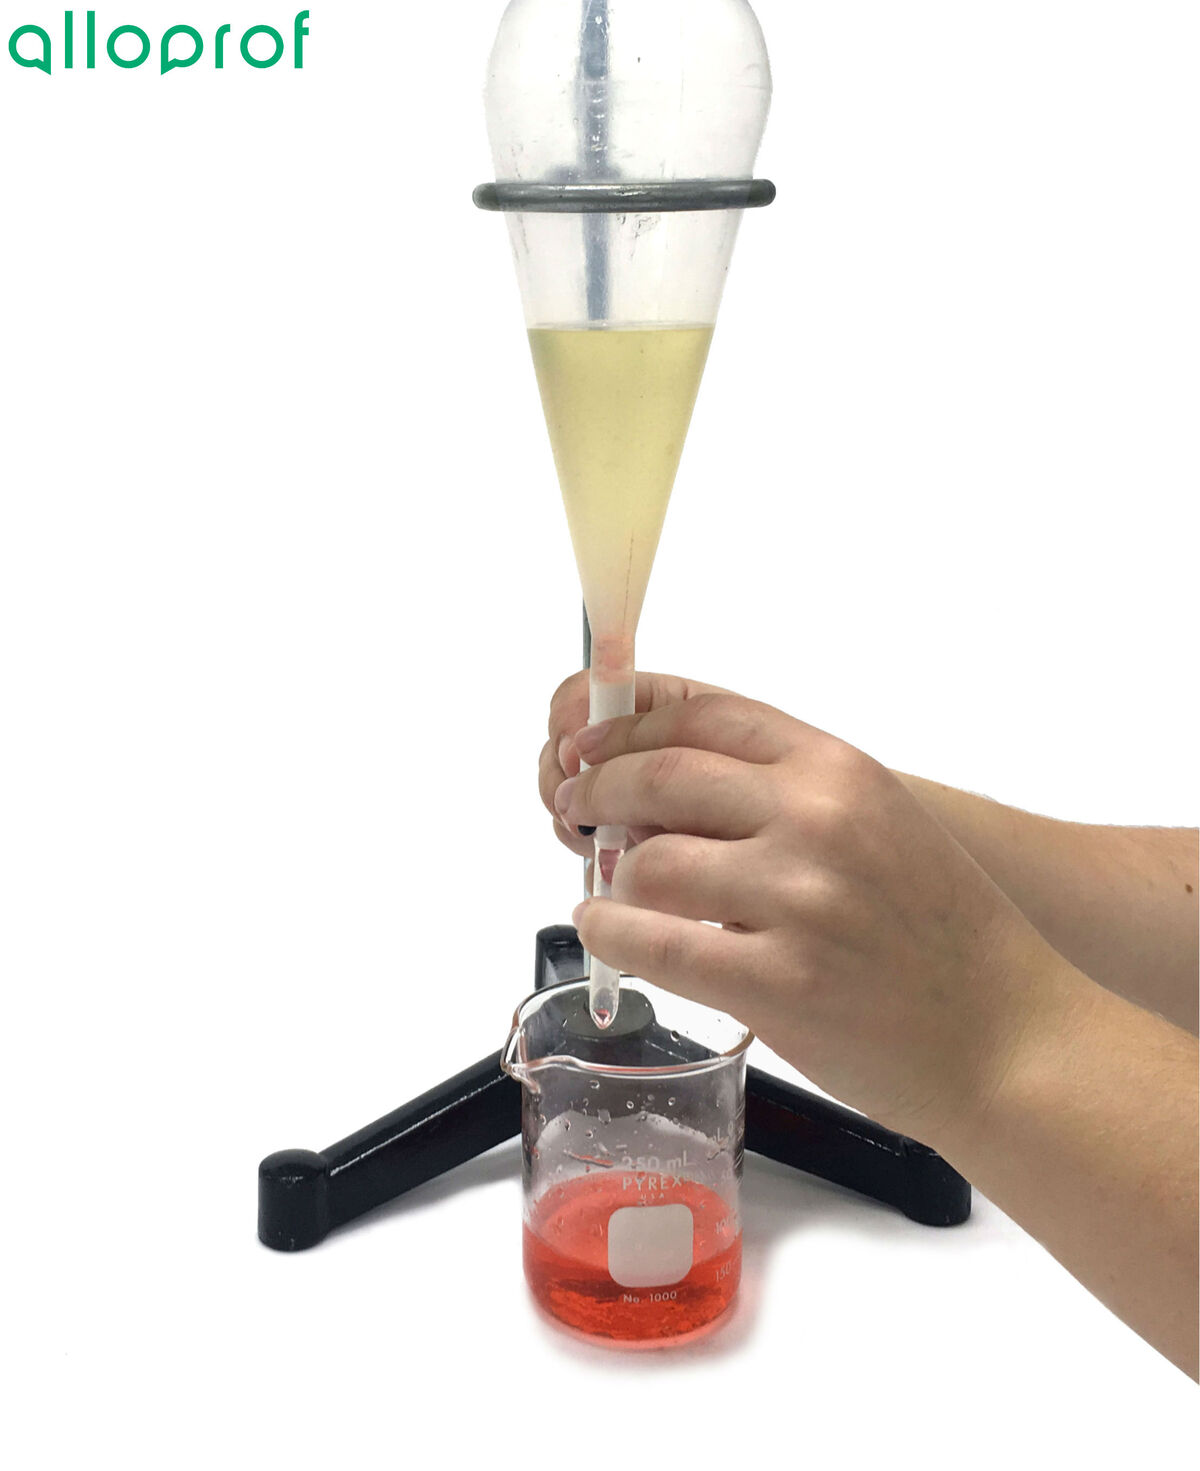
If more than two liquids are involved, repeat steps 5 to 7 for each liquid.
8. Clean and store the equipment.
This technique can be used to separate the components of a heterogeneous mixture (liquid-solid or gas-solid). In this concept sheet, only the technique with a heterogeneous liquid-solid mixture will be explained.
- Mixture to separate
- Filter paper
- Funnel
- Universal support stand
- Ring
- Erlenmeyer flask or beaker
- Apron or smock
- Safety goggles
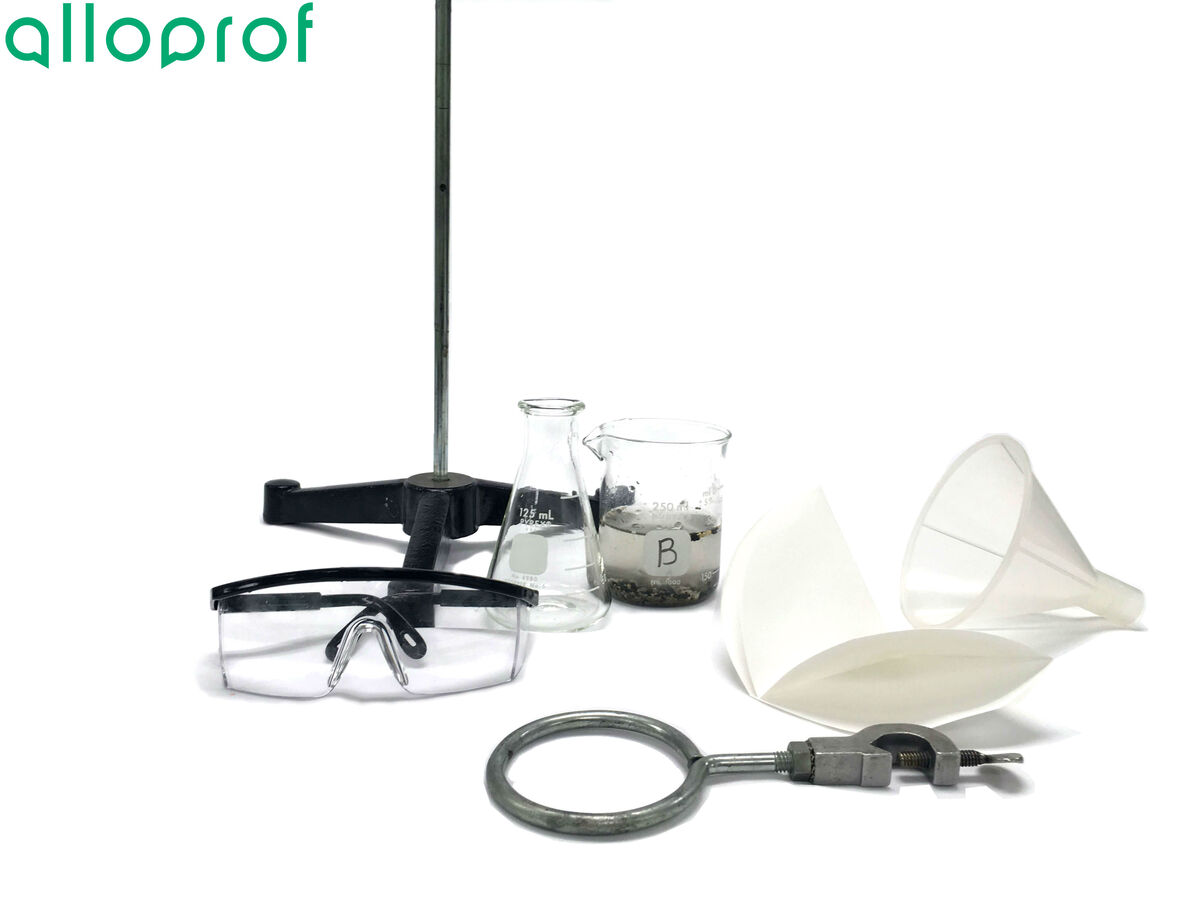
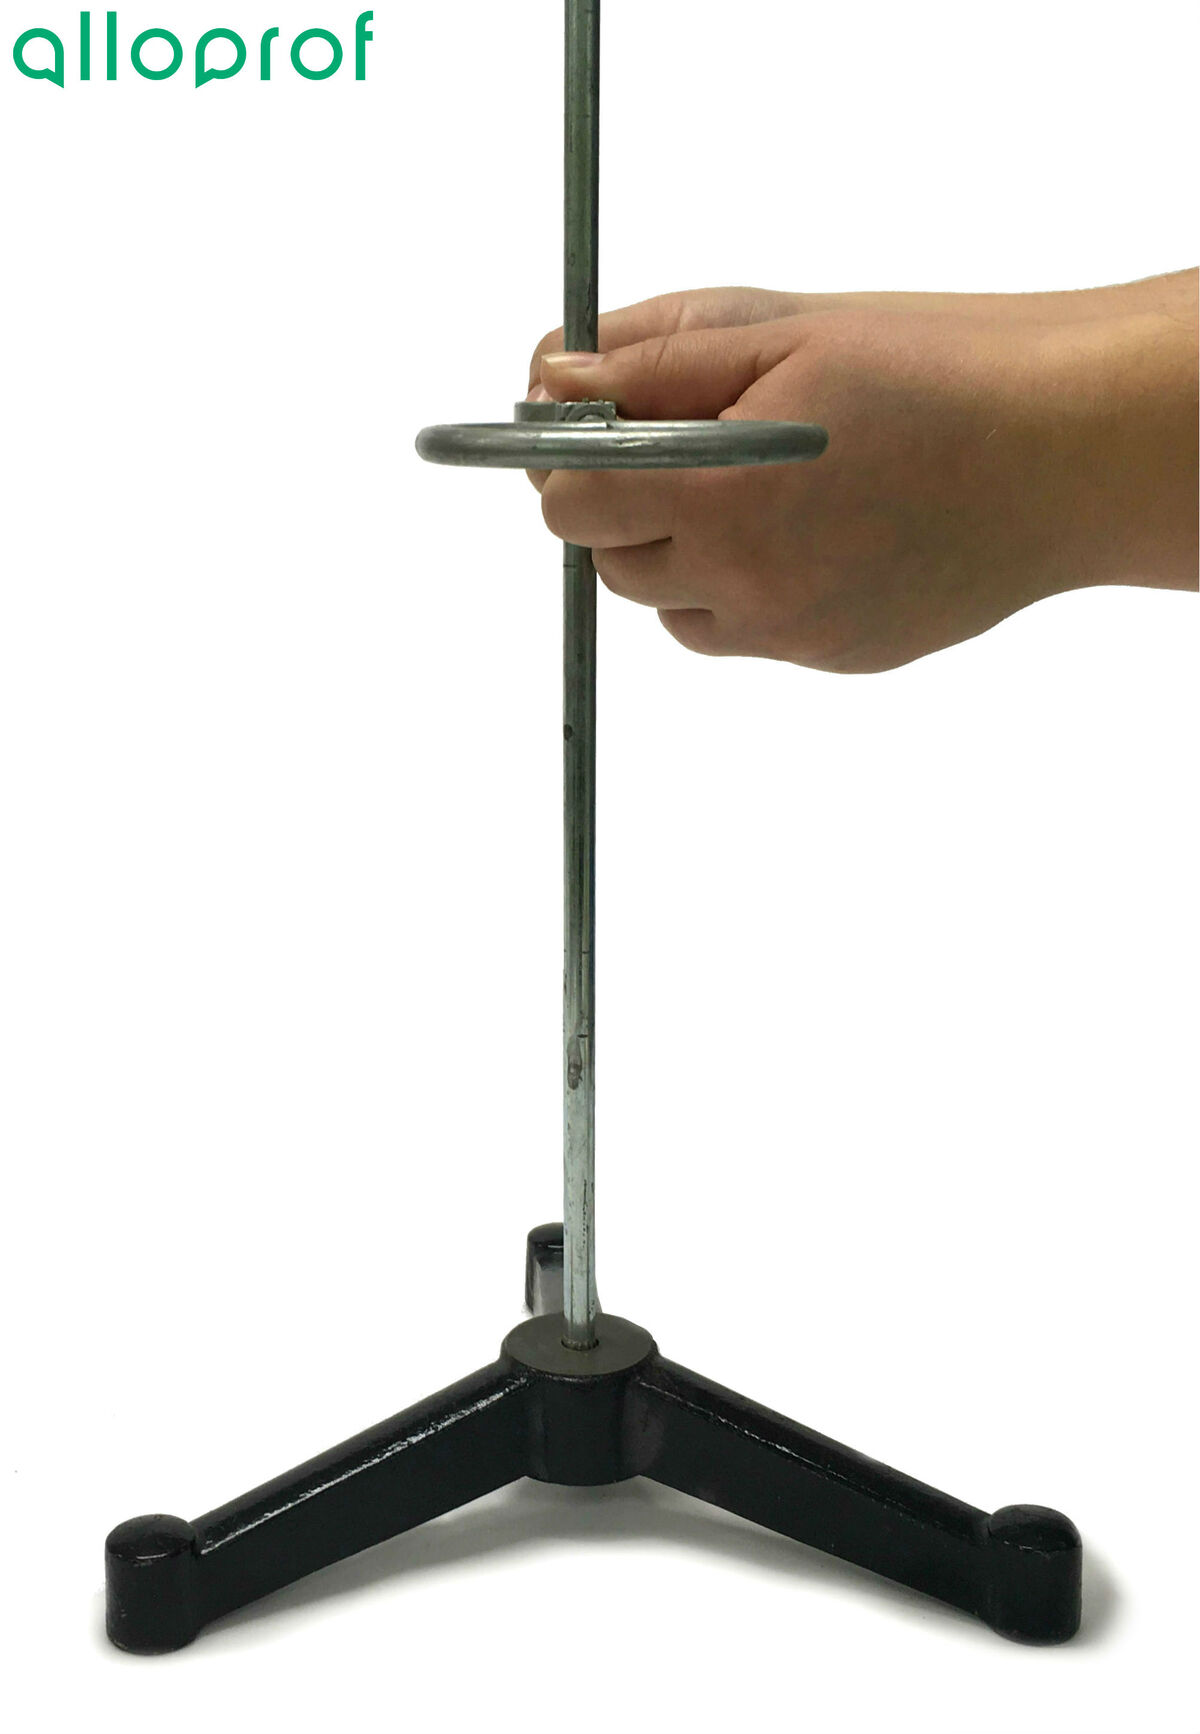
1. Install the ring on the universal support stand.
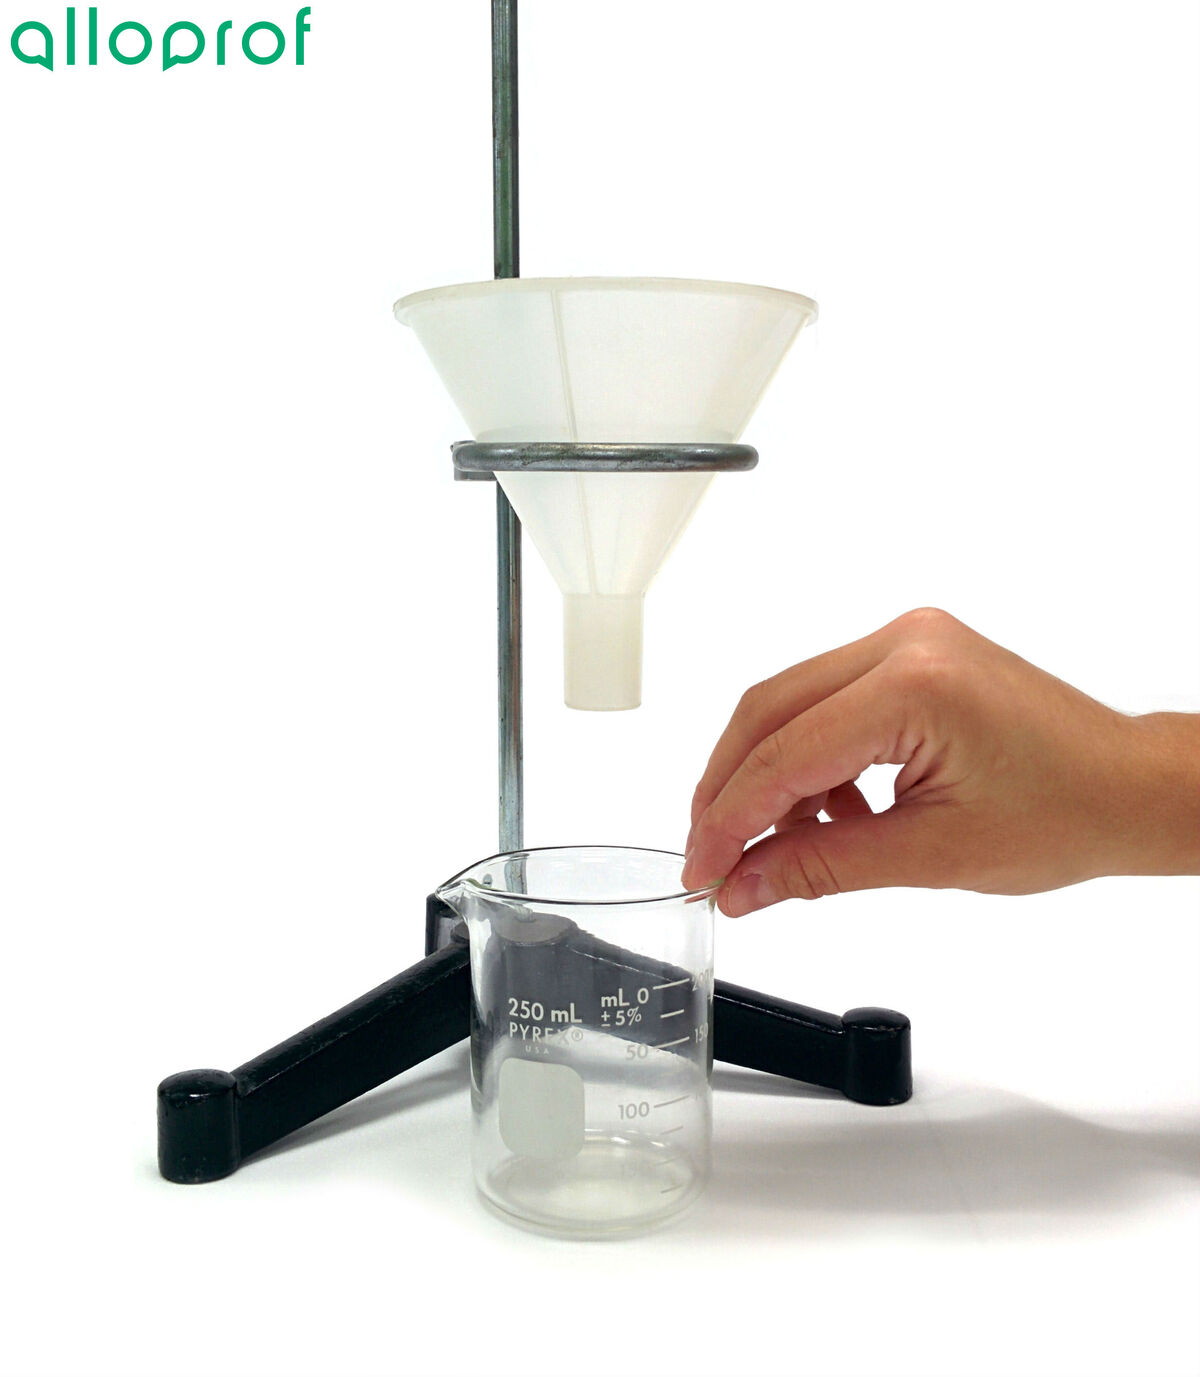
2. Place the funnel in the ring, and place the Erlenmeyer flask or beaker under the end of the funnel.
3. Fold the filter paper into quarters so as to form a cone with three layers of paper on one side and one on the other side.
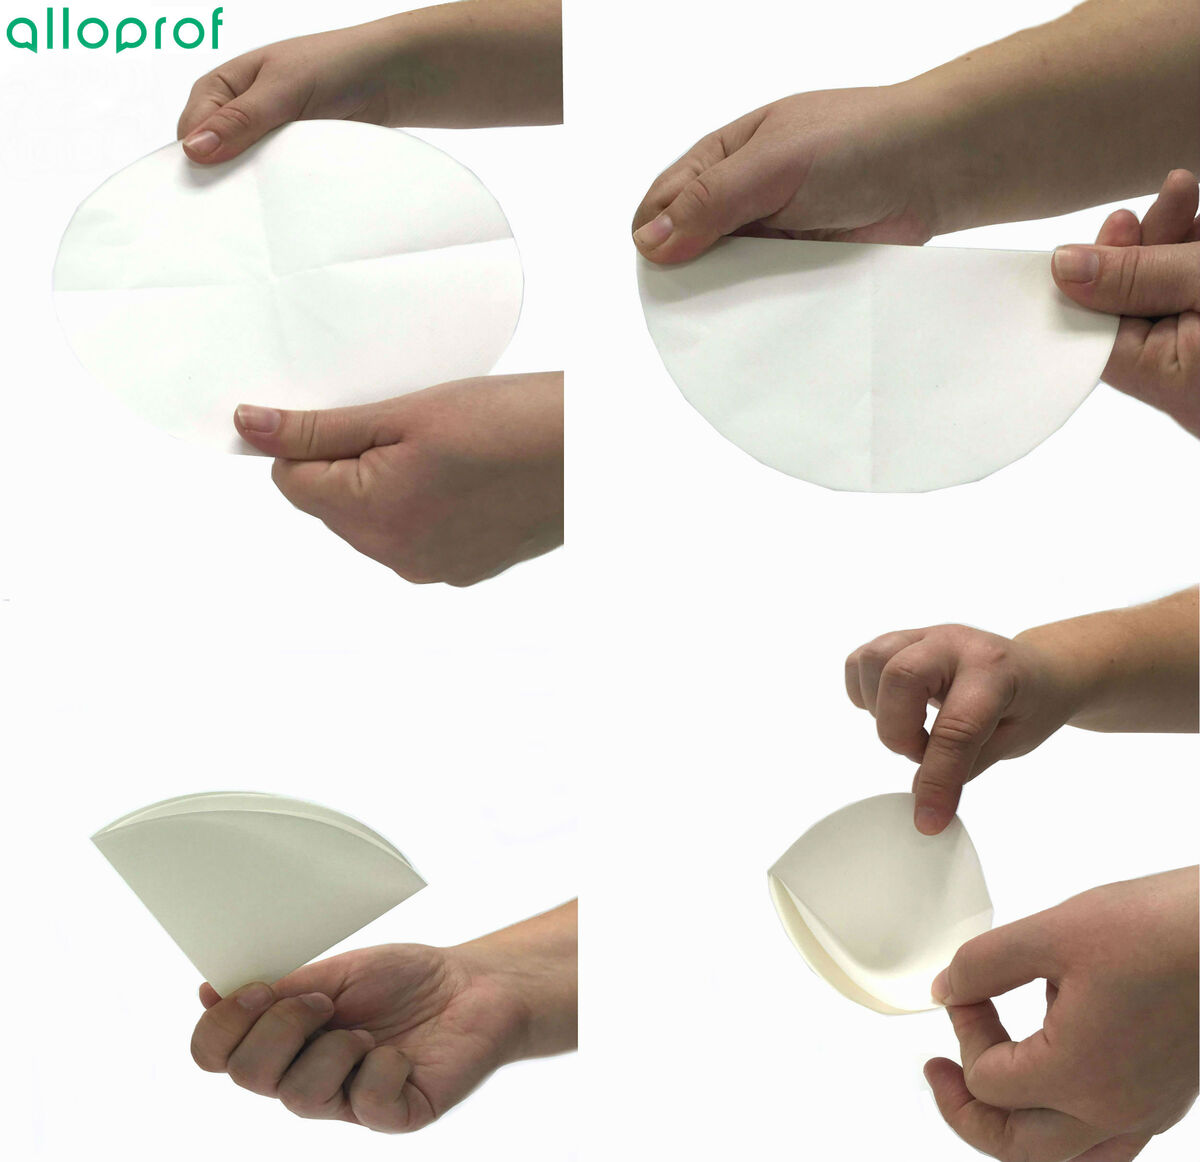
4. Place the filter paper in the funnel.
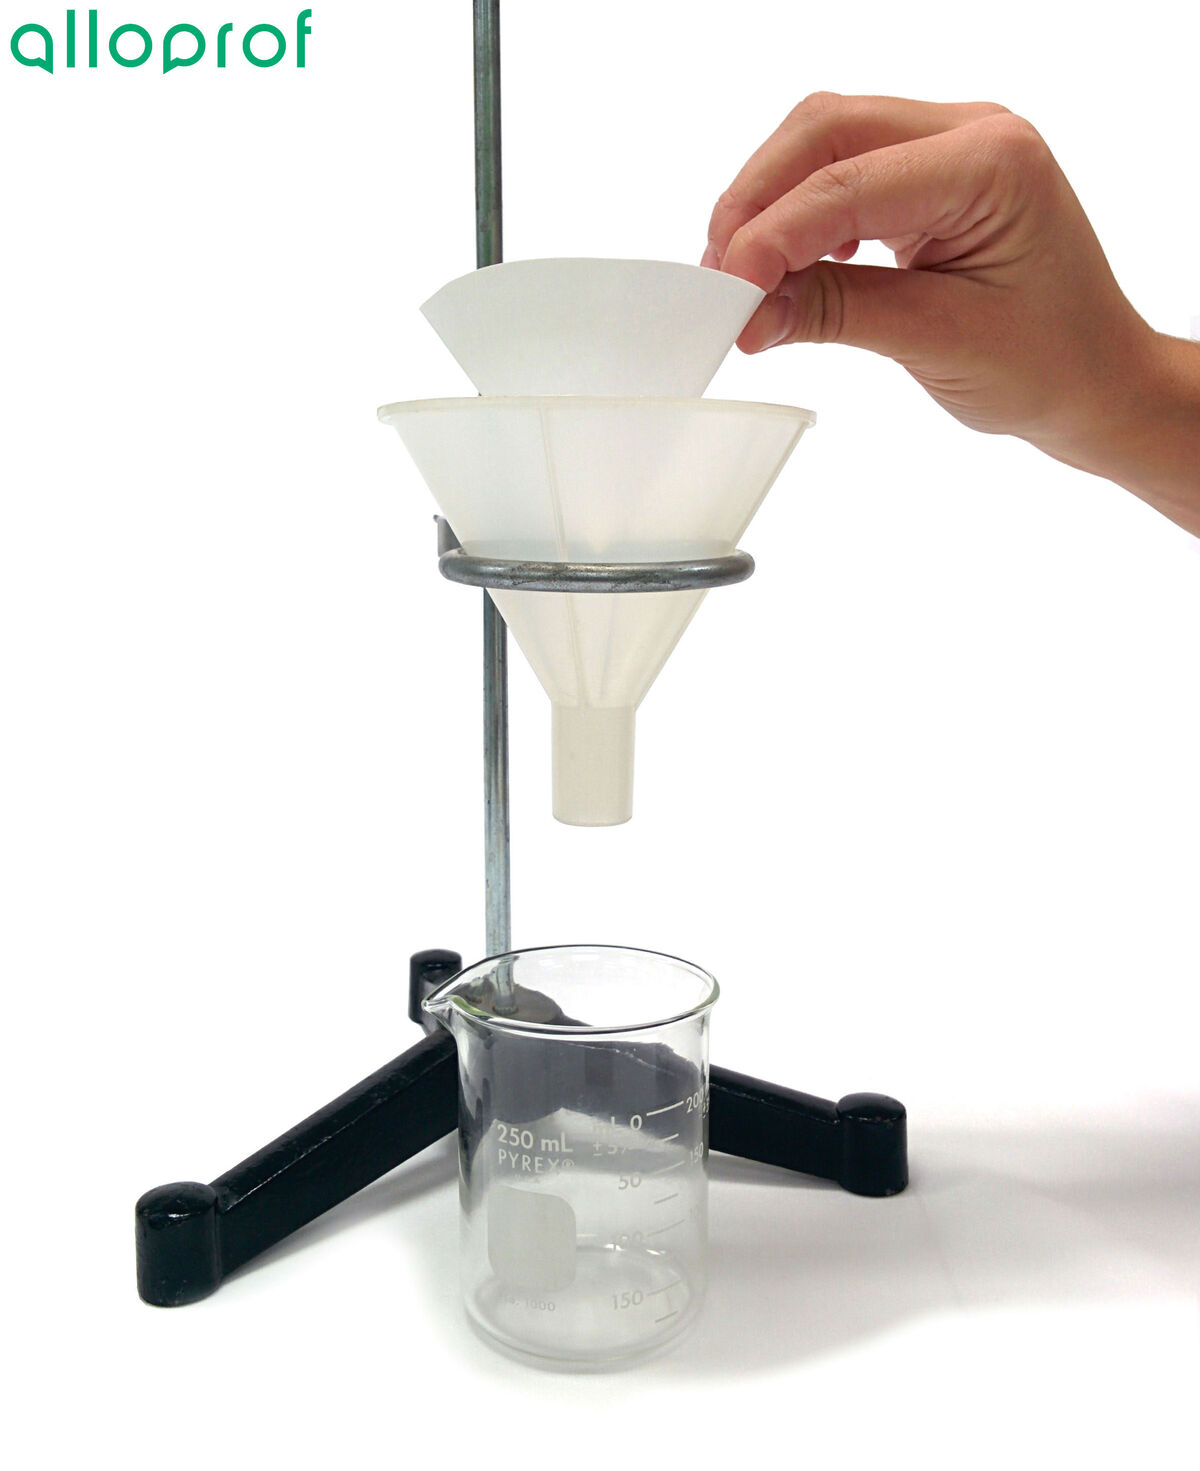
To ensure that the filter paper fits well into the funnel, put a little water on the filter paper to facilitate adhesion between the paper and the walls of the funnel.

5. Gently pour the mixture to be filtered into the funnel.
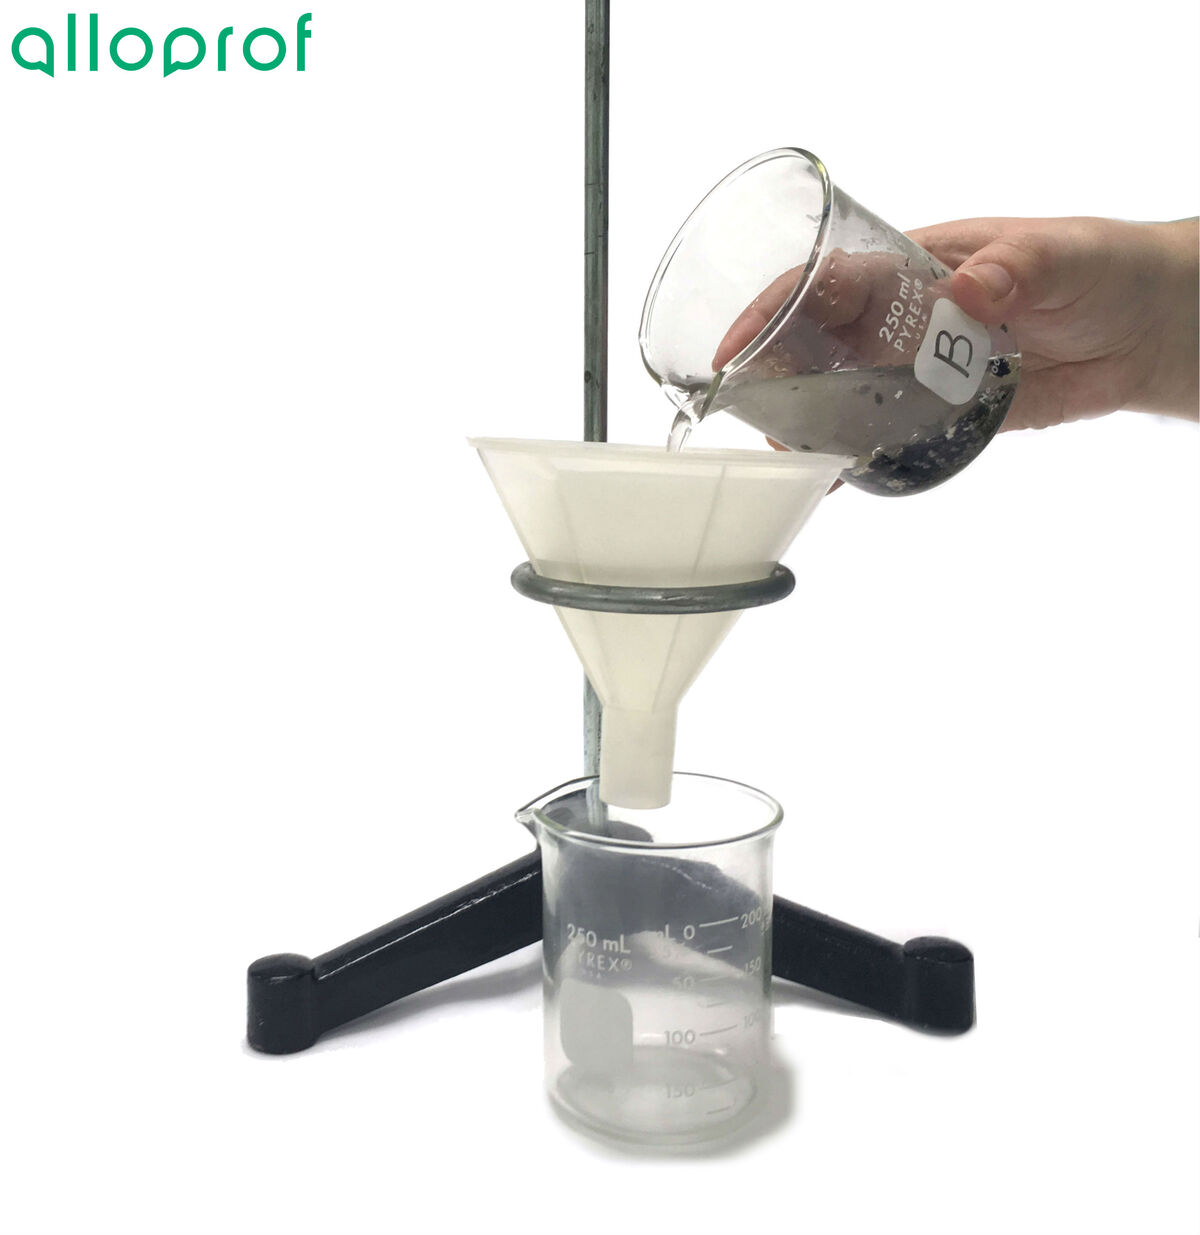
It is important to pour the liquid slowly so as not to clog the filter with excessively large residues.
6. Collect the filtrate in the Erlenmeyer flask or beaker, and the solid residue in the filter paper.
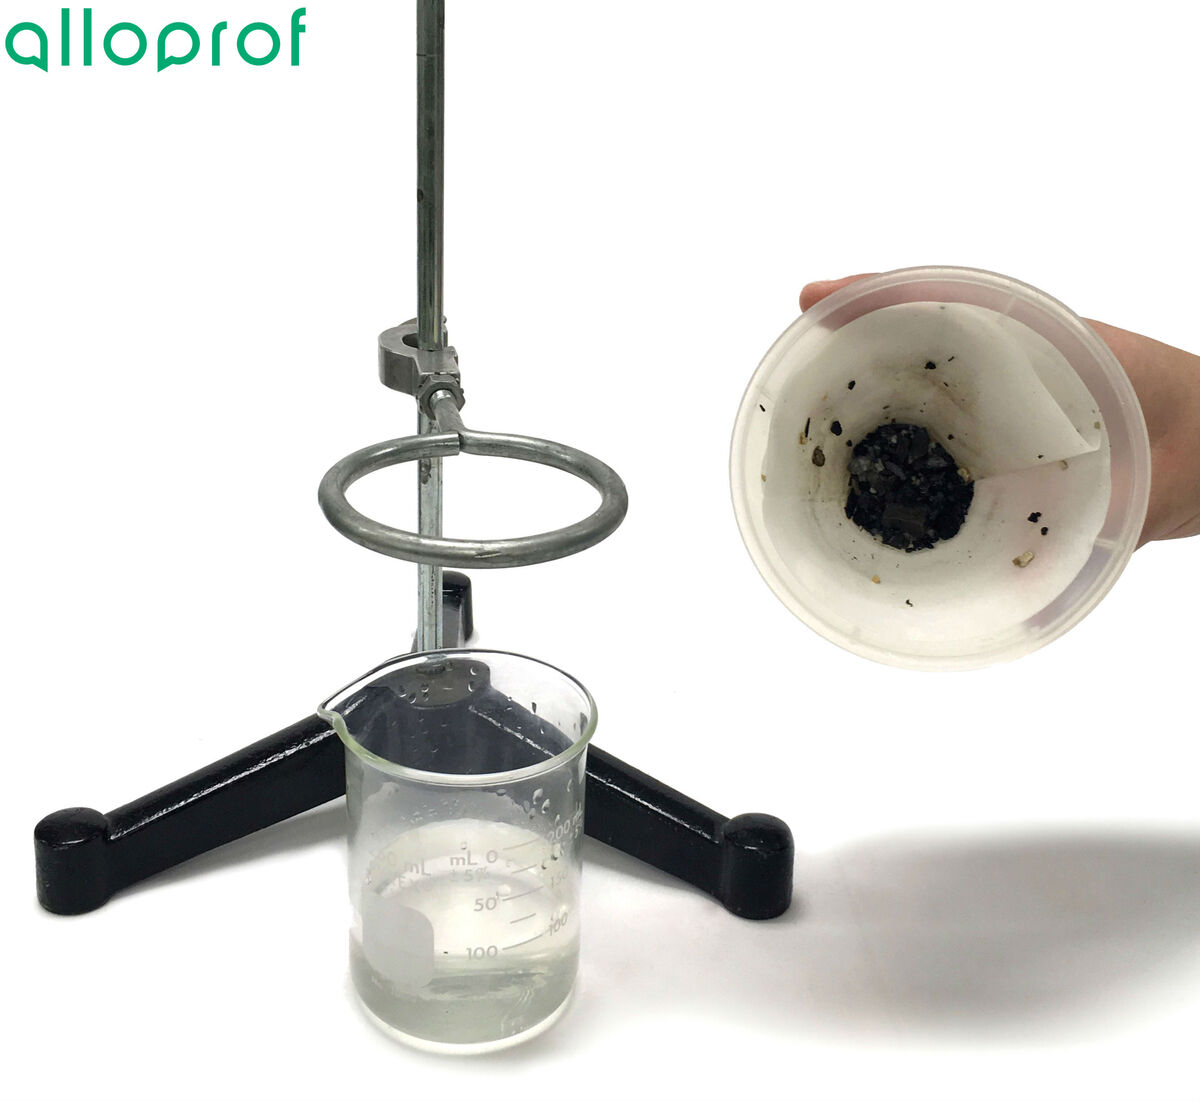
7. Clean and store the equipment.
This technique can be used to separate the components of a liquid homogeneous mixture and those of a heterogeneous mixture (liquid-solid or liquid-liquid). Unlike evaporation, all components can be collected by distillation.
- Mixture to separate
- Hot plate
- Distilling flask
- Two-hole rubber stopper
- Thermometer
- Universal clamp
- Condenser tube
- Glass adapter
- Beaker
- Universal support stand
- Apron or smock
- Safety goggles
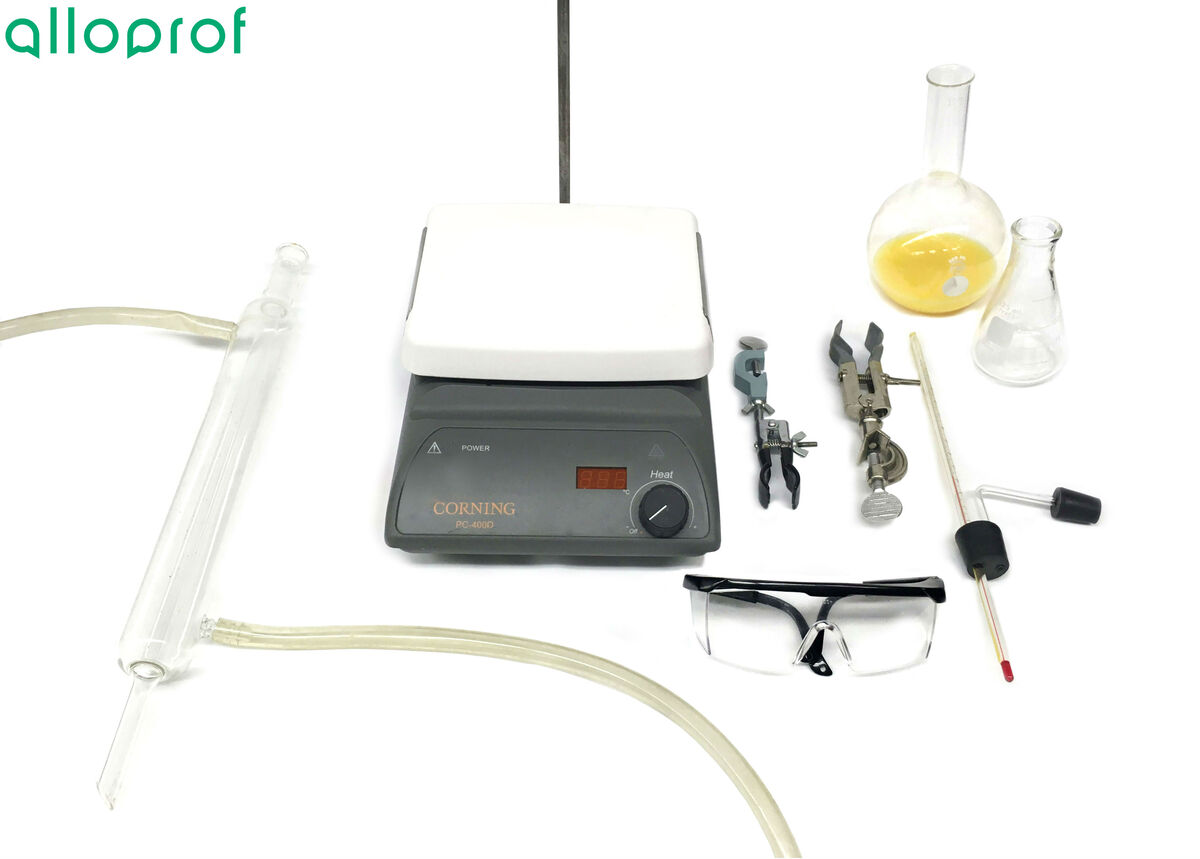
1. Pour the mixture to be separated into the flask, and place the flask on the hot plate.

To prevent the mixture that will be separated from boiling too much, it is recommended to put boiling stones (boiling chips) into the flask.
2. Place a two-hole cap in the flask and insert a thermometer into one of those two holes.
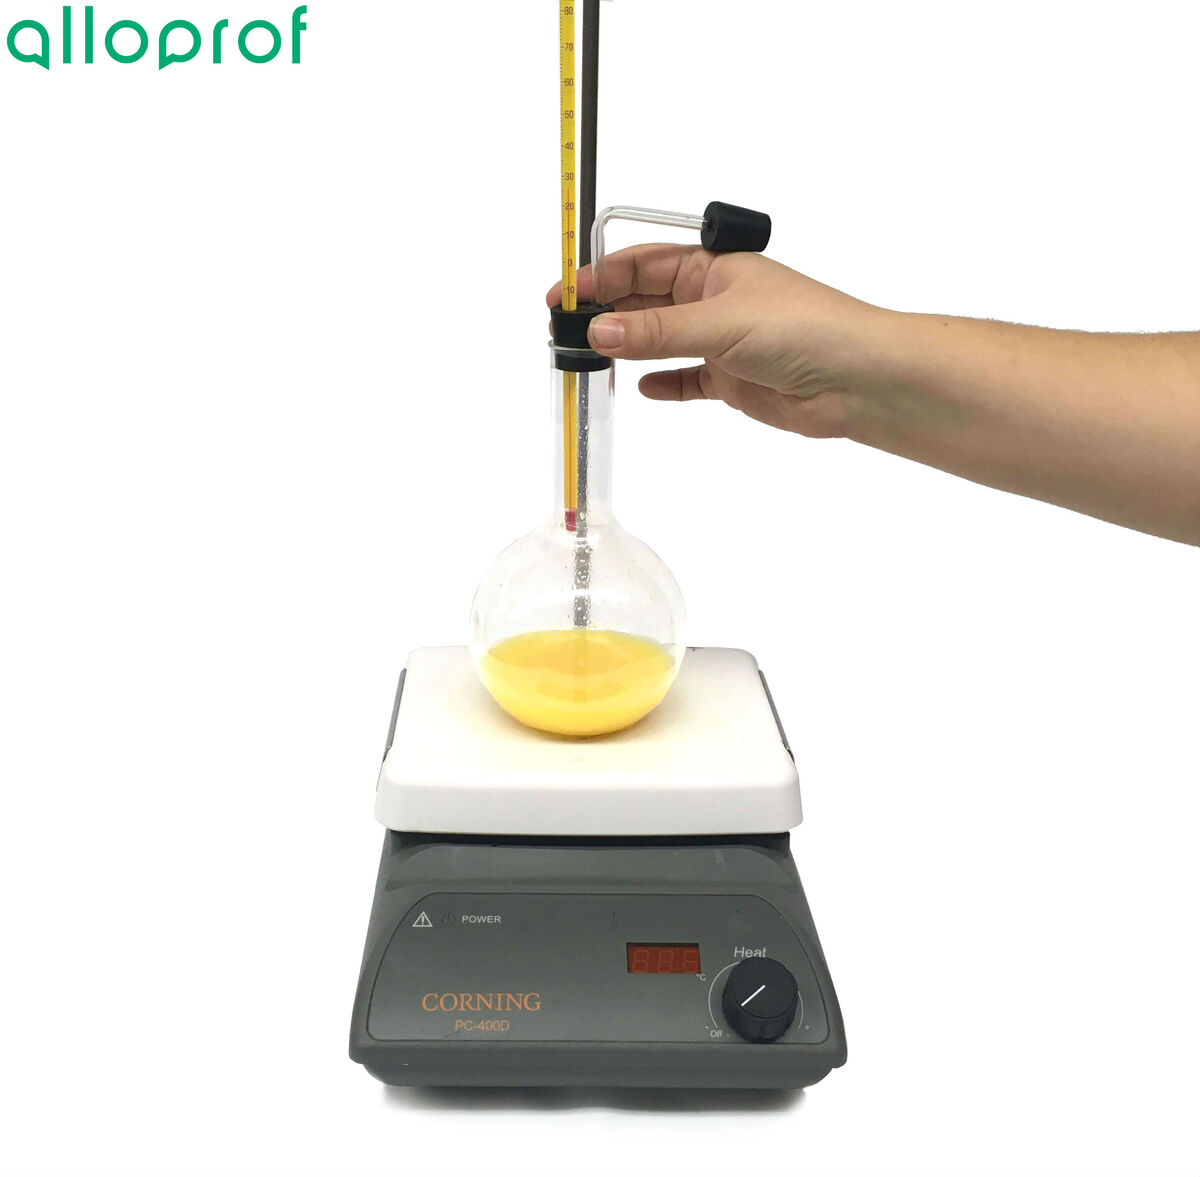
3. Install the universal clamp on the universal support stand, and install the condenser tube in the clamp.

4. Connect the condenser tube to the distilling flask.
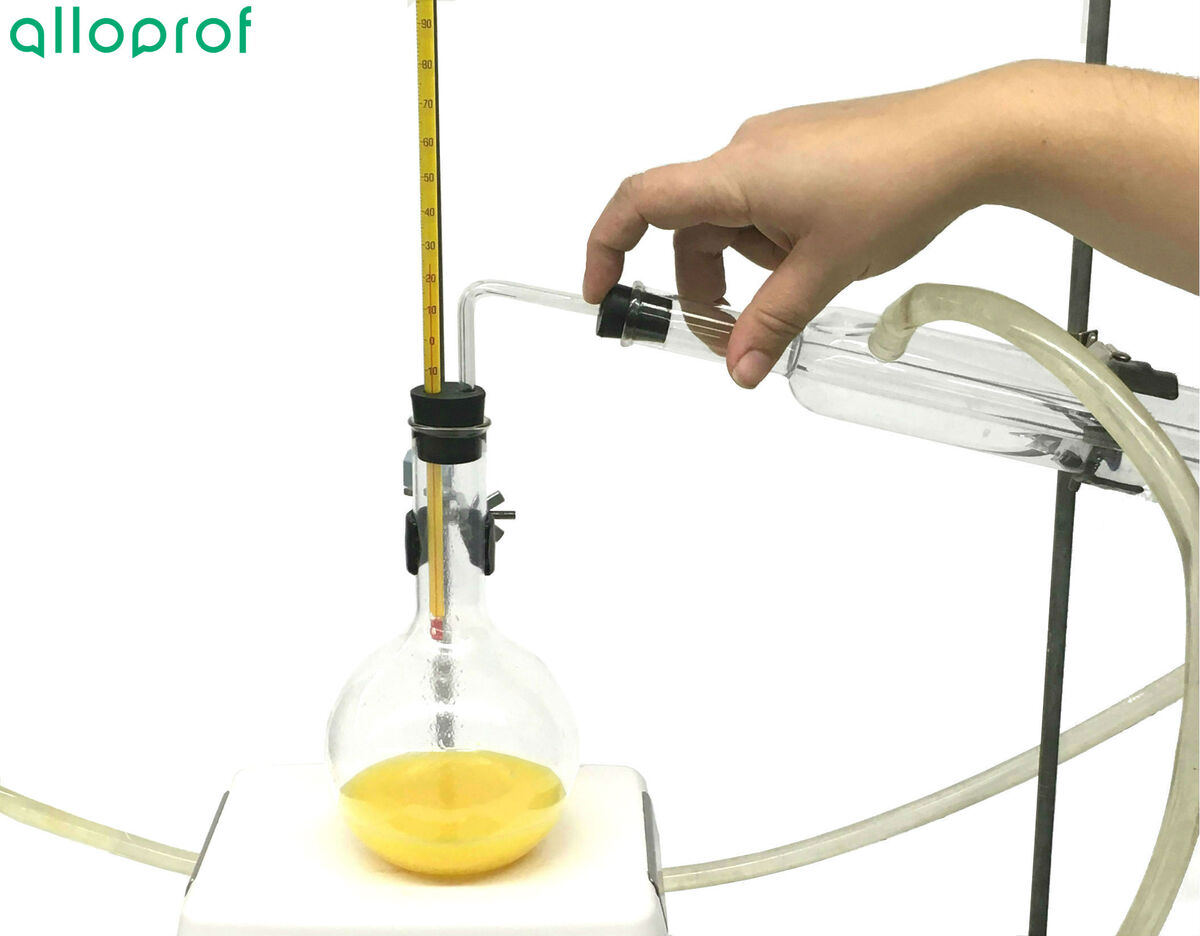
5. Connect the cold water inlet hose (the hose furthest from the distilling flask) to a sink faucet. Turn on the faucet and make sure there are no leaks.
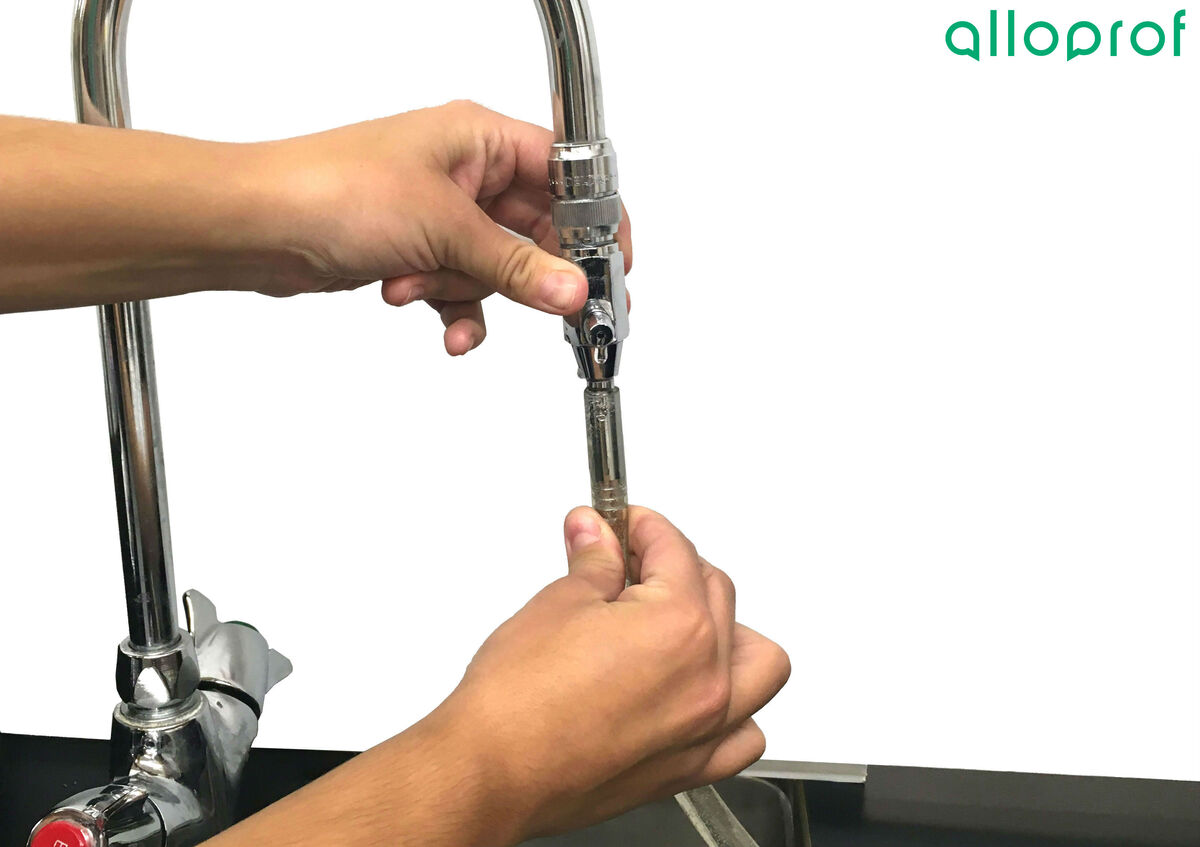
It is important to check that the water outlet hose (the one closest to the distilling flask) is placed in the sink when you turn on the tap.
6. Place a beaker under the narrow end of the condenser tube.
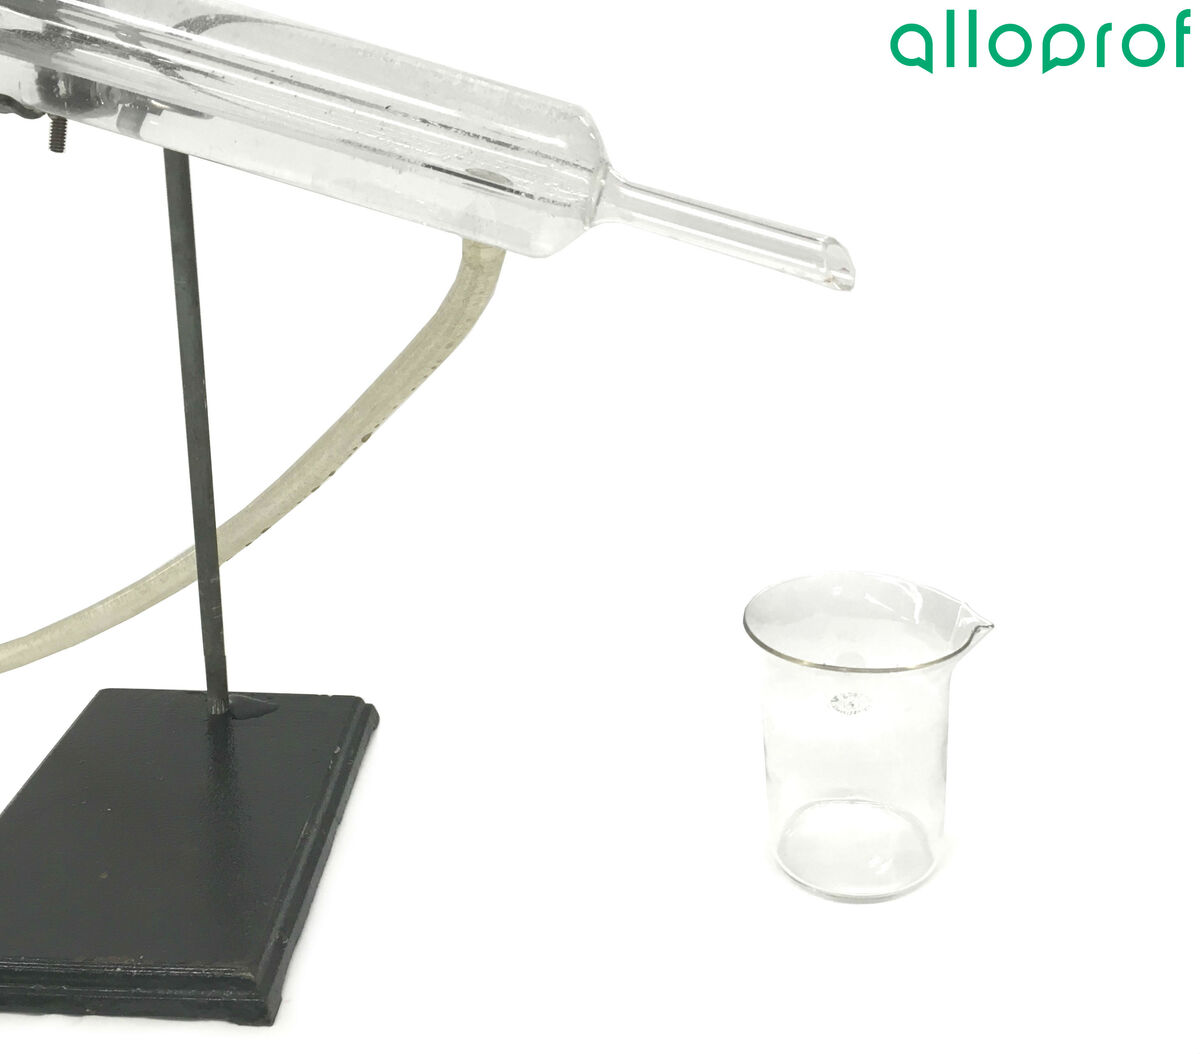
7. Heat the liquid to be separated until the boiling point of one of the substances is reached.
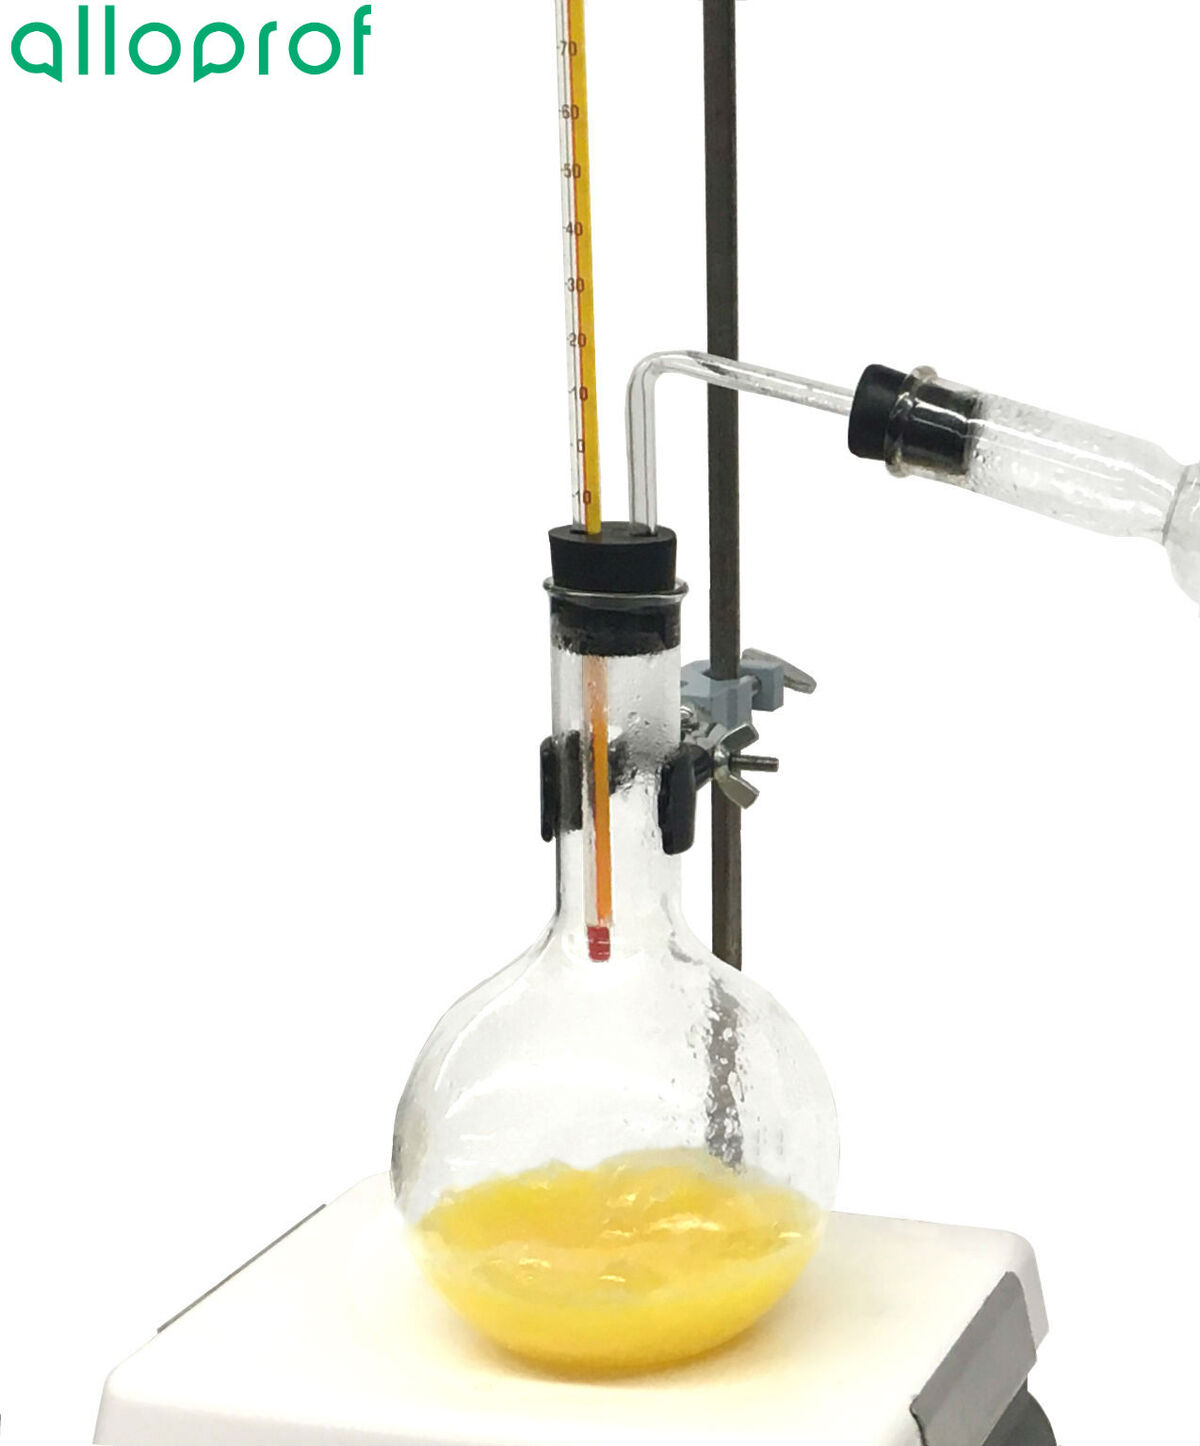
8. Continue heating as long as the temperature remains stable.
9. Stop heating as soon as the temperature starts to rise again.
10. Clean and store equipment.
This technique can be used to separate the components of a heterogeneous solid-solid mixture.
- Mixture to separate
- Sieve with pan
- Apron or smock
- Safety goggles
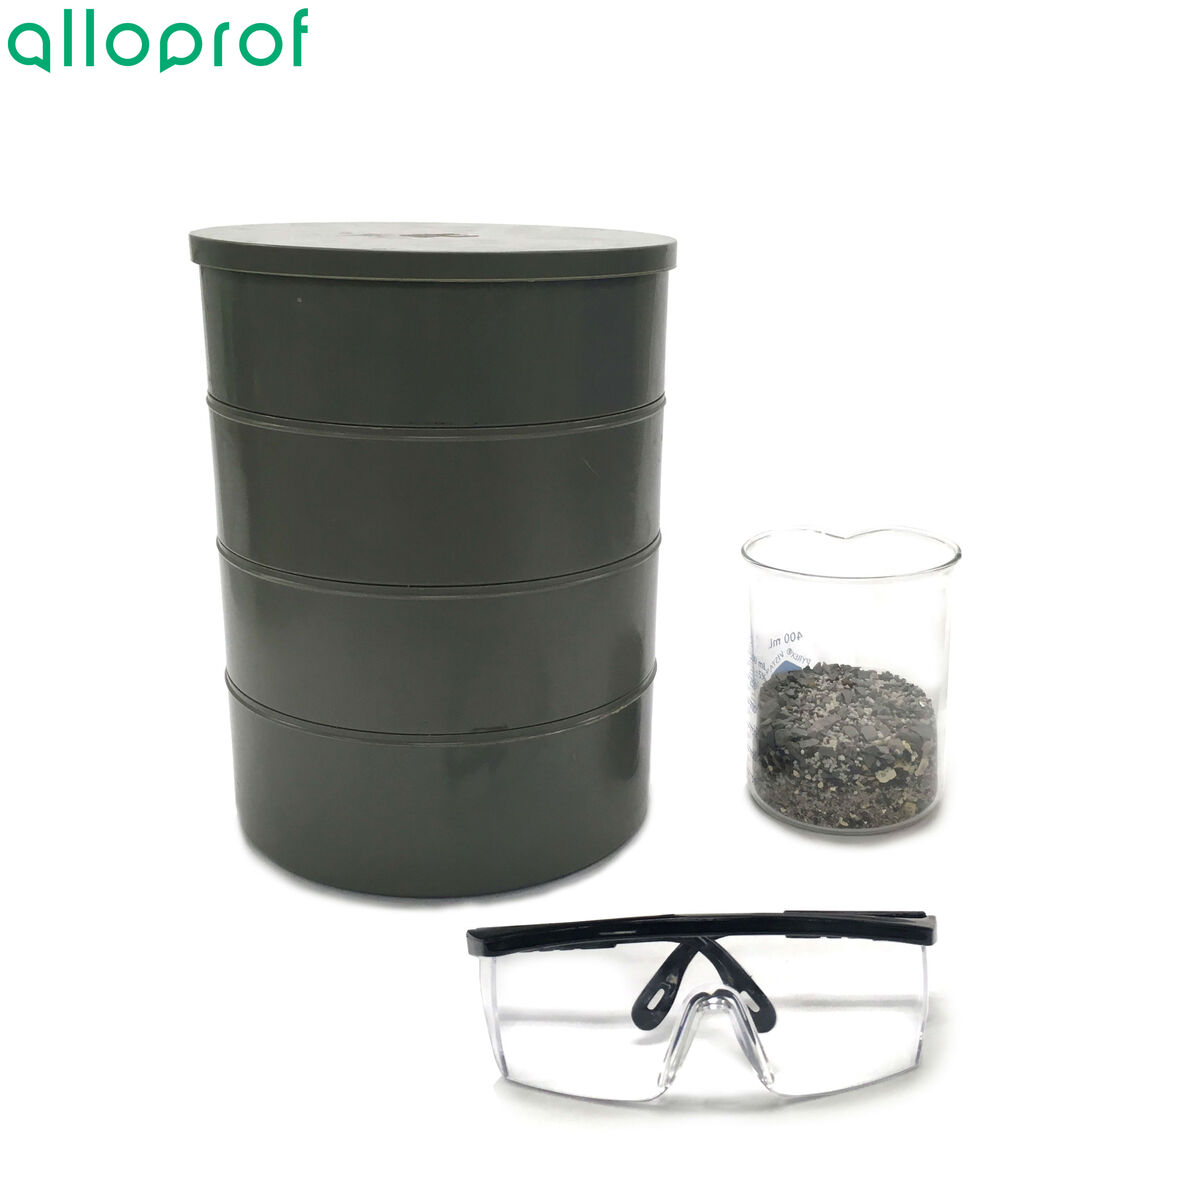
1. Put the mixture in the sieve.
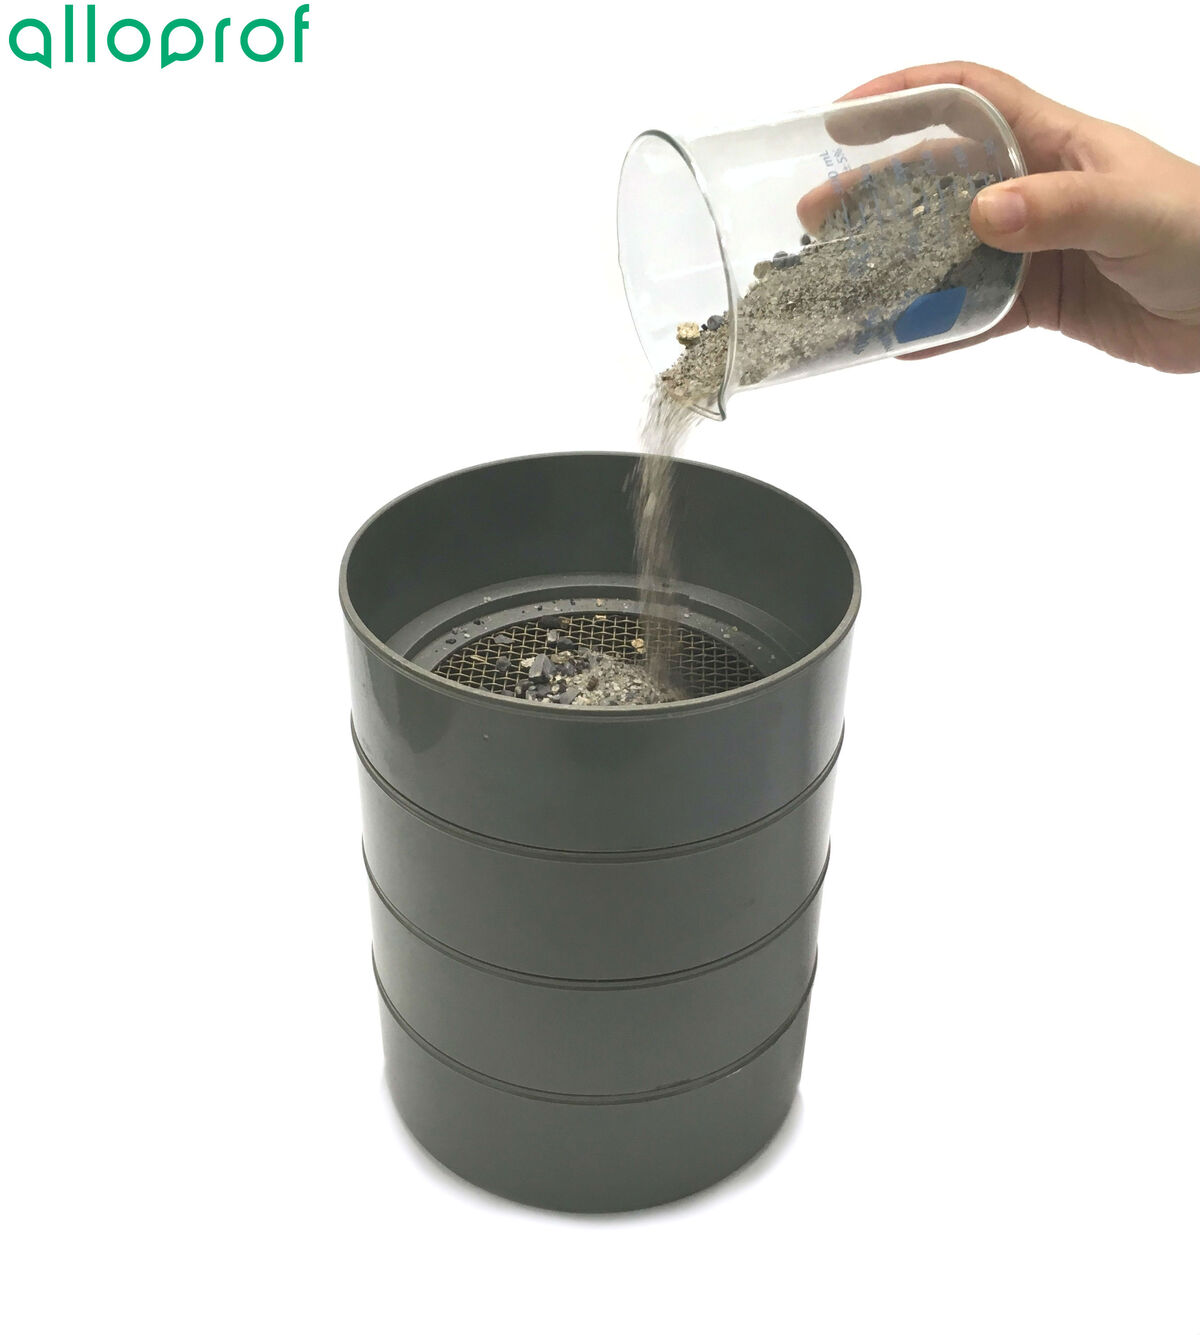
2. Stir the mixture over the sieve pan to allow smaller particles to pass through the screen openings.
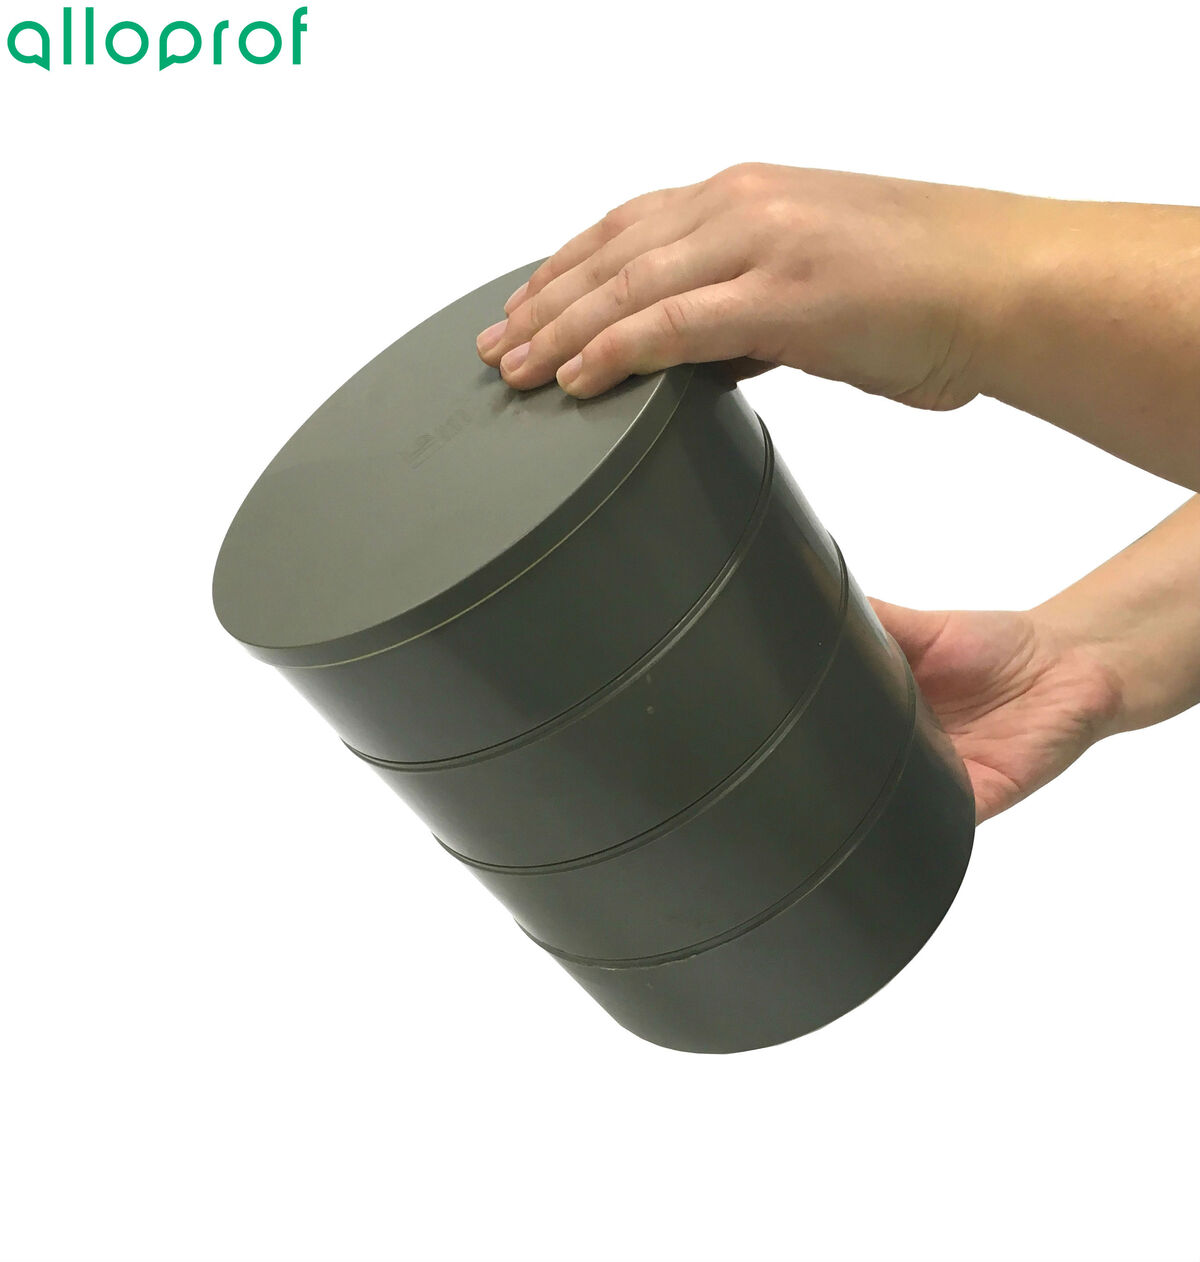
3. Collect the particles in the different pans according to their size.
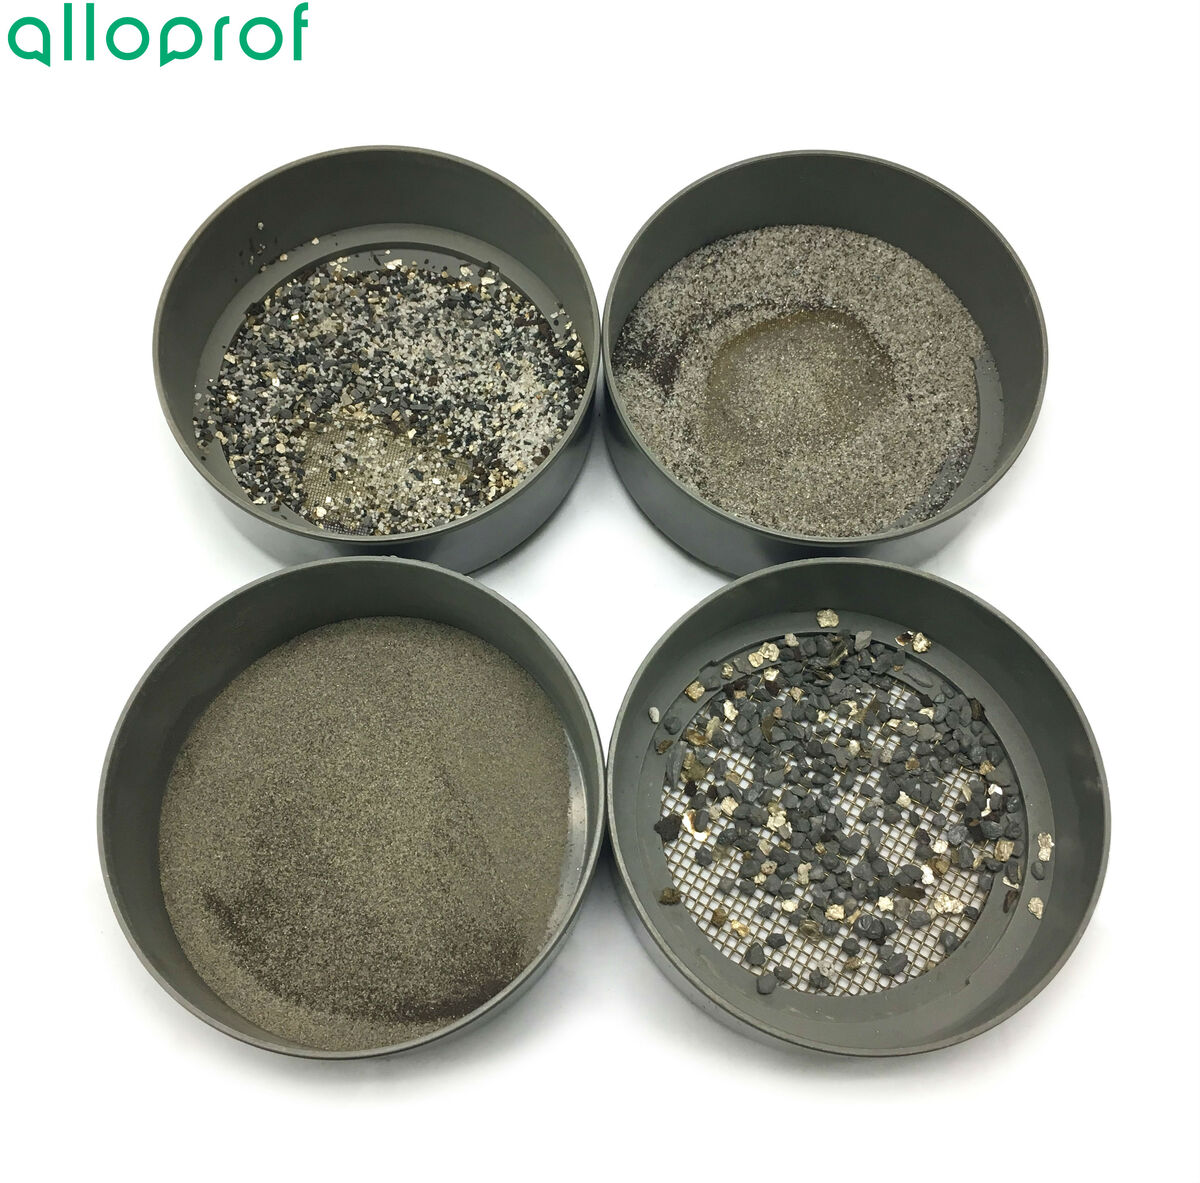
4. Clean and store the equipment.
This technique can be used to separate the components of a heterogeneous mixture (liquid-solid or liquid-liquid).
- Mixture to separate
- Test tube
- Centrifuge
- Apron or smock
- Safety goggles
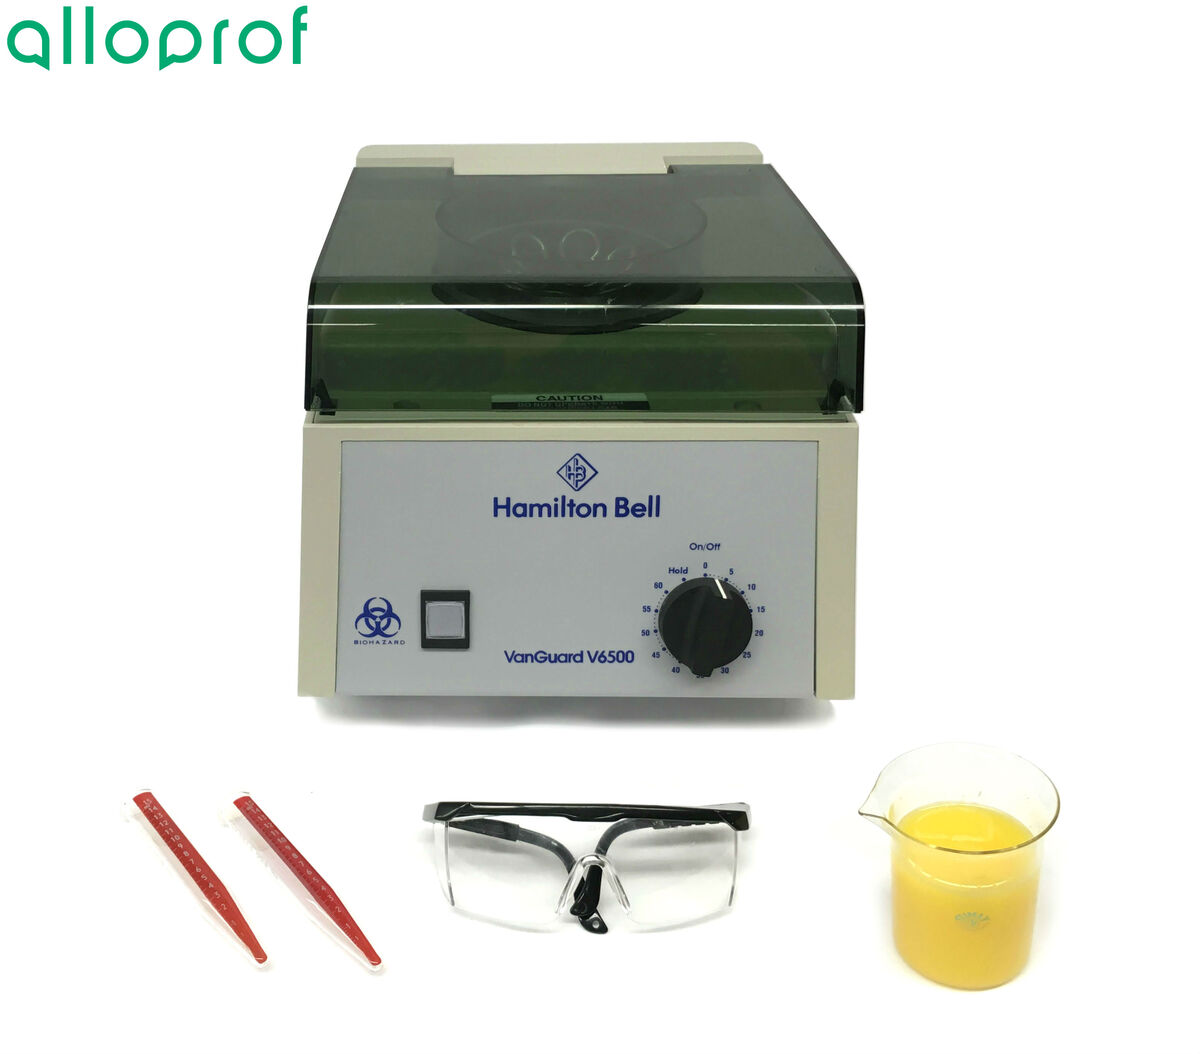
1. Pour the mixture into one or more test tubes.
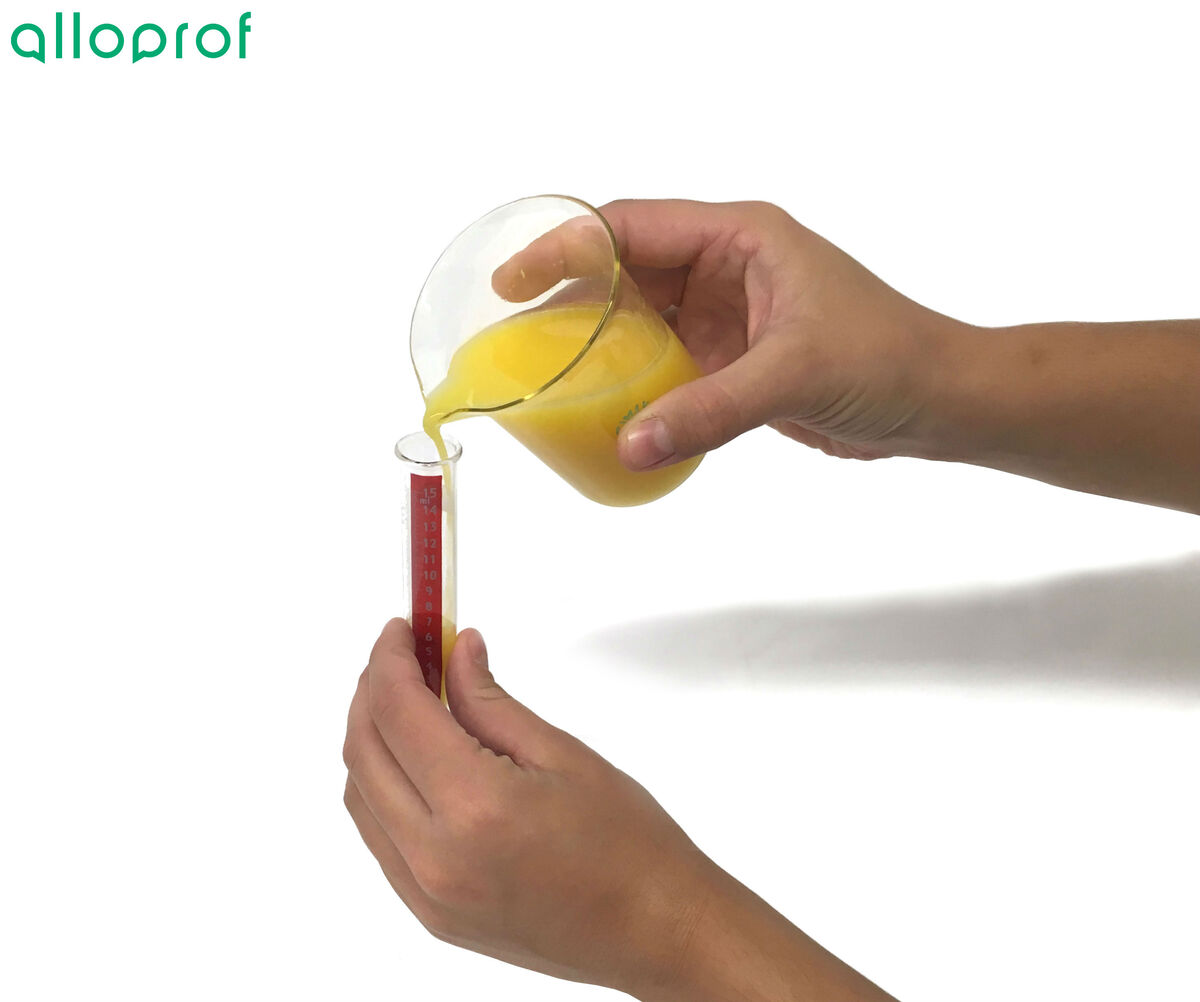
Make sure to have at least two test tubes with equivalent weights in order to have a counterweight in the centrifuge. If only one sample of the mixture must be centrifuged, place a test tube with an equivalent weight to that containing the mixture into the centrifuge.
2. Cap the test tubes.
This step can be omitted depending on the type of centrifuge used. Refer to the centrifuge user guide if in doubt.
3. Place the test tubes in the centrifuge so that the weight is evenly distributed.
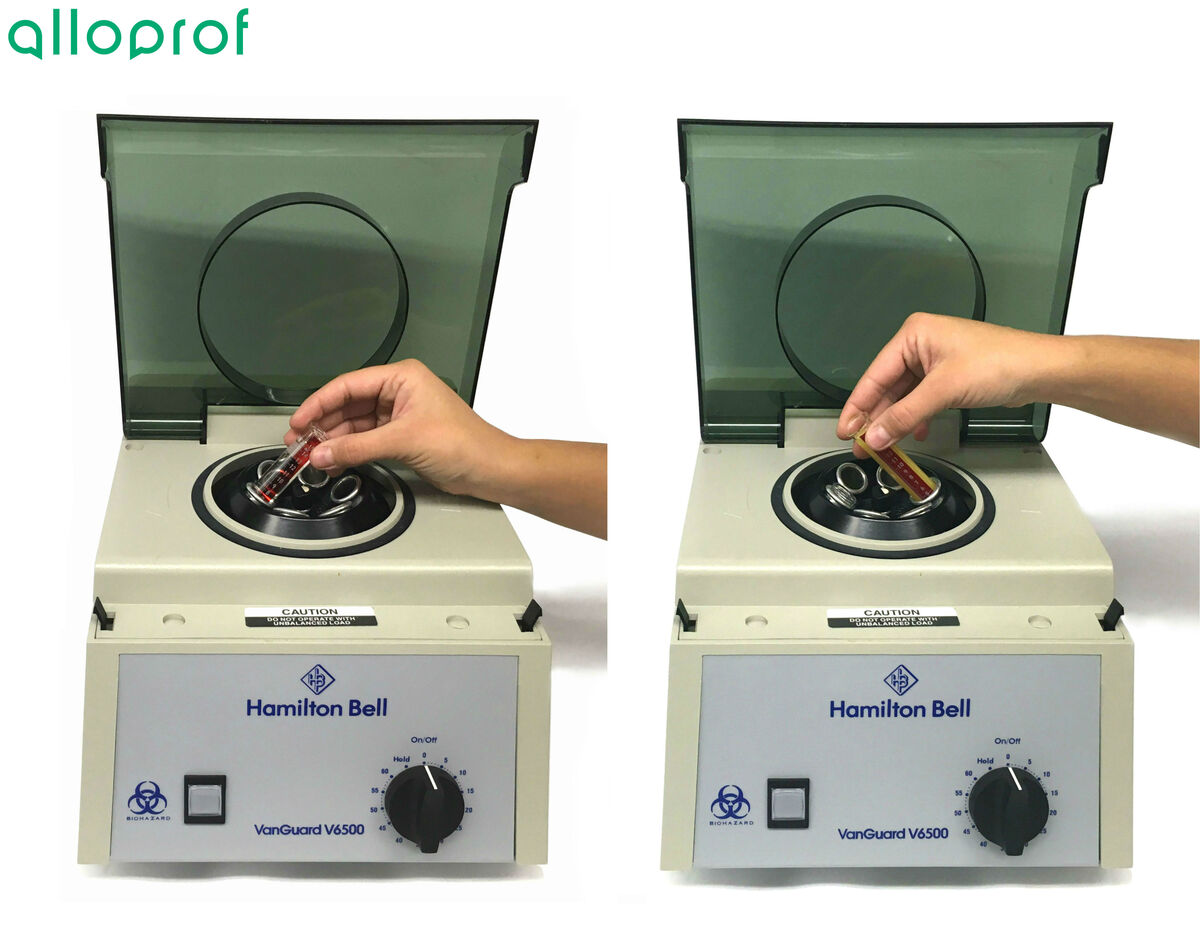
4. Start the centrifuge

If the centrifuge starts to move or vibrate, immediately stop the centrifuge and check the weight distribution in the centrifuge.
5. After a few minutes, stop the centrifuge.
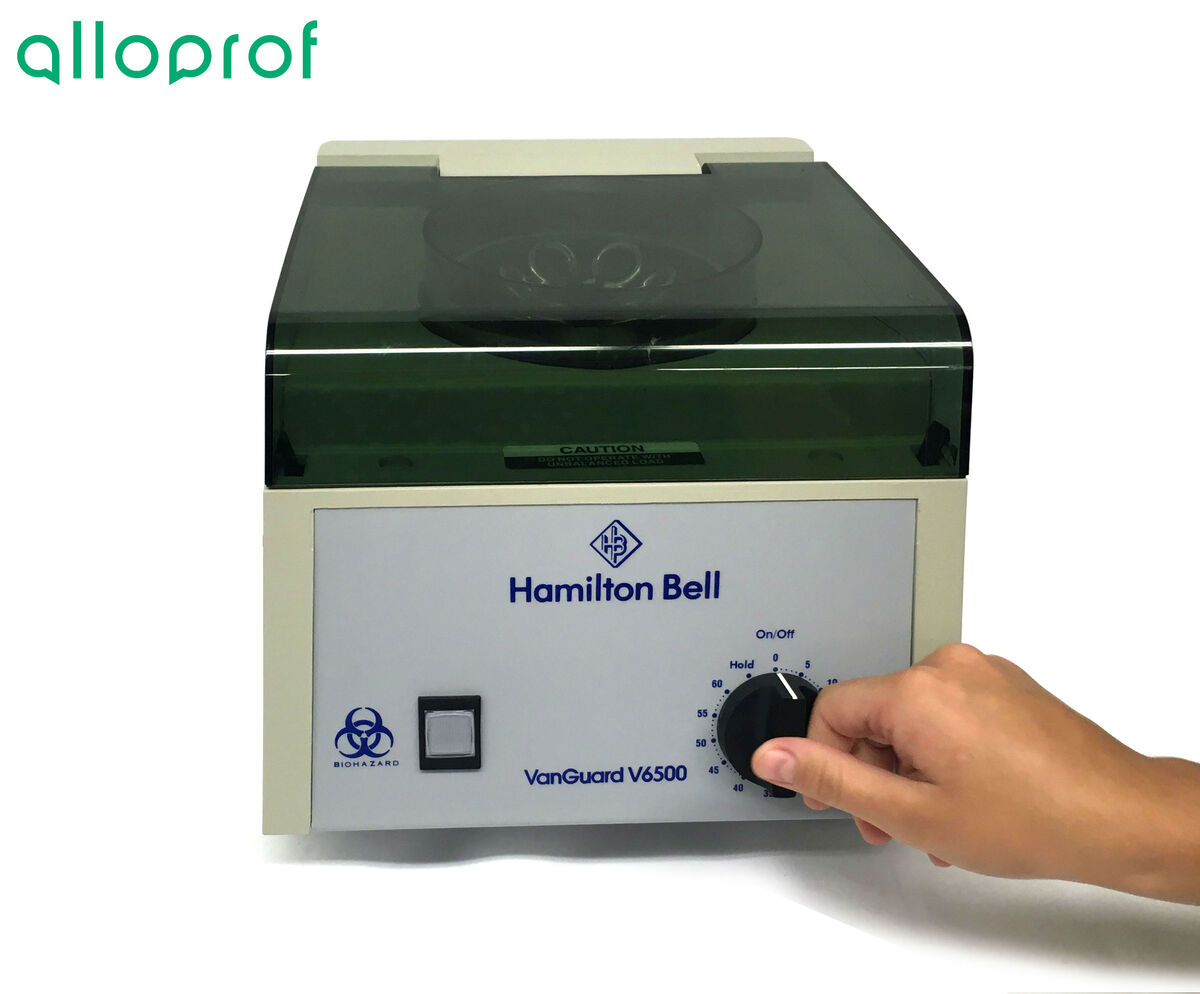
The centrifuge must have completely stopped before opening the lid.
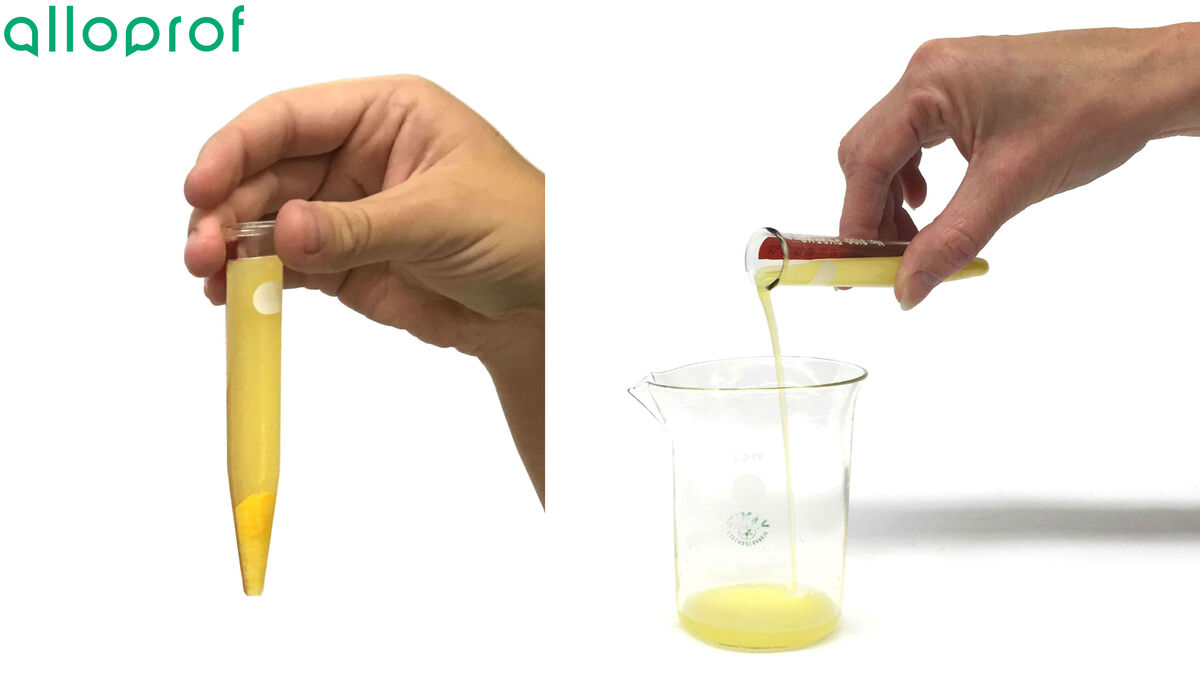
6. Slowly pour the supernatant liquid into another container.
7. Clean and store the equipment.