Often used in history class and other subjects, timelines are an extraordinary tool that makes it easy to visualize events in chronological order. Here are a few tips to help your child make their own timeline.
Timelines are ideal for providing an overview of a particular era or complex episode. In one glance, you get a clear breakdown of the chosen event:
- The time period it covers
- What happened before and after the event
- The amount of time between events
- Etc.
A timeline is generally a straight, horizontal line that shows the passage of time. It includes the following elements:
- Reference points at regular intervals
- Facts
- Events
- Dates
- Etc.
It can be helpful to use different symbols or colours for different types of events. If your child chooses this option, make sure they remember to include a legend.
Before starting to build a timeline, your child needs to choose a subject. Once they’ve decided, help them do the following:
- Make a list of all events related to the subject
- Identify the most important events
- Put those events in chronological order
- Etc.
To calculate the size and scale of their timeline (i.e., how much time it will span and how far apart to space each event), your child will need to do the following:
- Calculate the amount of time between the start and end dates (e.g., 2020 –
1980 = 40 years) - Decide on the time interval(e.g., 10 years)
- Divide the space between each date by the interval to know how many
spaces are required (40 ÷ 10 = 4 years) - Determine the length of the timeline (e.g., 16 cm)
- Draw a straight line
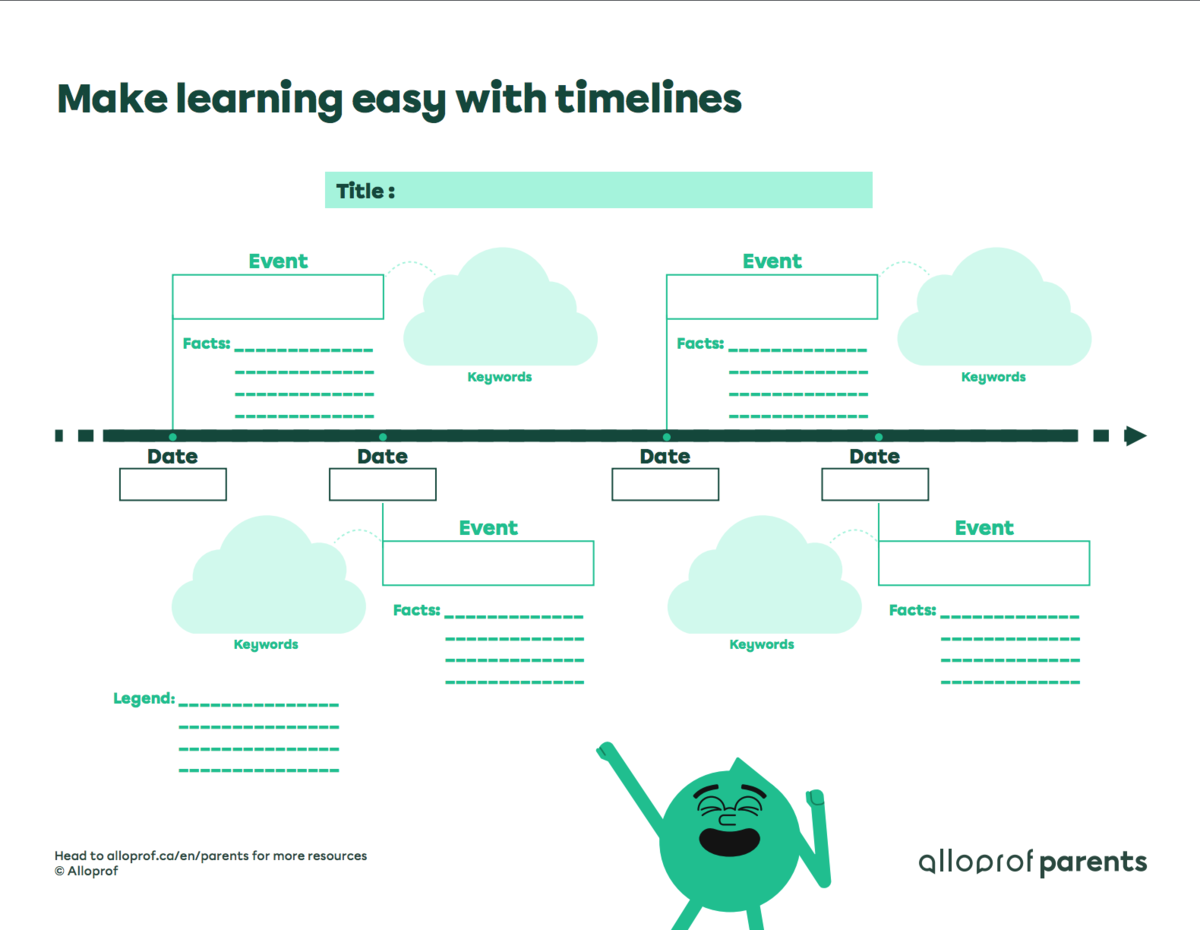
Timelines are intended to make material easier to understand. Here are a few things to remember when making a timeline:
- Give the timeline a descriptive title
- Make sure the timeline is accurate (the events reflect reality)
- Put the events in chronological order
- Don’t clutter the page
- Make sure it’s easy to read (use keywords and print neatly)
- Etc.
Section Alloprof :
Rewriting: The Alloprof Parents’ team