Here are two methods for drawing a circle. The first step before drawing is to tape the sheet of paper to the drawing board.
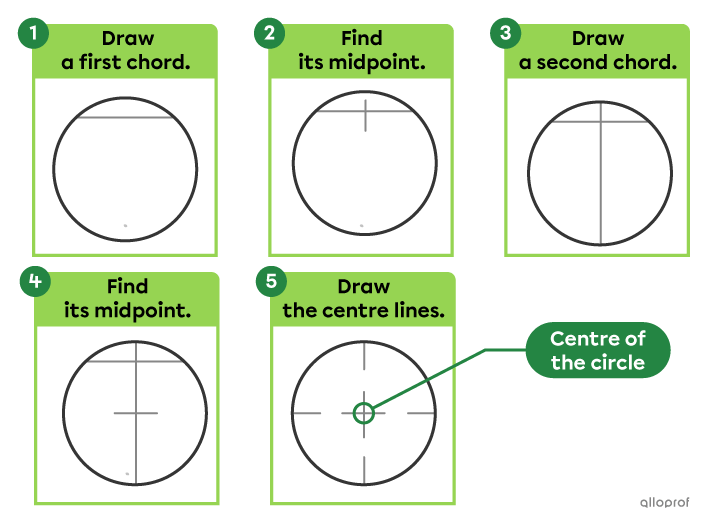
If the centre of a circle is not indicated, it can be located using the following method.
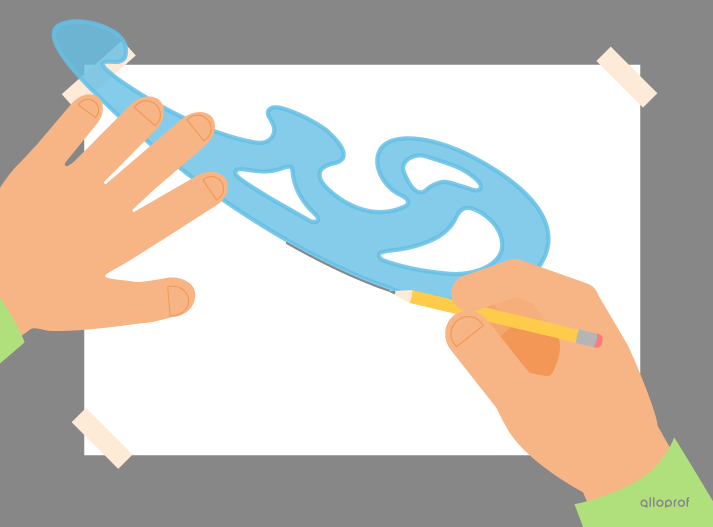
To draw an irregular curve, a French curve is used.
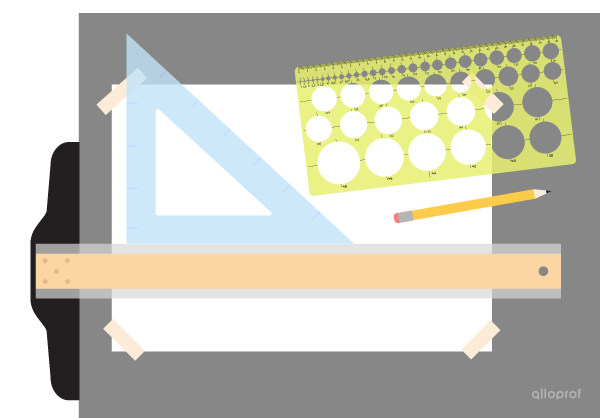
The following tools and materials are required to draw a circle using a circle template:
-
A sheet of paper properly attached to the drawing board
-
A T-square
-
A set square
-
A lead pencil
-
A circle template
-
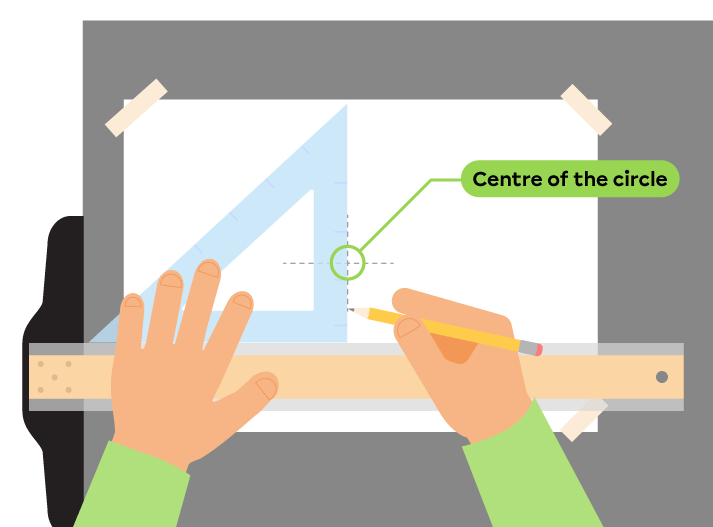
Using the T-square, draw the horizontal centre line of the circle. This line should be thin and dashed.

-
Using the T-square and the set square, draw the vertical centre line of the circle. This line should be thin and dashed. The intersection of the centre lines corresponds to the centre of the circle.
-
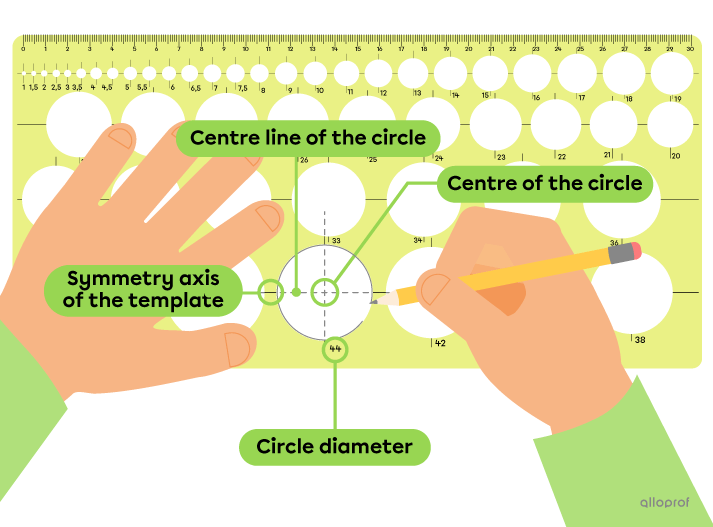
Choose the template that corresponds to the diameter of the desired circle.
-
Place the template on the sheet of paper, aligning the centre lines of the circle on paper with the symmetry axes of the template.
-
Hold the template in place and gently trace the circle with a pencil following the template.
The following tools and materials are required to draw a circle using a compass:
-
A sheet of paper properly attached to the drawing board
-
A T-square
-
A set square
-
A lead pencil
-
A ruler
-
A compass

-
Using the T-square, draw the horizontal centre line of the circle. This line should be thin and dashed.

-
Using the T-square and the set square, draw the vertical centre line of the circle. This line should be thin and dashed. The intersection of the centre lines corresponds to the centre of the circle.

-
Using the ruler, measure and mark the desired radius of the circle on the centre line.
-
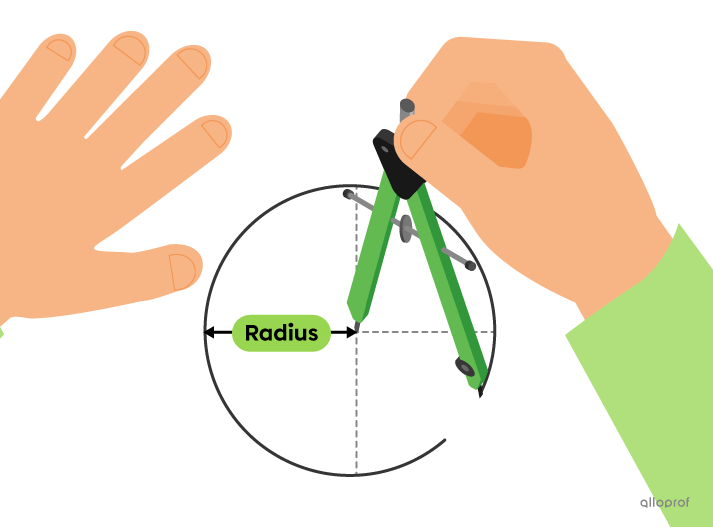
Place the needle of the compass at the centre of the circle and open the compass so that the lead reaches the radius mark.
-
Hold the needle at the centre of the circle and draw the circle by gently rotating the compass.
The centre of a circle can be found by drawing a chord anywhere on the circle.
A chord is a segment that connects any two points on the circle, without necessarily passing through the centre.
-
Using the T-square, draw a chord. This line should be thin, because it can be erased later.
-
Measure the length of the chord and divide by |2| to determine its midpoint.
-
Using the T-square and the set square, draw a second segment through the midpoint, perpendicular to the first line. This line should be thin, because it can be erased later. The length of the second segment corresponds to the diameter of the circle.
-
Measure the length of the line and divide by |2| to find its midpoint. The position found corresponds to the centre of the circle.
-
If necessary, erase the unnecessary lines and draw the centre lines of the circle.
The following tools and materials are required to draw an irregular curve:
-
A sheet of paper properly attached to the drawing board
-
A lead pencil
-
A French curve

-
Using a pencil, lightly mark the points of the curve to be drawn.
-
Freehand, connect the points by drawing a very fine line.
-
Place the French curve on the sheet of paper, aligning a section of the French curve with the freehand line on paper.
-
Hold the French curve with one hand, then trace the curved section by gently sliding the pencil along its edge with the other hand.
-
Move the French curve to draw the next section of the curve.
-
If necessary, erase the line drawn in Step 2.
