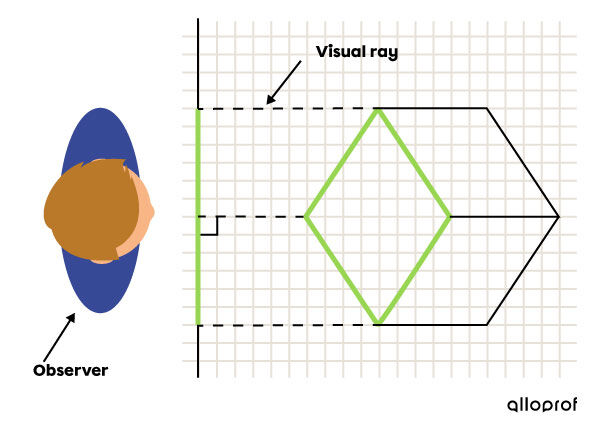
Isometric (or axonometric) projection is a perspective representation of an object, where the three main edges (which correspond to the three dimensions of the object) form equal angles of |120^\circ.|
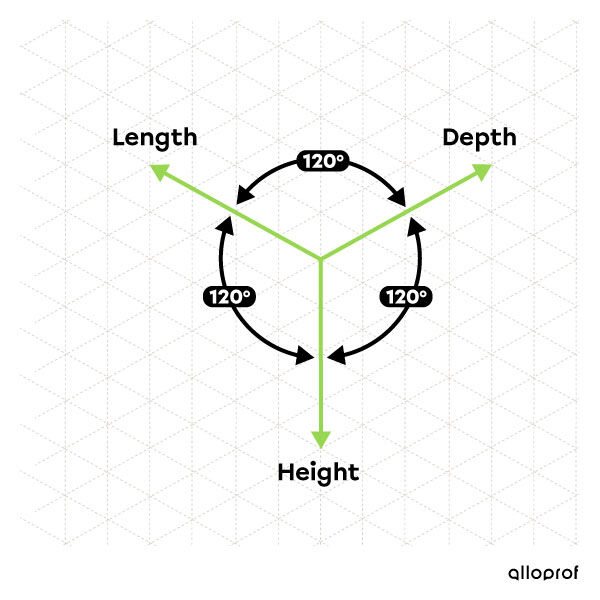
The three axes representing the height, width, and depth of the object form angles of |120^\circ| between any two of them.
Unlike oblique projections and multiview projections, no face of the object is parallel to the drafting sheet in an isometric projection. Instead, the object has an edge in the foreground.
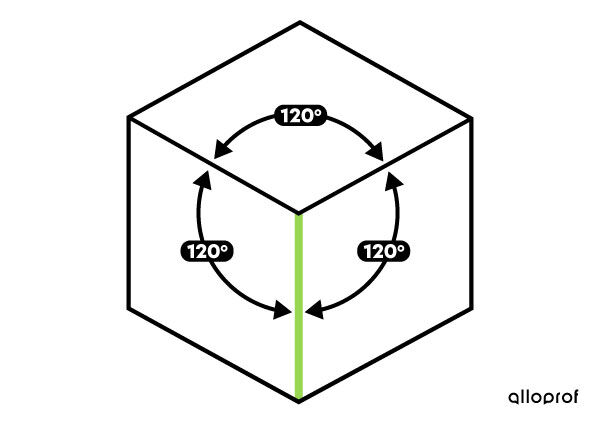
In order to facilitate the drawing of an object in isometric projection, we use isometric paper. It is graph paper formed by vertical and oblique lines thus reproducing equal angles of |120^\circ| between the three main axes. We can therefore rely on these lines to draw the edges of the object.
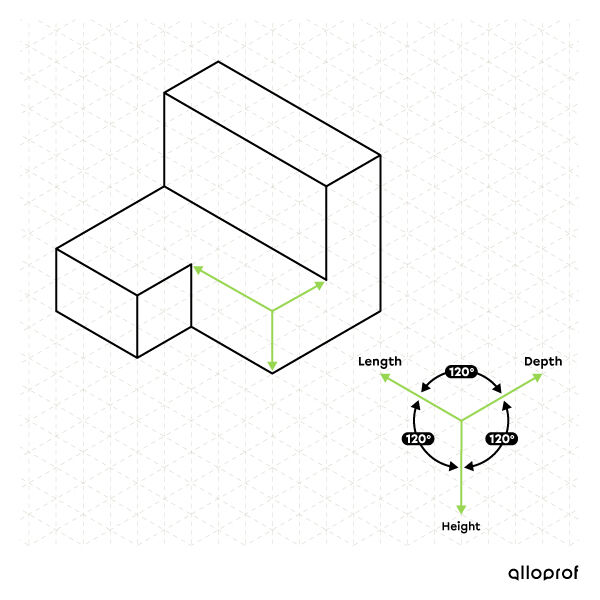
Here are some examples of isometric projections.

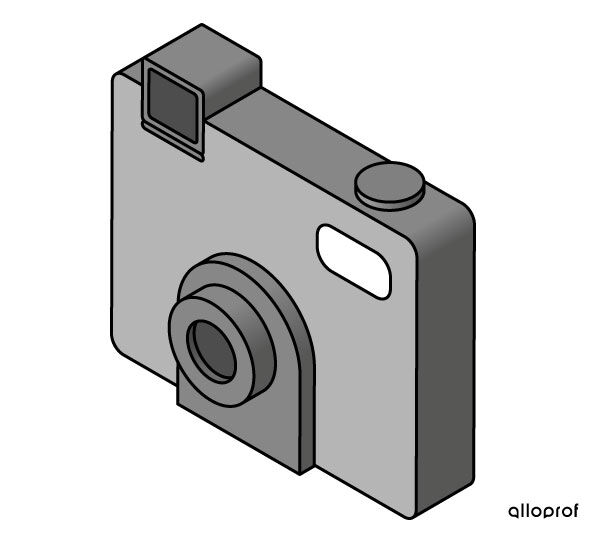
Unlike the multiview projection, the isometric projection is a perspective projection, that is, it allows visualization of the depth of an object.
The use of |120^\circ| isometric axes allows the drawing to maintain the proportions of the object. Therefore, unlike the oblique projection, the dimensions of an isometric projection can be relied upon to provide the actual dimensions of an object.
However, since the three axes representing length, width, and depth are tilted at |120^\circ| to one another, the actual angles of the object are not preserved in the drawing.
Refer to the concept sheet on the types of projections used in technical drawings to better compare them.
Like the multiview projection, the isometric projection is orthogonal, that is, all the visual rays starting from the vertices of the object are directed perpendicularly towards the observer, who is positioned in front of the drafting sheet. Therefore, all dimensions of the drawing are proportional to those of the object.
