To manufacture a part, a series of steps that are presented in the manufacturing process sheet must be carried out. The manufacturing process sheet is usually divided into three sections, the first of which is the measuring and laying out of the parts so that they comply with the dimensions indicated on the detail drawing of the object.
Measuring is the action of determining the value of a quantity or placing a mark on materials.
In order to mark or lay out parts in a material, the first step is measuring to ensure that the parts have the desired dimensions. This is done using measuring instruments, which guarantees that the parts comply with the dimensional tolerances.
Depending on the type of measuring to be carried out and the precision required, different types of measuring tools are available.
| Tool | Functions |
|---|---|
|
Graduated ruler
smx12, Shutterstock.com |
|
|
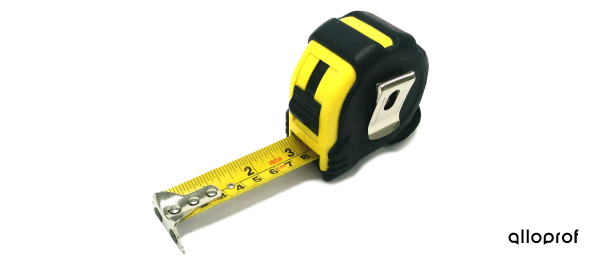
Measuring tape
|
|
|
Caliper square
|
|
|
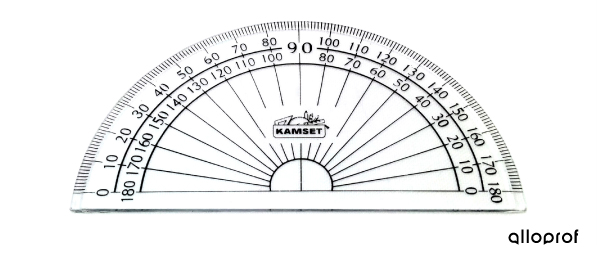
Protractor
|
|
Laying out is the action of tracing lines and positioning markers on a material for machining (shaping).
Before machining, the parts must be laid out precisely and in such a way as to minimize the loss of materials. This is done by transferring the measurements taken during the measuring process onto a material. For example, the position of the centre of the holes to be drilled and the dimensions of the parts for sawing or cutting are indicated. The laying out tools used must, therefore, be accurate and adapted to the materials chosen. Here are some examples of tools that make laying out easier.
| Tool | Functions |
|---|---|
|
Punch
|
|
|
Carpenter's square
|
|
|
Combination square
|
|
|
Compass
|
|
|
Bubble level
Tatiana Popova, Shutterstock.com |
|


